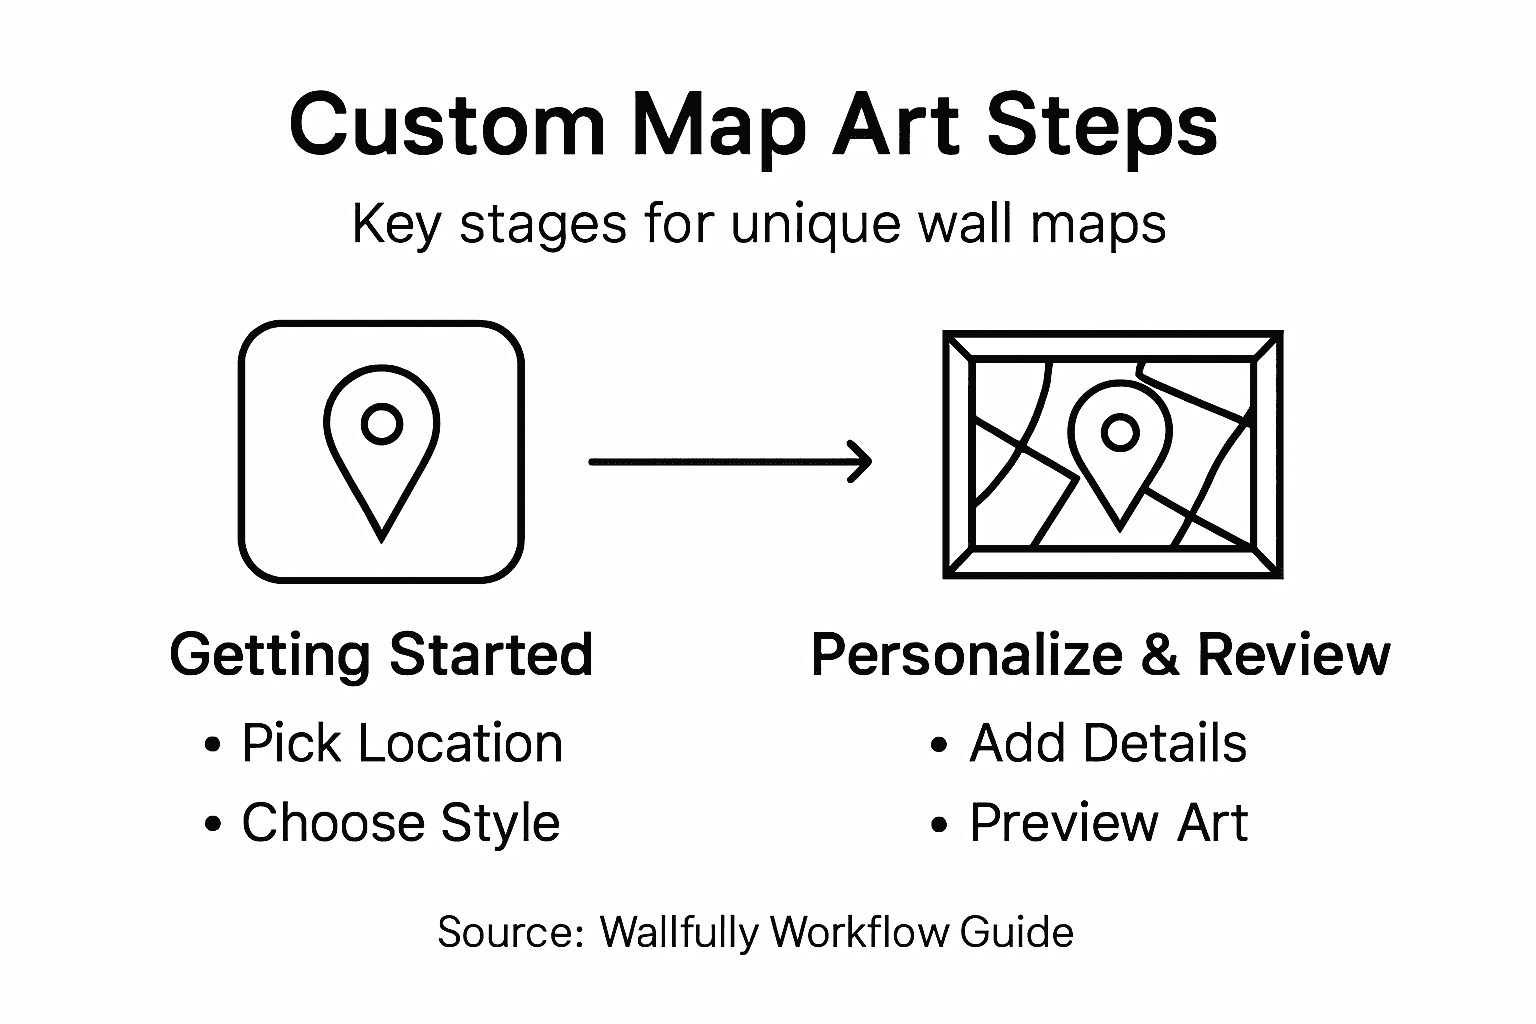
Custom Map Art Workflow for Unique Wall Decor
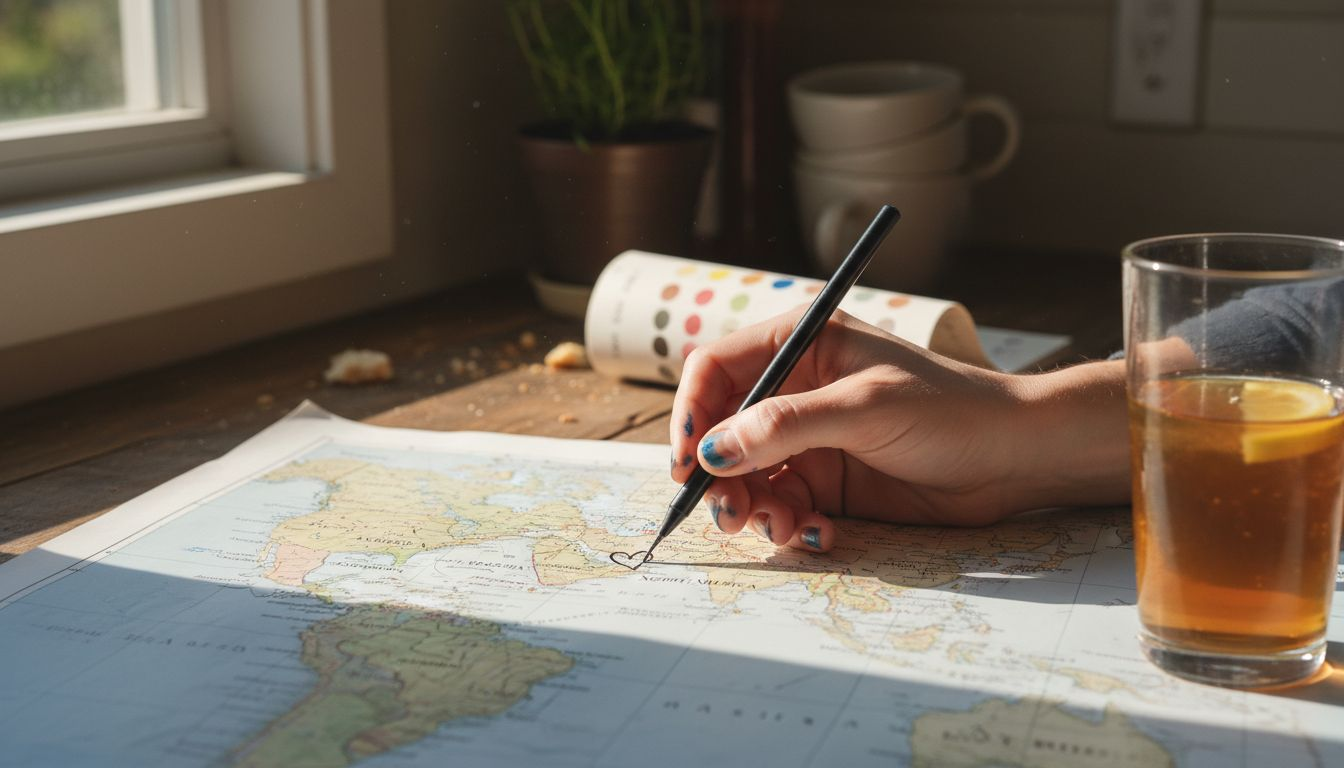
WallfullyOver half of American young professionals say personal touches make gifts truly memorable. In cities like New York and Los Angeles, the search for standout wall art gifts goes beyond generic prints. When you want a housewarming present or a unique way to celebrate a milestone, personalized map artwork turns any blank wall into a story that reflects cherished memories and thoughtful customization.
Table of Contents
- Step 1: Choose Your Map Location And Style
- Step 2: Customize Details And Personal Elements
- Step 3: Preview And Adjust Your Map Artwork
- Step 4: Verify Map Design And Quality
- Step 5: Finalize And Prepare For Printing
Quick Summary
| Key Point | Explanation |
|---|---|
| 1. Select a meaningful location | Choose a map location that holds emotional significance, like a birthplace or special travel destination, to personalize your art. |
| 2. Experiment with map styles | Explore different styles such as minimalist or topographic to find one that complements your decor and enhances the visual story. |
| 3. Personalize details on the map | Add custom annotations, icons, and highlights to make your map a personal narrative that reflects your unique experiences. |
| 4. Preview and adjust prior to printing | Utilize preview tools to refine details and confirm that every element aligns with your vision before finalizing the design. |
| 5. Prepare for precise printing | Ensure technical specifications such as resolution and color profiles are optimized for professional printing to maintain quality. |
Step 1: Choose Your Map Location and Style
Selecting the perfect map location and style transforms a simple wall decoration into a meaningful personal narrative. Your custom map art will represent more than just geography - it becomes a visual story of a place that matters deeply to you. Whether commemorating a hometown, honeymoon destination, or favorite travel memory, the initial choice of location sets the emotional tone for your artwork.
To start your map customization journey, explore various map styles that capture different aesthetic moods. OpenMapTiles offers multiple base map configurations ranging from minimalist designs to detailed topographic representations. Consider how different styles might complement your existing decor - a dark matter style could work beautifully in modern spaces, while a light Positron design might suit more traditional interiors. Pay attention to color palettes, line weights, and overall visual complexity that will integrate seamlessly with your room’s design aesthetic.
Geographic selection involves more than just pinpointing coordinates. Think about the emotional significance of the location you are choosing. Is it a birthplace, a cherished travel destination, or a landmark with personal meaning? Take time to zoom into specific neighborhoods or regions that resonate most powerfully with your memories. Advanced tools like Geo Inkscape can help you refine map details and customize intricate elements for a truly unique piece.
Pro Tip: Consider requesting a digital preview before finalizing your map art to ensure the location and style match your vision exactly.
To help you choose the right style for your custom map art, here is a comparison of popular map design approaches:
| Map Style Type | Visual Mood | Best For |
|---|---|---|
| Minimalist | Clean and modern | Contemporary interiors |
| Topographic | Detailed and textured | Nature lovers, adventurers |
| Dark Matter | Bold and dramatic | Urban or modern decor |
| Light Positron | Soft and classic | Traditional home settings |
Step 2: Customize Details and Personal Elements
Now that you have selected your map location and style, the exciting process of personalization begins. Transforming a standard map into a meaningful piece of art requires thoughtful customization that reflects your unique story and aesthetic preferences. Your map artwork will become a deeply personal representation of a place that holds special significance.
With advanced map customization tools, you can add intricate personal elements that elevate your map from a simple geographic representation to a true artistic statement. Consider incorporating special annotations like the exact coordinates of a memorable location, adding custom icons representing significant moments, or highlighting specific neighborhoods that hold deep personal meaning. OpenMapTiles style options allow you to adjust color palettes, line weights, and geographic feature visibility to create a design that perfectly matches your vision.
Think creatively about the personal details you want to showcase. Perhaps you want to mark the precise spot where you first met your partner, highlight a childhood home, or commemorate a significant travel adventure. You can layer additional information like dates, names, or meaningful quotes directly onto the map. These personalized touches transform your map from a standard graphic into a narrative piece that tells a unique story about your life and experiences.
Pro Tip: Experiment with different color schemes and zoom levels to find the perfect balance between geographic detail and artistic expression.
Step 3: Preview and Adjust Your Map Artwork
Your map artwork is now taking shape, and the preview stage is where your creative vision truly comes to life. This critical step allows you to fine-tune every detail and ensure your personalized map meets your exact expectations before finalizing the design.
Using vector editing environments, you can dynamically preview and adjust your map artwork with precision. Zoom in and out to examine how different details appear at various scales, experiment with color palettes, and refine line weights to achieve the perfect visual balance. Pay close attention to how geographic features, custom annotations, and personal elements interact within the overall composition. Some digital tools allow real-time editing, enabling you to see immediate changes and make nuanced adjustments that transform your map from a simple graphic into a meaningful piece of art.
The preview stage is your opportunity to ensure every element tells your unique story exactly as you imagine. Check that color schemes complement your existing decor, verify that personal annotations are placed precisely, and confirm that the map captures the emotional essence of the location. OpenMapTiles style previews can help you visualize how different design approaches impact the final artwork, allowing you to experiment with zoom levels, color intensities, and geographic feature visibility.
Pro Tip: Take screenshots of multiple preview versions to compare and get feedback from friends or family before making your final selection.
Step 4: Verify Map Design and Quality
With your map artwork nearly complete, the verification stage ensures that every detail meets your expectations for accuracy, aesthetic appeal, and personal significance. This is your final opportunity to catch any subtle design elements that might need refinement before transforming your digital creation into a physical piece of wall art.
Community-driven map verification provides a robust framework for checking geographic accuracy and design integrity. Carefully review each element of your map for precision in geographic representation, ensuring that neighborhood boundaries, street layouts, and landmark locations are correctly positioned. Pay special attention to the personal annotations you have added, verifying that coordinates and custom markers are placed exactly where you intend. Zoom in and out multiple times to confirm that the level of detail remains consistent and legible across different viewing distances.
Quality control goes beyond just geographic accuracy. Examine the visual composition with a critical eye, checking color consistency, line clarity, and overall aesthetic harmony. Use quality check workflows to digitally validate your map artwork, comparing your design against professional cartographic standards. Consider how the map will look when printed checking that text remains readable, colors remain true, and the emotional narrative you want to convey comes through clearly in the final design.
Pro Tip: Print a small test version of your map artwork to see how colors and details translate from digital screen to physical print.
Step 5: Finalize and Prepare for Printing
Your custom map artwork is now ready for its final transformation from digital design to physical wall decor. The preparation stage is crucial for ensuring that your personalized map looks exactly as you imagined when printed and mounted.
Digital file preparation techniques are essential for maintaining the integrity of your map artwork. Carefully export your design in high resolution, selecting file formats that preserve color accuracy and detailed elements. Vector formats like PDF or SVG are typically ideal for preserving sharp lines and crisp details. Pay close attention to color profiles, ensuring that the digital colors will translate accurately to print. Some design software allows you to simulate how your artwork will look under different printing conditions, giving you a preview of the final result.
Preparing your map for professional printing requires meticulous attention to technical details. Use artwork file preparation guidelines to set up your document with proper bleed areas, color separations, and resolution settings. Consider the specific printing technique youll be using poster print, canvas, or framed art and adjust your file accordingly. Check that text remains legible, personal annotations are clear, and the overall composition maintains its visual impact when translated from screen to physical print.
Below is a summary of key technical considerations for preparing your map for professional printing:
| Consideration | Why It Matters | Best Practice |
|---|---|---|
| Resolution | Ensures crisp details | Use at least 300 DPI |
| File Format | Maintains quality | Export as PDF or SVG |
| Color Profile | Accurate color reproduction | Apply CMYK for print workflows |
| Bleed Area | Prevents cut-off edges | Add 1/8 inch on all sides |
Pro Tip: Request a digital proof from your printer to verify color accuracy and design details before committing to the final print.
Turn Your Custom Map Art Vision Into Stunning Wall Decor Today
Creating personalized map artwork can be a challenging journey filled with decisions about location accuracy, style choices, and meaningful personal details. This article highlights the importance of refining every element of your map design from geographic precision to unique annotations, all while previewing and verifying quality before printing. If you find yourself seeking an effortless way to transform those thoughtful customizations into a beautiful, high-quality print for your home or as a heartfelt gift, Wallfully.com is ready to help.
Explore our user-friendly platform where you can customize your map art with ease. Wallfully offers a seamless design experience that supports your personal touches like coordinate placement, color adjustments, and adding memorable dates or names. Plus, our secure checkout, satisfaction guarantee, and eco-friendly printing ensure your custom map print arrives perfect and ready to display. Start creating your unique artwork now at Wallfully.com and bring your meaningful map design to life with expert printing and free shipping. Don’t wait to celebrate your favorite places in style—visit Wallfully.com and make your custom map art an unforgettable part of your home decor.
Frequently Asked Questions
How do I select the perfect location for my custom map art?
Choosing the right location involves considering the emotional significance of the place. Think about locations like your hometown, a cherished travel spot, or a significant landmark, and zoom into specific neighborhoods or regions that resonate with your memories.
What should I consider when choosing a style for my map art?
When selecting a style, consider how it will complement your existing decor. Explore different designs, such as minimalist, topographic, or dark matter, and evaluate their color palettes and visual complexity to find the best fit for your interior space.
How can I personalize my map art?
You can personalize your map art by adding special annotations, custom icons, and highlighting significant locations. For example, mark the coordinates of a memorable place or add meaningful dates and quotes that tell your unique story.
What steps should I take to preview and adjust my map artwork?
During the preview stage, zoom in and out to examine details and make adjustments to color palettes and line weights. Verify that personal annotations are placed accurately and ensure the overall composition captures the emotional essence of your chosen location.
How do I verify the design and quality of my custom map?
Verifying your map design involves checking its geographic accuracy, ensuring that all labels and details are correct. Review the visual balance and consistency, and consider printing a small test version to see how colors and details translate from digital to physical print.
What do I need to do to prepare my map for printing?
To prepare your map for printing, export the design in high resolution and use suitable file formats like PDF or SVG. Ensure proper settings for bleed areas, color profiles, and resolution to maintain the quality and clarity of your artwork during the printing process.