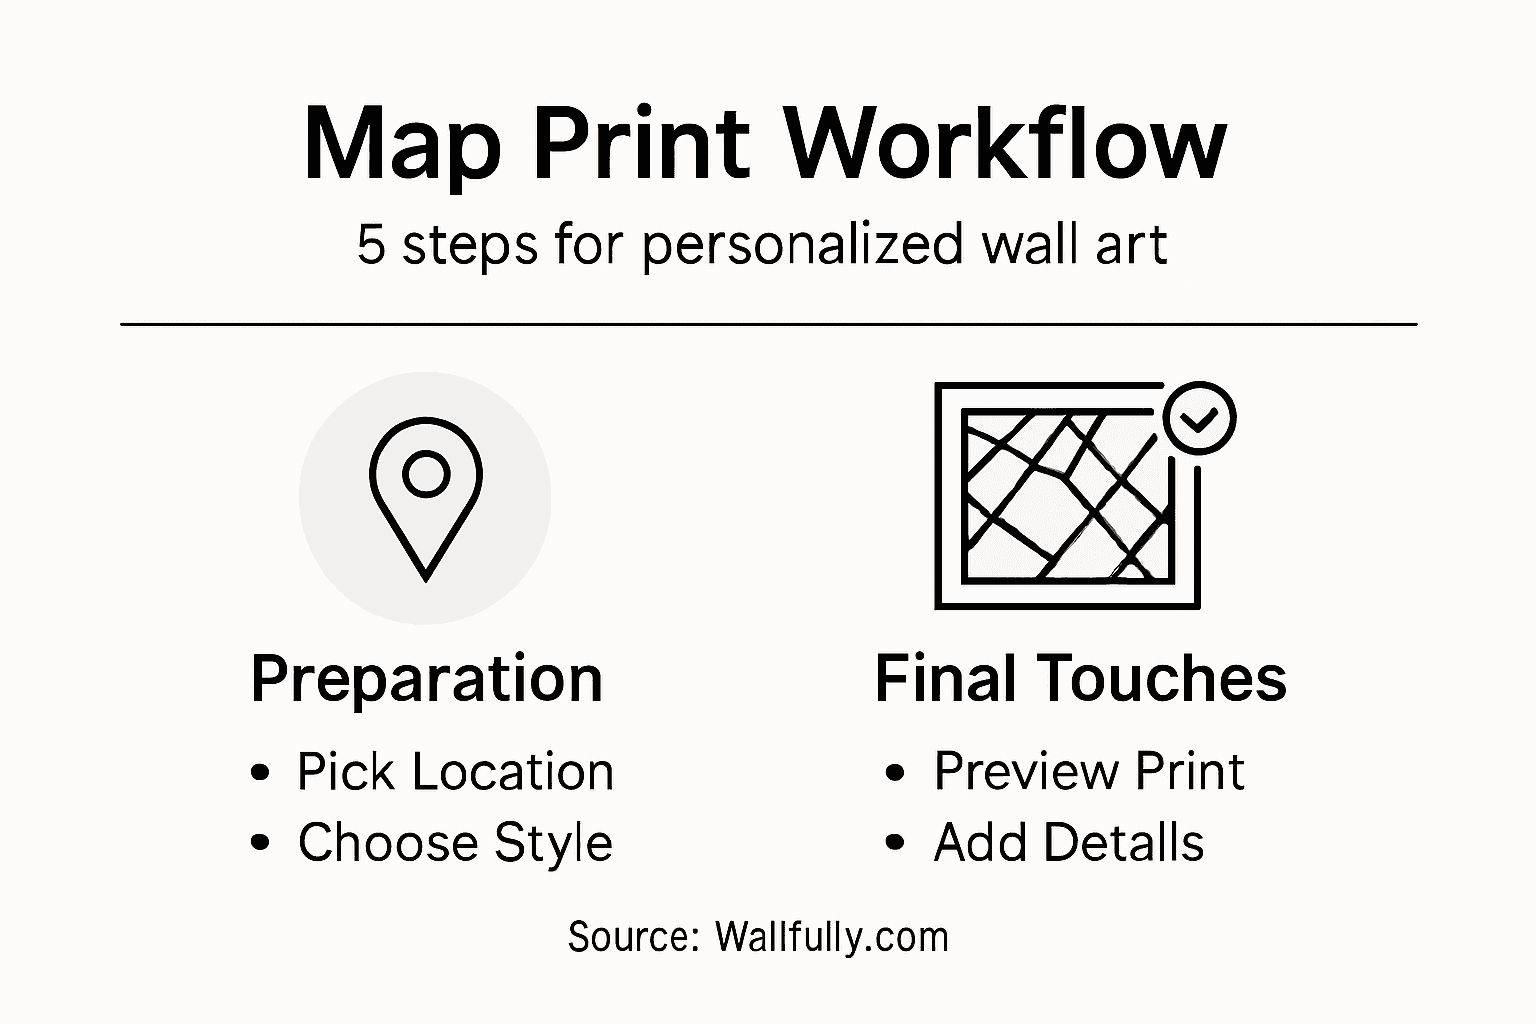
Custom Map Print Workflow for Personalized Wall Art
WallfullyChoosing the right gift for weddings or anniversaries can feel almost impossible when you want something as meaningful as the moment itself. For young Americans looking to capture and celebrate unforgettable stories, custom map prints become more than just art—they turn favorite places into lasting memories. This guide breaks down each step to transform your most cherished locations into beautifully personalized decor, ensuring every detail is both accurate and uniquely yours.
Table of Contents
- Step 1: Gather Location Details For Customization
- Step 2: Select Style And Personalize Map Features
- Step 3: Preview And Adjust Your Custom Map Print
- Step 4: Add Personal Information And Special Dates
- Step 5: Confirm Order And Review Print Quality
Quick Summary
| Key Point | Explanation |
|---|---|
| 1. Collect Accurate Location Details | Use precise geographical coordinates and relevant information to create a meaningful map print. Ensure accuracy for personalization. |
| 2. Choose Customization Options Wisely | Select map styles, color palettes, and features that resonate with your personal aesthetics and the emotions tied to the location. |
| 3. Preview and Refine Your Design | Carefully examine your map’s design for color accuracy, label clarity, and overall composition before finalizing. This enhances visual storytelling. |
| 4. Personalize with Special Details | Add names, dates, and messages to your map print to transform it into a cherished piece reflecting your life experiences. |
| 5. Conduct a Thorough Quality Review | Before finalizing your order, check every detail like color and text clarity to ensure the print matches your original vision. |
Step 1: Gather Location Details for Customization
Creating a personalized map print starts with collecting precise location details that will transform your memories into a stunning wall art piece. This step is about selecting and documenting the exact geographical coordinates that hold special significance for you.
To begin, you’ll want to gather comprehensive location information using reliable resources like the U.S. Geological Survey’s National Map. This platform provides an extensive collection of geospatial datasets that can help you pinpoint exact locations with remarkable accuracy. Here are some key details you’ll want to collect:
- Precise coordinates (latitude and longitude)
- City and state/province names
- Specific neighborhood or landmark details
- Postal or zip codes
Start by identifying the meaningful location for your map print. This could be the spot where you first met, got married, grew up, or experienced a significant life moment. Double-check the spelling and exact location to ensure the most accurate representation possible.
Once you’ve confirmed your location details, you’ll be ready to move forward with the next phase of customization. Each coordinate tells a story, and selecting the right one will make your map print truly unique and personal.
Pro Tip: Keep a digital screenshot or printout of your location details as a backup reference during the customization process.
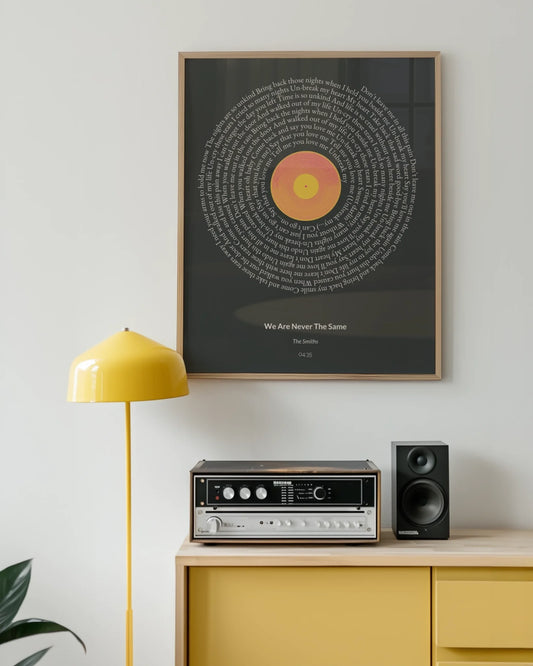
Step 2: Select Style and Personalize Map Features
Now that you’ve gathered your location details, it’s time to transform those coordinates into a stunning personalized map print. This step is all about crafting a visual representation that captures the essence of your chosen location through strategic style selection and feature customization.
With tools like map feature customization systems, you can now dive into the exciting process of designing your unique map artwork. The National Map’s topoBuilder application offers incredible flexibility in selecting map styles, allowing you to choose specific layers and visual elements that resonate with your personal aesthetic.
Here are the key customization options you’ll want to consider:
- Map style variations (vintage, modern, minimalist)
- Color palette selection
- Geographical layer preferences
- Zoom level and area focus
- Accent features and landmarks
Think about the emotional connection you want your map print to evoke. Are you looking for a clean, contemporary design that highlights urban infrastructure? Or perhaps a more nostalgic representation that emphasizes natural landscapes and topographical details?
Your map print is more than just a geographical representation—it’s a visual story of a place that holds special meaning.
Carefully experiment with different style combinations to find the perfect balance that speaks to your personal memories and design preferences. Pay close attention to how different color schemes and feature emphasizes can dramatically transform the visual narrative of your map.
Here’s a quick reference for popular map print styles and their best use cases:
| Map Style | Best For | Typical Color Schemes |
|---|---|---|
| Vintage | Nostalgic memories | Earth tones, muted colors |
| Modern | Urban celebrations | Black, white, bold contrasts |
| Minimalist | Sleek home decor | Soft neutrals, simple palettes |
Pro Tip: Take screenshots of your different design iterations to compare and reflect on which style most authentically captures the spirit of your chosen location.
Step 3: Preview and Adjust Your Custom Map Print
With your location and design style selected, it’s time to bring your personalized map print to life through careful preview and refinement. This critical stage allows you to fine-tune every visual detail before finalizing your artwork.
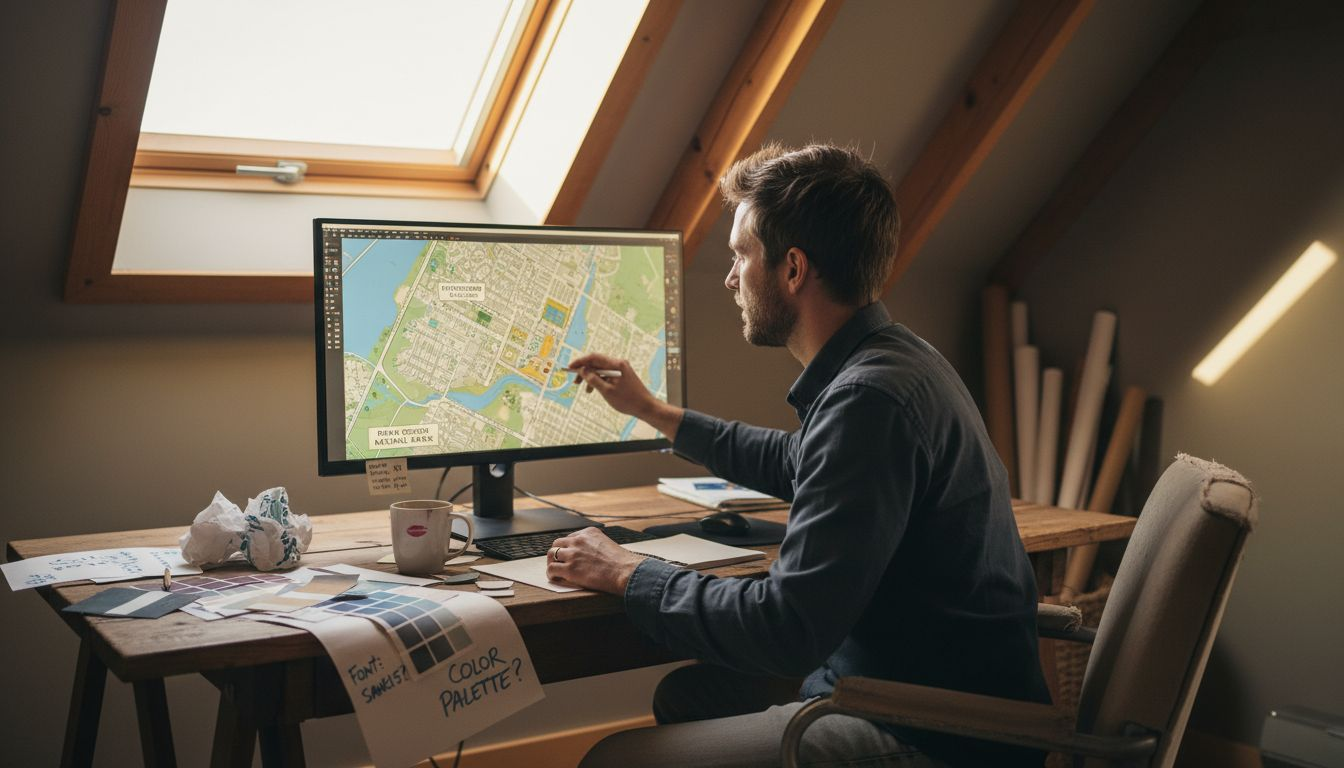
Utilizing map preview tools, you can now examine your design with professional-level precision. These digital platforms offer real-time adjustments that let you experiment with various visual elements and ensure your map print perfectly captures the essence of your chosen location.
Here are the key aspects to review during your preview:
- Color accuracy and vibrancy
- Geographic detail levels
- Label placement and readability
- Overall visual composition
- Scale and proportional representation
During the preview process, pay close attention to how different adjustments impact the emotional resonance of your map. Small tweaks in color palette or zoom level can dramatically transform the visual storytelling of your personalized artwork.
The magic of a custom map print lies in its ability to capture not just a location, but a memory.
Don’t hesitate to experiment with multiple variations. Zoom in and out, toggle different layer options, and compare color schemes to find the representation that most authentically reflects your vision.
Pro Tip: Save multiple preview iterations as screenshots so you can compare designs side by side and make a truly informed final selection.
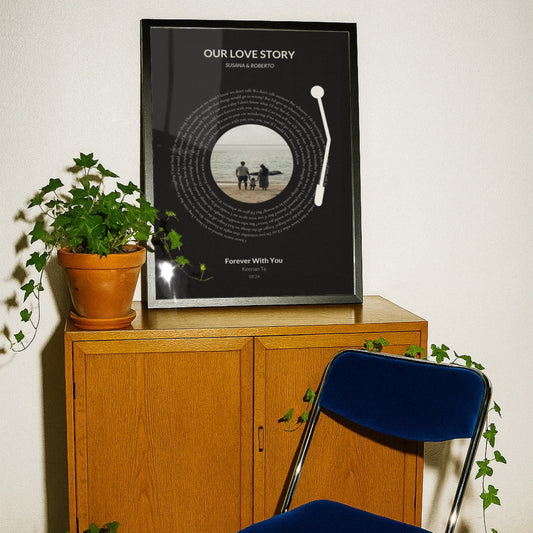
Step 4: Add Personal Information and Special Dates
Transforming your map print from a generic geographical representation to a deeply meaningful piece of art happens through strategic personalization. This step allows you to weave your unique story into the visual design by incorporating personal details that make the artwork truly yours.
Using map personalization techniques, you can seamlessly integrate special information that elevates your map print from a simple decorative item to a cherished memory keeper. These personal touches transform your artwork into a narrative that speaks directly to your most significant life moments.
Here are the key personal elements you can add:
- Names of significant people
- Special dates like anniversaries
- Coordinates of meaningful locations
- Short personal messages or quotes
- Geographical milestones
Consider the emotional impact of each detail you choose to include. Placement matters as much as content. You want these personal elements to complement the map’s design without overwhelming the geographical representation.
A truly personalized map print is a storyteller—silent yet profound in its ability to capture moments that matter.
Think creatively about how you want to showcase your personal information. Experiment with font styles, text placement, and color variations to ensure the added details feel like an integral part of the design.
Pro Tip: Select fonts that match the overall aesthetic of your map print, ensuring that personal text feels like a natural extension of the artwork.
Step 5: Confirm Order and Review Print Quality
You’re at the final stage of creating your personalized map print—a moment that transforms your digital design into a tangible piece of art. This critical step ensures that every detail you’ve carefully crafted translates perfectly to the final printed product.
Utilizing quality assurance processes, you’ll meticulously review every aspect of your upcoming print. This isn’t just about checking boxes—it’s about preserving the emotional essence of the map that represents your special location and memories.
Here are the key elements to review before finalizing your order:
- Color accuracy and vibrancy
- Paper and print material quality
- Text clarity and placement
- Overall design composition
- Personal detail precision
Pay close attention to digital proofs, comparing them carefully against your original vision. Look for subtle details like font readability, color consistency, and personal text placement.
The following table summarizes the key quality checks before finalizing your custom map print:
| Quality Check | Purpose | Possible Issues Detected |
|---|---|---|
| Color Proof Review | Ensure print matches design | Dull or incorrect colors |
| Text Placement Check | Maintain clarity and balance | Overlapping or misaligned text |
| Material Inspection | Guarantee durability | Low-grade paper or finishes |
A perfect print is a harmony of technical precision and personal storytelling.
Don’t rush through this final review. Take your time to ensure every element reflects the memory and meaning behind your custom map print. If something doesn’t look quite right, most platforms offer easy adjustment options before final production.
Pro Tip: Request a color calibration proof if possible, which provides the most accurate representation of how your final print will look.
Turn Your Custom Map Print Vision into Stunning Wall Art Today
Transforming precise location details and personal milestones into a meaningful wall decor piece can be challenging. This article revealed how crucial it is to gather accurate geographic information, select the perfect style, personalize with special dates, and review print quality carefully. If you want a beautiful, personalized map print that tells your unique story with attention to detail and emotional impact you need a seamless process that supports each of these steps.
At Wallfully.com we specialize in helping you create one-of-a-kind map posters through an easy guided customization experience. Our collections like Personalized Wall Art – Custom Posters & Prints for any Occasion and Star, Moon & Zodiac Maps – Custom Map Poster Collection offer professionally designed templates that you can personalize with names dates coordinates and heartfelt messages. 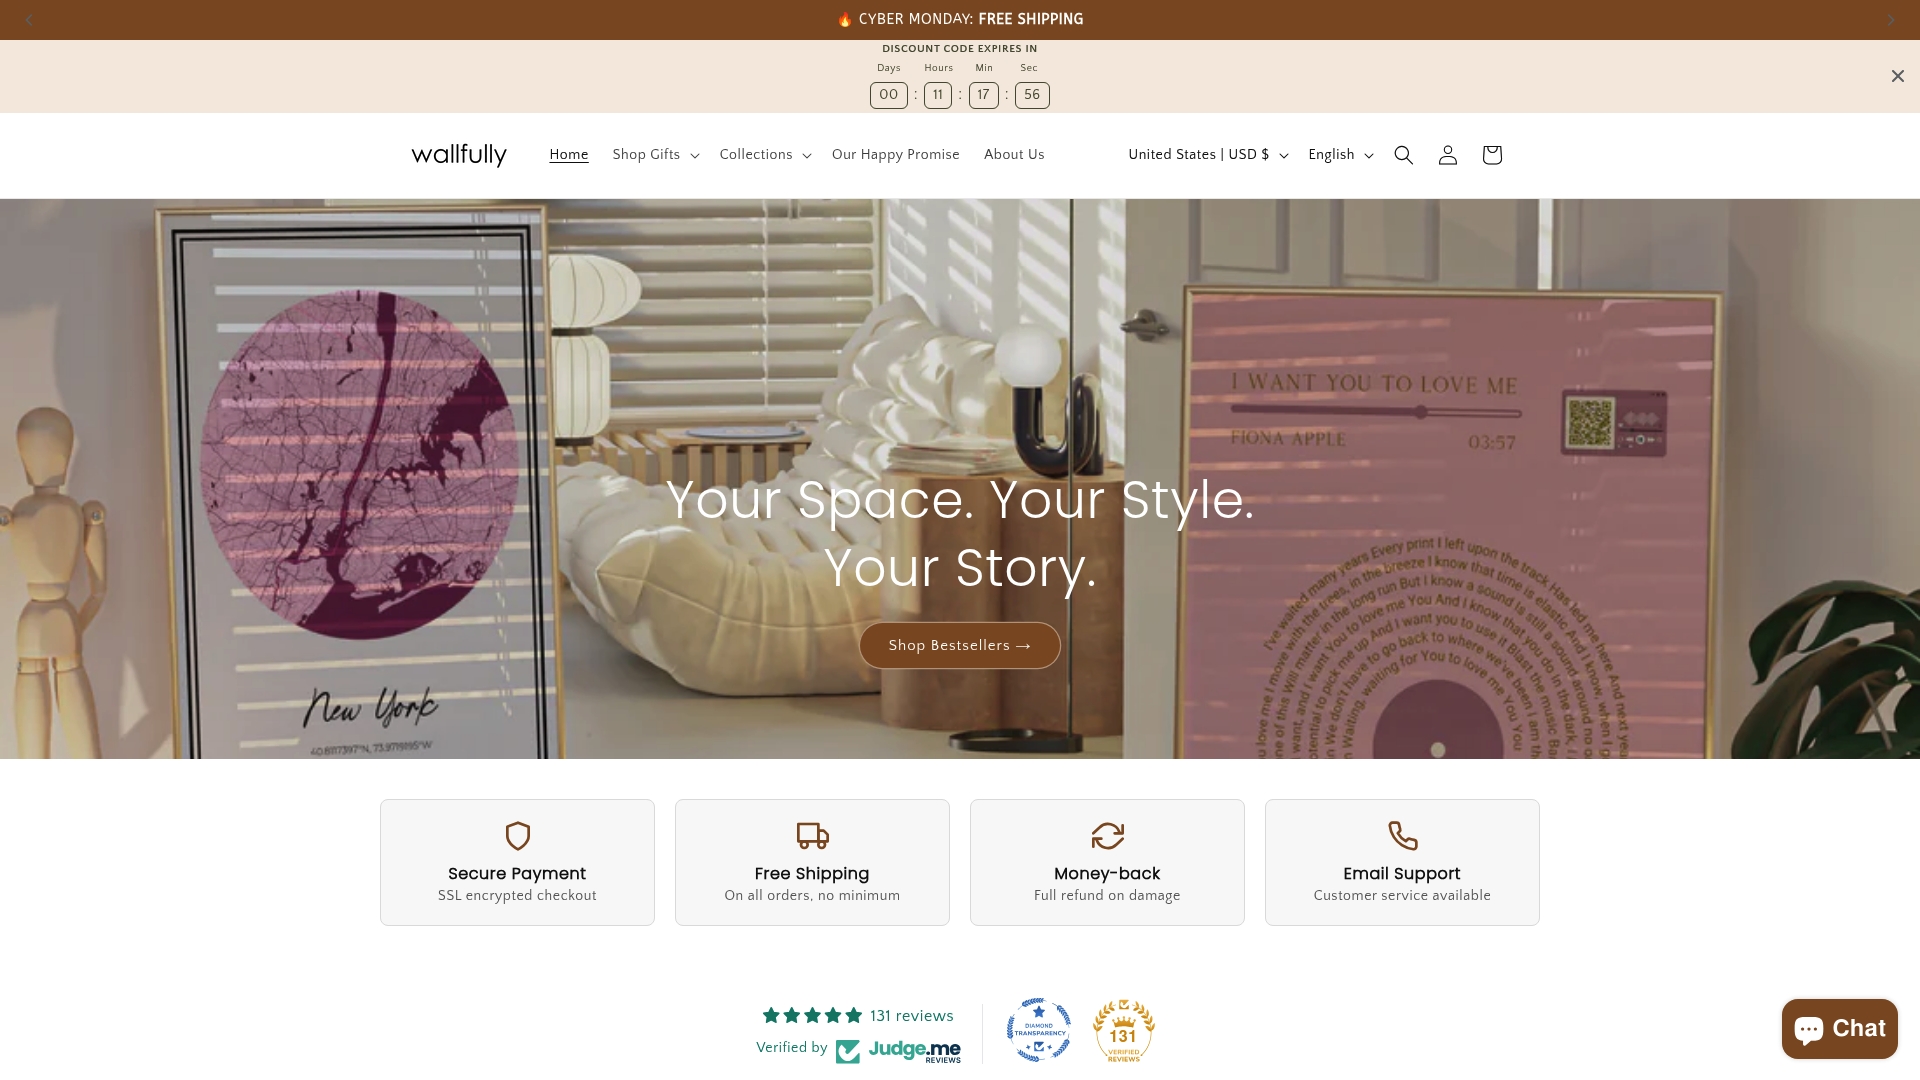
Ready to capture your special location and memories in a beautiful custom map print with high-quality materials and eco-friendly methods Visit our website now to explore options customize your design preview your creation and order with confidence through secure checkout Enjoy free shipping on all orders and a satisfaction guarantee that makes your purchase risk free Start telling your story on your walls today at Wallfully.com.
Frequently Asked Questions
How do I gather location details for my custom map print?
To gather location details for your custom map print, start by identifying the significant location you want to depict. Collect precise coordinates (latitude and longitude), city and state names, neighborhood details, and postal codes to ensure an accurate representation of the site.
What style options can I choose for my personalized map print?
You can select from various styles for your personalized map print, including vintage, modern, and minimalist designs. Experiment with different color palettes and geographical layers to find the combination that best represents your memories and aesthetic preferences.
How can I preview and adjust my custom map print before ordering?
Preview your custom map print by using digital tools that allow real-time adjustments of color, detail, and layout. Make small tweaks during the preview process to ensure the final product resonates emotionally and visually with your chosen location and story.
What personal information should I add to my custom map print?
You can enhance your custom map print by adding names of significant people, important dates like anniversaries, and personal messages or quotes. Carefully position these elements to complement the design, ensuring they enhance rather than overwhelm the geographical representation.
How do I confirm the quality of my custom map print before ordering?
Before finalizing your order, review key aspects like color accuracy, text clarity, and material quality. Conduct a thorough inspection of the digital proof to check for any visual discrepancies or areas needing adjustment to ensure a polished final product.
Recommended
- Custom Map Art Workflow for Unique Wall Decor
- What Is Custom Map Print and Why It Matters
- Defining Map Art Prints: Personalizing Your Space
- Why Use Map Wall Art for Meaningful Decor
- Role of Prints in Apparel—Boosting Style and Sales - fabric fabric
- Step by Step Custom Shirt Design for Local Pride – JuustAShirt