
Zodiac Sign Print Workflow: Your 2026 Creation Guide
WallfullyTL;DR:
- A zodiac sign print workflow transforms astrological concepts into high-quality wall art through systematic steps. It emphasizes technical standards, human editing, and modular personalization to ensure consistent, professional results. Proper planning and quality control prevent errors and customer dissatisfaction, supporting a successful print business.
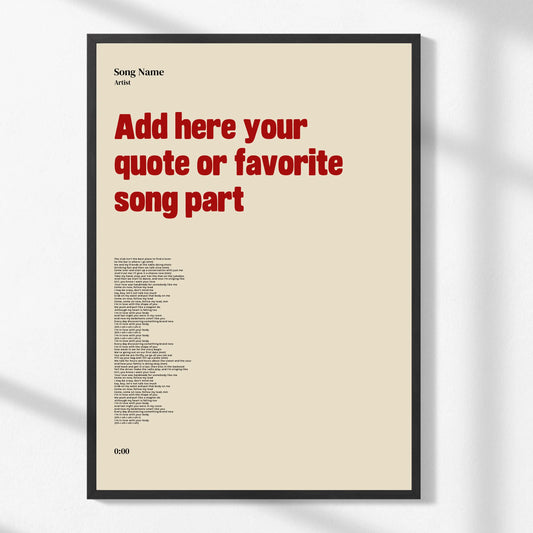
A zodiac sign print workflow is a step-by-step process that transforms astrological concepts into high-quality, personalized wall art ready for production. Getting this process right means the difference between a print that looks stunning on a wall and one that comes back as a return. The core steps cover design software setup, file preparation to the 300 DPI standard, artwork editing, personalization, and quality control. Wallfully has built its entire platform around making this process accessible, but understanding the workflow yourself gives you full creative control. Whether you are creating a gift or building a small art business, this guide walks you through every stage.
What does a zodiac sign print workflow actually involve?
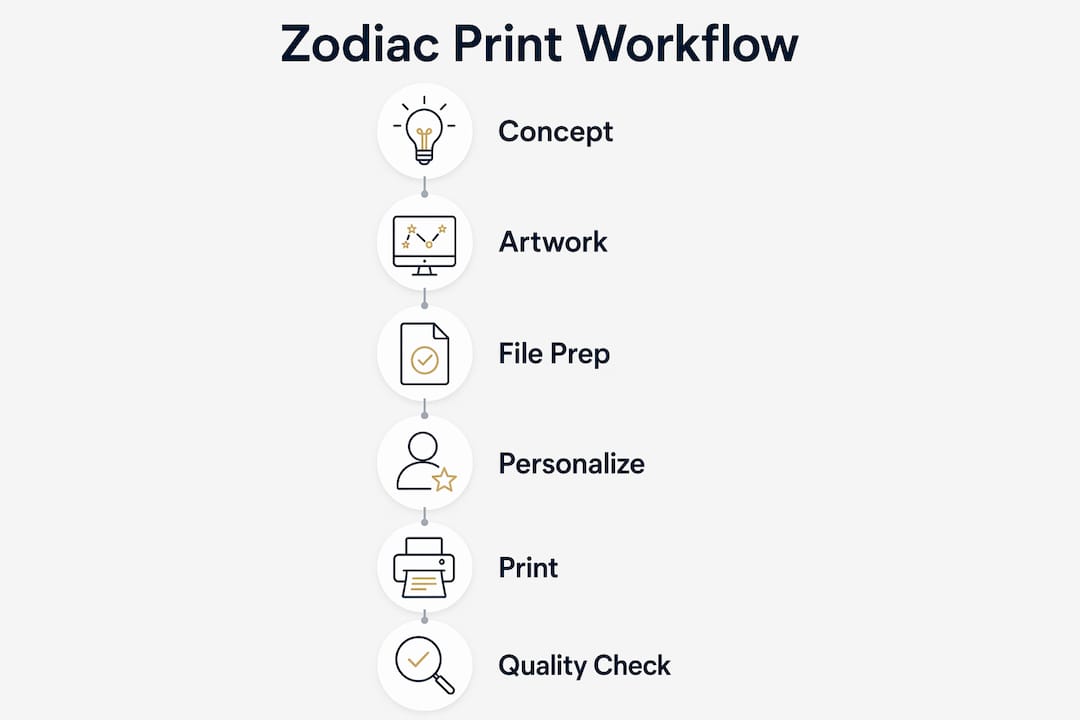
A zodiac sign print workflow covers six distinct stages: concept research, artwork creation, file preparation, personalization, proofing, and production. Most people skip at least two of these stages and pay for it later with color shifts, cropped artwork, or rejected files. The workflow is also called a “print production pipeline” in professional print circles. Both terms describe the same process, so you will see them used interchangeably here.
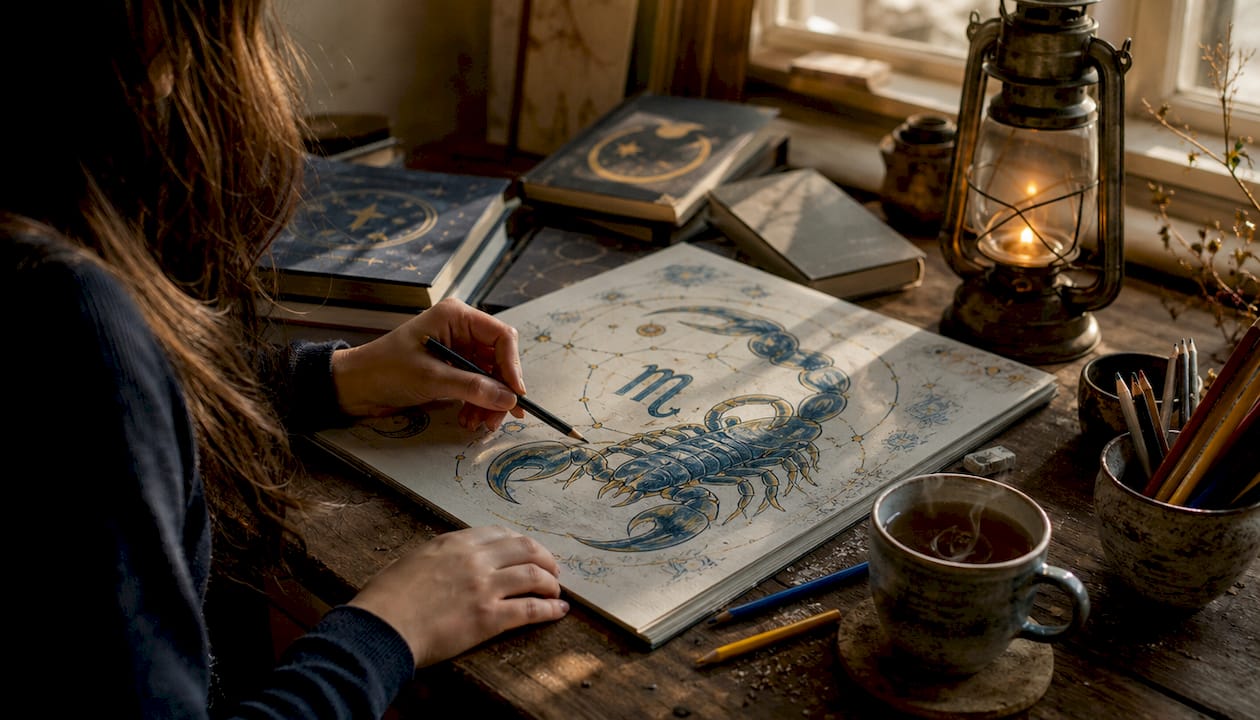
The most critical insight is this: a great zodiac design means nothing if the file is not print-ready. AI-generated images are not inherently print-ready, and quality control steps like checking edges, aspect ratios, and color profiles are required before any file goes to a printer. Skipping these steps causes returns and customer dissatisfaction. The workflow exists to prevent exactly that.
What tools and materials do you need for zodiac sign prints?
The right tools define the quality ceiling of your output. For design software, Adobe Photoshop handles raster editing and color grading. Adobe Illustrator or Affinity Designer work for vector-based zodiac symbols, which scale without losing sharpness. AI image generators like Midjourney or Adobe Firefly can produce zodiac base imagery quickly, but they always require manual editing before print.
File format and resolution standards
Print files must meet specific technical standards to avoid rejection or poor output. The table below summarizes the key requirements.
| Requirement | Standard |
|---|---|
| Minimum resolution | 300 DPI at final print size |
| Pixels for 16x20 inch print | 4,800x6,000 pixels |
| Color profile for print | CMYK |
| Color profile for screen preview | sRGB |
| Preferred file formats | JPG (no transparency), PNG (with transparency) |
| Bleed margin | 0.125 inches on all sides |
Export print files with 300 DPI minimum, proper bleed, and the correct color profile every time. A file saved in sRGB and sent to a CMYK printer will produce noticeably duller colors. That gap between screen and print is one of the most common complaints in zodiac art production.
Physical production considerations
Pigment inks need 4–12 hours to cure after printing. That curing time affects how quickly you can package and ship finished prints. If you use a print-on-demand service, the provider handles this, but you still need to account for it in your delivery timeline. For home printing, a wide-format inkjet printer with pigment inks produces the most accurate color on fine art paper.
Pro Tip: Order a physical proof of every new zodiac design before listing it for sale. Screen previews rarely match exact print colors, and a $5 proof prevents a wave of returns.
How to design and prepare zodiac sign artwork for printing
Strong zodiac print design starts with knowing your buyer before you open any software. A buyer-first approach prevents aimless generative art creation and inventory clutter. Ask yourself: is this print for a Scorpio who loves dark, moody aesthetics, or a Libra who wants something minimal and gold-toned? That answer shapes every design decision.
Step-by-step design preparation
- Research zodiac styles. Browse platforms like Pinterest and Etsy to identify which visual styles perform well for each sign. Note color palettes, typography choices, and symbol treatments.
- Generate or source base artwork. Use an AI generator or licensed vector library to create your zodiac symbol or constellation graphic. Keep your prompt logs and software version records for legal protection.
- Apply human edits. Manual typography and color grading must be applied to any AI-generated base image. This protects your authorship claim and improves the final quality.
- Set up your canvas correctly. Open a new document at 300 DPI with the correct pixel dimensions and a CMYK color profile. Add bleed guides before placing any artwork.
- Place and refine artwork. Position your zodiac graphic, add personalization text zones, and adjust contrast and saturation for print output, not screen viewing.
- Run a print-readiness checklist. Check resolution, bleed, color profile, and scan for artifacts or soft edges before exporting.
Pro Tip: Documenting your AI prompt logs, software versions, and any commercial licenses you hold is standard practice for legally protecting printed AI art products. Keep a simple folder with screenshots for each design.
The human editing step is where most hobbyists underinvest. An AI-generated Scorpio constellation looks generic until you add custom typography, adjust the color temperature toward deep burgundy, and add a name or birth date in a complementary font. That combination is what makes a custom zodiac art workflow produce something worth hanging on a wall.
What are the best practices for print production and personalization?
Personalization is the highest-value feature in zodiac art, and it is also the most likely to break your workflow if you do not systematize it. Personalization should be modular, with specific input fields and a strict revision policy to protect your margins and reduce turnaround times. Offering “anything goes” customization sounds generous but creates chaos.
Building a modular personalization system
- Define fixed input fields. Limit personalization to specific fields: name, birth date, and a short message. Anything outside those fields is a custom order with a separate price.
- Set a revision cap. One round of revisions is standard. Unlimited revisions destroy profitability. State this clearly in your listing.
- Use template layers. Build your zodiac designs with locked background layers and editable text layers. This lets you swap in customer details in under two minutes per order.
- Batch your production. Group all orders for the same zodiac sign and process them together. Switching between Aries and Pisces templates repeatedly wastes time.
- Optimize your listing metadata. Personalized zodiac prints perform well on platforms like Etsy, where keyword research directly improves discoverability among its 90+ million active buyers.
Pro Tip: Automated listing tools and batch mockup generators save hours when producing numerous zodiac print variants. Set up a mockup template once and reuse it for every sign in your catalog.
Limiting free personalization edits controls costs and gives customers clearer expectations. A buyer who knows they get one revision round is less likely to send five rounds of “just one more change” messages. Clear policies protect both your time and your profit margin.
What are common challenges when producing zodiac sign prints?
Color shift is the most common problem in astrology print production. A deep indigo that looks perfect on screen often prints as a flat navy. The fix is to work in CMYK from the start and soft-proof your file using your printer’s ICC profile before exporting.
Ordering a physical proof before going live is not optional. Screen previews rarely represent exact print colors or quality. A proof costs a few dollars and prevents a pattern of returns that damages your seller reputation and eats into margins.
Here are the most frequent issues and how to handle them:
- Soft or blurry edges. This usually means the source image was upscaled without proper resampling. Use Photoshop’s Preserve Details 2.0 upscaling or a dedicated AI upscaler to sharpen before export.
- Cropping errors. Artwork placed too close to the edge gets cut during trimming. Keep all critical design elements at least 0.25 inches inside the bleed line.
- AI artifact patterns. AI-generated images sometimes contain repeating texture glitches or distorted fingers on figures. Zoom to 100% and inspect the full canvas before approving any file.
- Copyright and disclosure gaps. An end-to-end AI print workflow can produce print-ready designs quickly, but legal disclosures cannot be skipped. Platforms like Etsy require AI art disclosure, and failing to include it risks listing removal.
- Personalization fatigue. When every order feels like a new design project, you burn out fast. A clear workflow template and strict input fields prevent this.
Managing color shifts between screen and print gets easier once you calibrate your monitor and always preview files in CMYK. That single habit eliminates the most common source of customer complaints in zodiac print production.
Key takeaways
A successful zodiac sign print workflow requires combining technical file standards, human creative input, and a modular personalization system to produce consistent, professional results.
| Point | Details |
|---|---|
| Resolution is non-negotiable | Always work at 300 DPI minimum; use 4,800x6,000 pixels for a 16x20 inch print. |
| Human edits protect quality and authorship | Apply manual typography and color grading to every AI-generated base image before production. |
| Modular personalization saves time | Define fixed input fields and a one-revision policy to protect margins and reduce turnaround. |
| Physical proofs prevent returns | Order a proof of every new design before listing, since screen previews do not match print output. |
| Legal disclosures are required | Disclose AI-generated content on all relevant platforms and document your prompt logs and licenses. |
What I have learned from building zodiac print workflows
The biggest mistake I see is treating zodiac prints as a volume game from day one. People generate 50 AI designs, upload them all, and wonder why nothing sells. The prints that actually move are the ones built around a specific buyer. A Capricorn print designed for someone who wants a minimalist, black-and-white constellation with their name in a clean serif font will always outperform a generic “zodiac bundle” with no clear audience.
Quality control is where most hobbyists lose money, not design. I have seen beautiful artwork ruined by a single missed artifact or a color profile mismatch. The physical proof step feels like an extra cost until you experience your first wave of returns. After that, it becomes the first thing you do.
The personalization upsell is genuinely profitable when it is systematized. A base zodiac print at one price point and a personalized version with a name and birth date at a higher price point is a simple, clean offer. The key is building the template once and reusing it. If you are rebuilding the design from scratch for every personalized order, the workflow is broken.
Zodiac sign prints reward consistency more than creativity alone. The artists who build repeatable, documented workflows are the ones still producing quality work a year later.
— Luanda
How Wallfully fits into your zodiac print creation process
Wallfully is built for exactly the kind of personalized zodiac art this workflow produces.
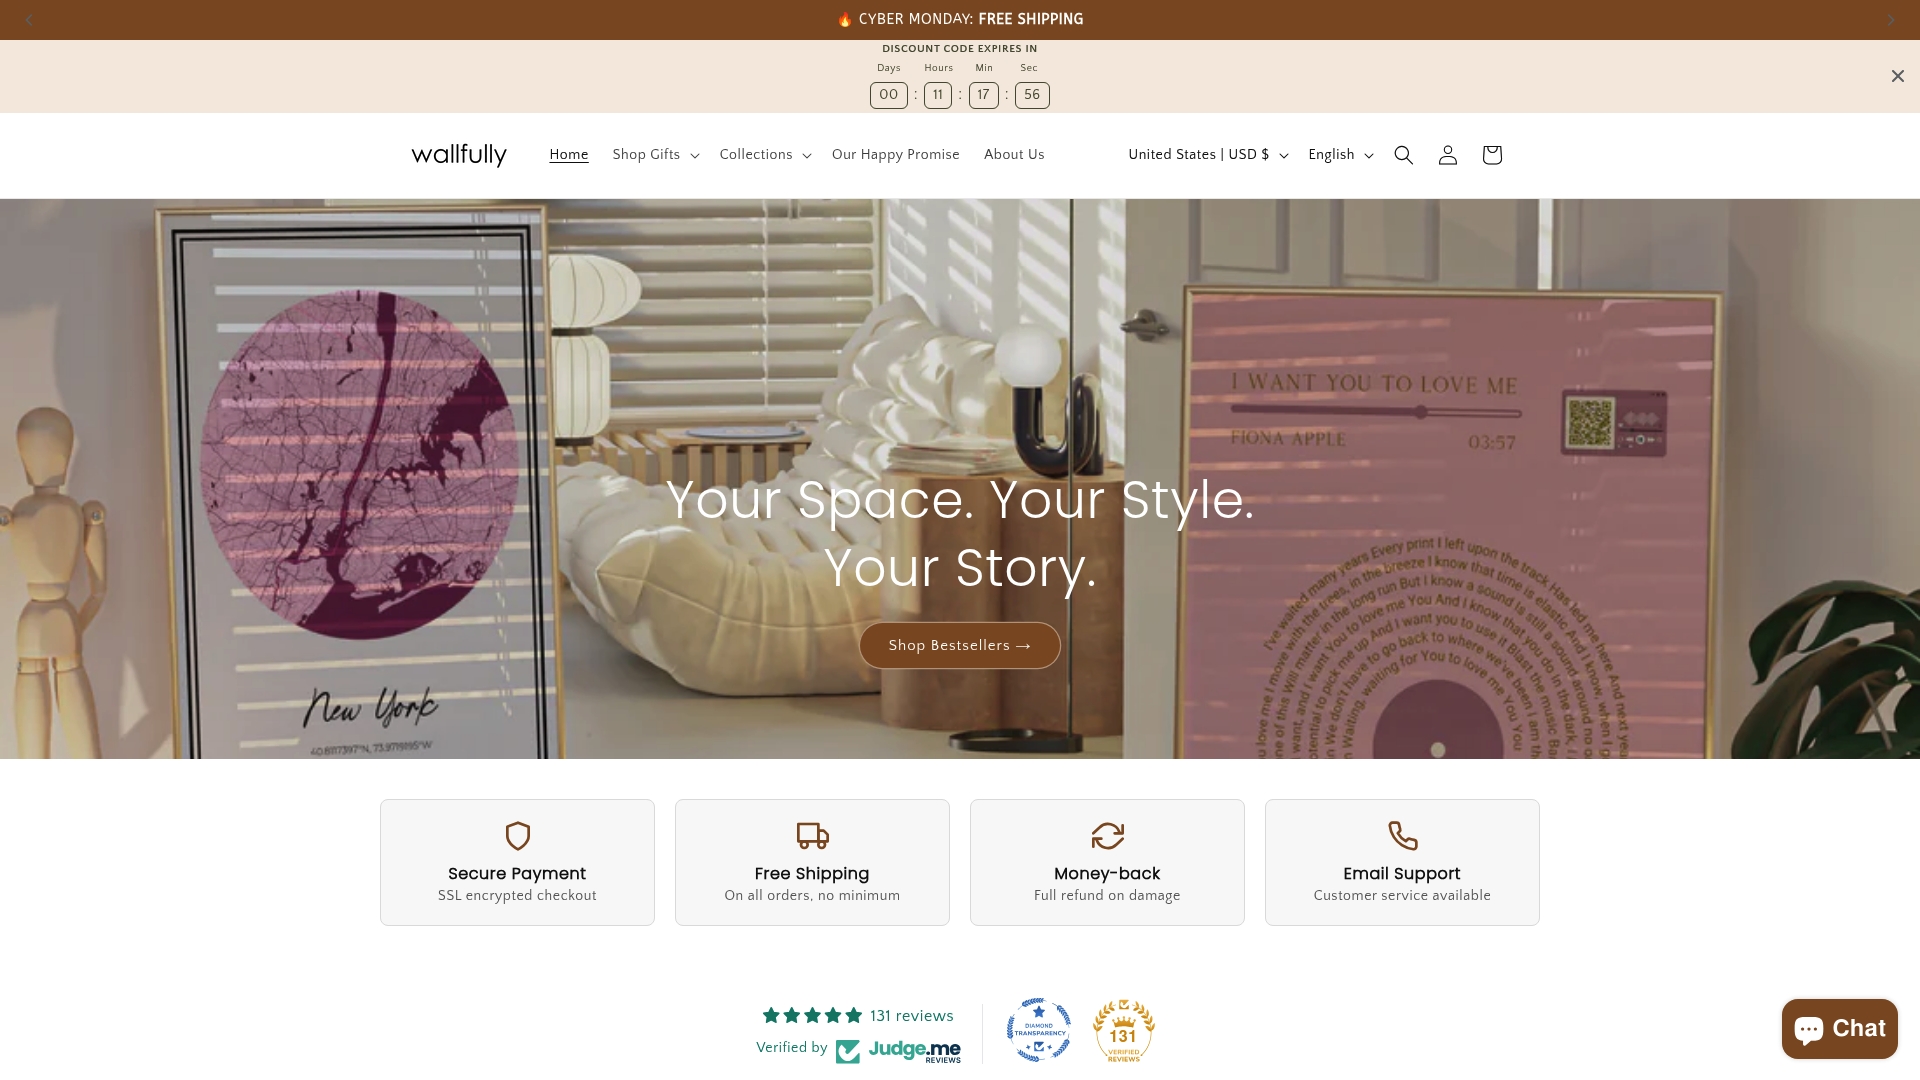
Wallfully’s platform lets you create custom zodiac wall art with personal details like names, birth dates, and locations built directly into the design. Every order ships on eco-friendly materials with free shipping and a satisfaction guarantee. The guided customization process includes live previews, so you see the final result before committing. For anyone who wants a professional zodiac print without managing the full production pipeline themselves, Wallfully handles the technical side so you can focus on the personal details that make the piece meaningful. Visit Wallfully to start building your personalized zodiac print today.
FAQ
What resolution do zodiac prints need for professional quality?
Professional zodiac prints require a minimum of 300 DPI at the final print size. For a 16x20 inch print, that means a canvas of at least 4,800x6,000 pixels.
Can I use AI-generated images for zodiac sign prints?
Yes, but AI-generated images are not print-ready on their own. You must apply manual edits, check for artifacts, and verify the color profile and resolution before sending any file to a printer.
What file format should I use for zodiac print files?
Use JPG for files without transparency and PNG for files that require transparent backgrounds. Both formats should be exported at 300 DPI with the correct CMYK color profile and bleed margins included.
How do I handle personalization without slowing down my workflow?
Build modular templates with locked background layers and editable text fields. Limit personalization to specific inputs like name and birth date, and cap revisions at one round per order to protect your time and margins.
Do I need to disclose AI-generated content in zodiac art listings?
Platforms like Etsy require disclosure when artwork is AI-generated. Failing to disclose risks listing removal. Document your prompt logs, software versions, and any commercial licenses as standard practice for every design.