
How to Create a Milestone Print: Step-by-Step Guide
WallfullyTL;DR:
- Creating a milestone print involves five clear steps: choosing a layout, customizing content, setting print specifications, exporting the file correctly, and printing or ordering. Ensuring the file is at 300 DPI, uses sRGB color space, and includes proper bleed and safety margins prevents reprints and guarantees quality. Wallfully simplifies the process by offering live previews, calibrated production, eco-friendly materials, and free shipping for gift-ready milestone prints.
You can create a print-ready milestone print in five steps: pick a layout, customize your text and visuals, set your print specs, export the correct file, and choose where to print. That’s the whole workflow. Everything below unpacks each step so that your first attempt produces something gift-worthy.
The 5-step path:
- Pick a layout — choose your format (poster, card, collage) and canvas size before adding anything else
- Customize — add your headline, date, photo, and short message; set fonts and colors
- Set print specs — 300 DPI, sRGB color space, correct pixel dimensions, bleed if needed
- Export — PDF/X for text-heavy designs, high-quality JPEG or PNG for photo-based ones
- Print or order — home inkjet for quick single copies; a pro lab for gifts and framed pieces
For a gift you’re framing and handing to someone, pro printing is worth the extra step. For a single copy you’re keeping yourself, a good home inkjet on quality paper works fine.
Pro Tip: Decide your final print size before you open any design tool. Every other decision — photo resolution, font size, bleed — depends on the canvas dimensions you set first.
Table of Contents
- How do you choose a template or layout for your milestone print?
- What’s the fastest way to customize text, fonts, colors, and photos?
- What print specs do you need for a clean, print-ready file?
- Where should you print: home, local shop, or online pro lab?
- Occasion-based milestone ideas and sample wording
- Why does professional printing make a difference for milestone gifts?
- How to proofread and review your file before exporting
- How to handle color discrepancy, alignment, and paper jams
- How to set up your home printer for the best print quality
- How to order and specify print quantities from a pro service
- Key Takeaways
- The detail most people skip
- Wallfully makes milestone prints easy to order and gift-ready
How do you choose a template or layout for your milestone print?
The format you pick determines everything downstream, so get it right before you touch a single font.
The most common formats are the single-photo poster (great for newborns and graduations), the multi-photo collage (ideal for “year in review” or monthly baby cards), and the standard card sizes (4x6 or 5x7 for mailing or framing). For wall display, poster sizes like 8x10, 11x14, and 16x20 are the most frame-friendly.
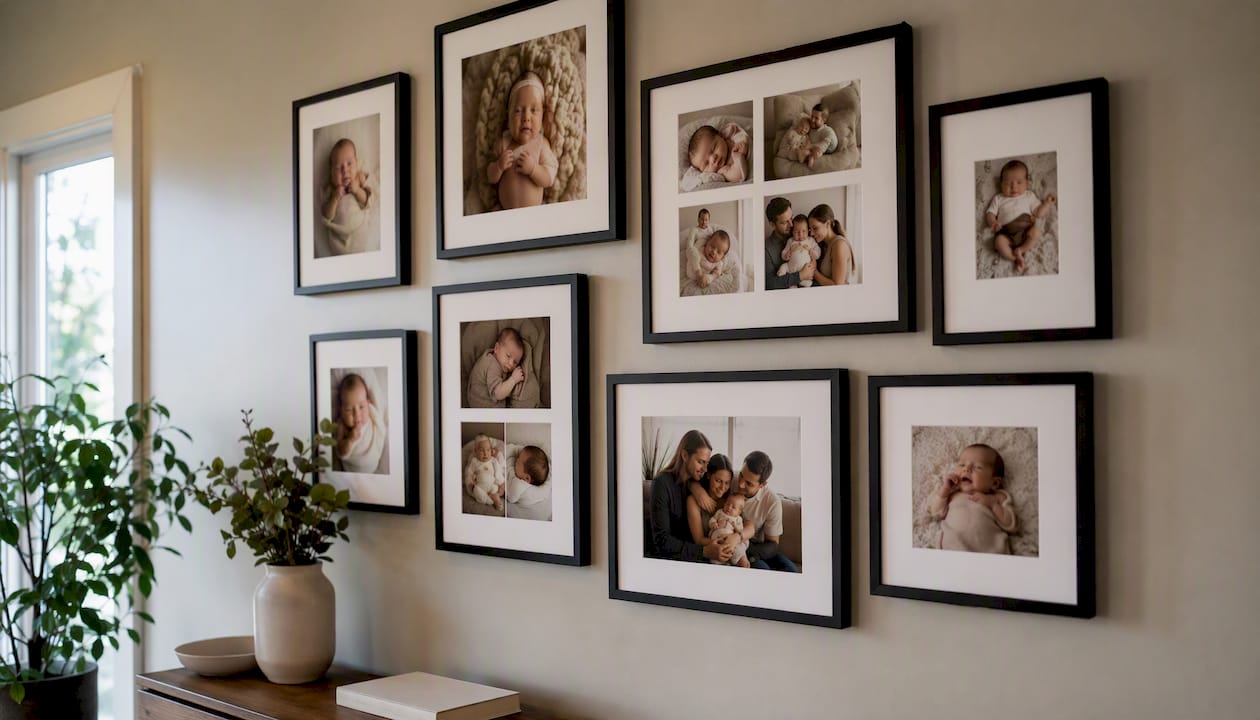
Portrait vs. landscape vs. square comes down to your photo and your wall space. Portrait suits vertical shots and most milestone occasions. Landscape works for group photos or panoramic scenes. Square is popular for Instagram-style baby milestone cards and social sharing.
| Format | Best occasion | Typical size | Notes |
|---|---|---|---|
| Single-photo portrait poster | Newborn, graduation, anniversary | 8x10, 11x14 | Matches standard frames |
| Multi-photo collage | Monthly baby, year in review | 12x12, 16x20 | Square works well here |
| Card (landscape) | Birthday, school, marathon | 4x6, 5x7 | Easy to mail or display |
| Framed poster | Wedding, marathon, achievement | 16x20 | Allow mat safe margin |
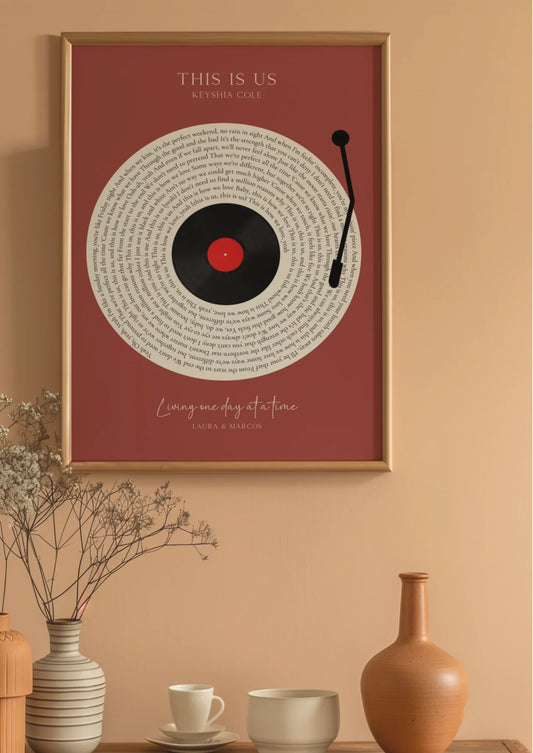
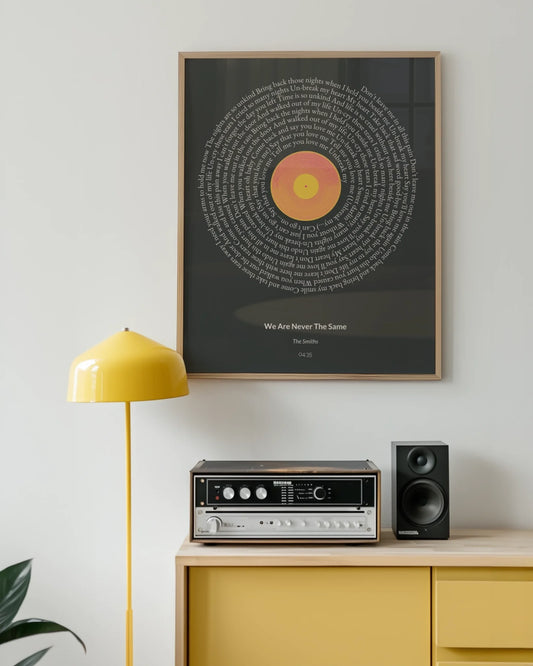
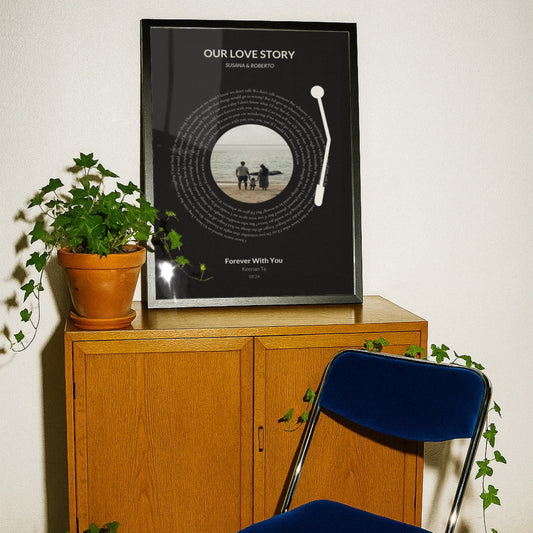
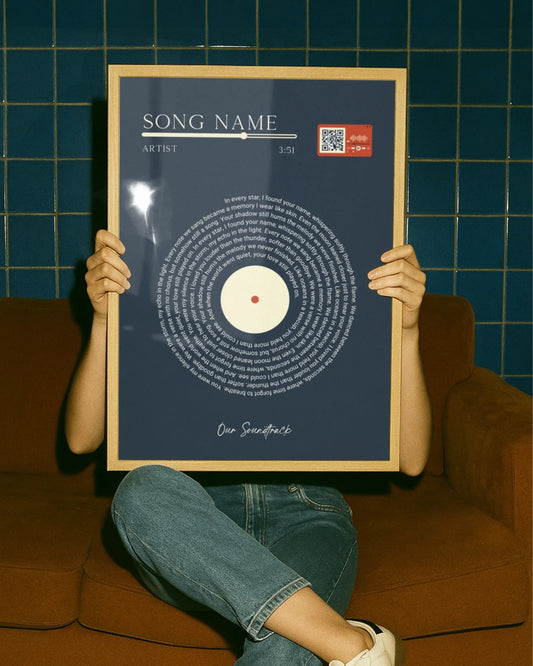
Online builders and design apps like Canva offer free milestone templates that let you swap photos and text without building from scratch. Wallfully’s personalized print tool takes this further by walking you through the customization with a live preview, so you see the finished piece before you order.
Pro Tip: Lock your aspect ratio before importing photos. If you add a square photo to a portrait canvas, you’ll lose the top and bottom — or worse, stretch it. Set the canvas first, then crop your photo to fit.
What’s the fastest way to customize text, fonts, colors, and photos?
Professional-looking milestone prints follow a simple three-level text hierarchy. The headline carries the name or event (“Emma Rose,” “Class of 2026,” “26.2”). The subhead holds the date, age, or location. Supporting copy is a short message, a birth stat, or a finish time. Keep each level visually distinct.
For fonts, pair one display typeface for the headline with one clean sans-serif or readable serif for the details. Scale matters: a headline at large size, subhead at medium size, and body copy at small size gives clear separation without crowding.
Color choices are simpler than most people think. Pull a dominant color from your photo using an eyedropper tool, then build a two- or three-color palette around it. High contrast between text and background is non-negotiable — light text on a dark background or dark text on a light one. Avoid more than three colors or the design starts to look busy.
For photos, crop so the subject’s eyes and face sit in the upper third of the frame, well away from the edges. Keep faces and key text inside a safe zone away from any edge — more on why that matters in the print specs section.
Sample wording by occasion:
- Newborn: “Emma Rose / Born March 4, 2026 / 7 lbs 4 oz · 20 inches · 3:42 AM”
- Monthly baby card: “Six Months Old / Half a year of you”
- First day of school: “First Grade / Age 6 / September 2026”
- Birthday: “30 / Thirty years of being the best”
- Graduation: “Class of 2026 / [Name] / [School]”
- Marathon: “26.2 / [Name] / [Race] · [Finish time]”
- Anniversary: “[Names] / [Years] years / [Date and place]”
The best milestone prints say one thing clearly. Pick the single most important detail — a name, a number, a date — and make it the visual anchor. Everything else supports it.
For more ideas on wording and layout by occasion, Wallfully’s guide to creative milestone print ideas covers a wide range of occasions with finished examples.
What print specs do you need for a clean, print-ready file?
Get these four things right and your file will print correctly the first time. Miss any one of them and you’re reprinting.
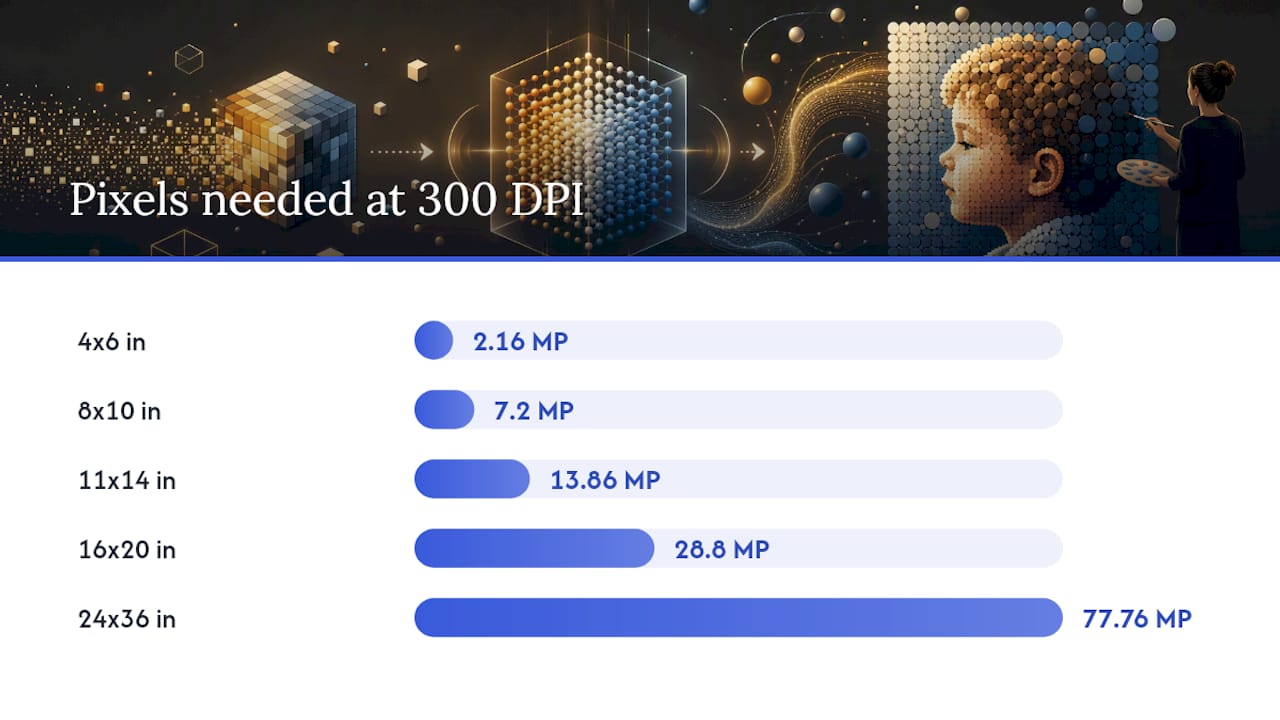
- Resolution: 300 DPI at final print size. A file that looks sharp on screen at 72 DPI will print blurry. For a 16x20 print, that means your file needs to be 4,800 x 6,000 pixels; a 24x36 requires 7,200 x 10,800 pixels.
- Color space: sRGB. Consumer labs and most online print services expect sRGB. Submitting an Adobe RGB or CMYK file often causes a color shift — colors come out duller or with a color cast.
- Bleed: add 0.125 inches (3 mm) on each side if your design runs to the edge. This extra margin gets trimmed off, but it prevents a white border appearing if the cut is slightly off.
- Safe margin: keep all critical content — text, faces, logos — at least 0.1–0.2 inches from the trim edge. Mounts and mats can hide more than you expect.
| Print size | Required pixels at 300 DPI | Bleed (each side) | Safe margin |
|---|---|---|---|
| 4x6 in | — | 0.125 in | 0.1 in |
| 8x10 in | — | 0.125 in | 0.1 in |
| 11x14 in | — | 0.125 in | 0.1–0.2 inches |
| 16x20 in | 4,800 x 6,000 px | 0.125 in | 0.2 in |
For export format: use PDF/X when your design has vector elements or text layers; use JPEG at 95–100% quality or PNG for photo-based rasters. Avoid WebP and HEIC — most pro labs don’t accept them.
Pro Tip: Before uploading, open your exported file at 100% zoom and check that no text sits within 0.2 inches of any edge. What looks fine at 25% zoom often clips at the trim line.
Where should you print: home, local shop, or online pro lab?
| Route | Best for | Finish options | Typical turnaround |
|---|---|---|---|
| Home inkjet | Single copies, quick proofs | Matte, photo gloss | Immediate |
| Local print shop | Fast turnaround, hands-on proofing | Matte, satin, gloss, cardstock | Same day to 2 days |
| Online pro lab | Gifts, framed pieces, consistent color | Matte, satin, lustre, cotton rag | 3–7 days |
For paper, match the finish to the use case: satin or lustre for photography-based milestone prints (they handle skin tones well and reduce glare); matte for text-heavy designs or anything displayed under direct lighting; cotton rag for a fine-art feel on graduation or anniversary pieces. Cardstock is the right call for cards you’re mailing or handing out.
For the matte vs. glossy decision specifically, matte reduces fingerprints and glare in bright rooms; glossy makes colors pop in controlled lighting.
A few framing notes: if you’re adding a mat, it will cover 0.25–0.375 inches on each side of the print, so your safe margin needs to account for that. Canvas wraps require extra bleed on all sides so the image wraps around the stretcher bars without cutting into the design.
- Always order a single test print before committing to multiple copies — color on screen rarely matches color on paper exactly
- Confirm the lab’s accepted color profile (sRGB is standard) before uploading
- Verify bleed and trim settings in the lab’s upload tool before approving
Occasion-based milestone ideas and sample wording
Newborn and baby:
- Birth stats poster: name in large display type, birth date, time, weight, and length below
- Monthly milestone card: bold number (“3 Months”), one short line, and a single photo
- First year collage: 12 photos in a grid, one per month, with the baby’s name as the headline
For a finished example of what a newborn stats poster looks like as an orderable product, Wallfully’s personalized baby stats poster shows the layout clearly.
School and achievements:
- First day of school: grade, age, and one “when I grow up” quote from the child
- Graduation: school name, year, and a short personal message in the subhead
Sports and personal records:
- Marathon finish: race name, distance, finish time, and date in a clean typographic layout. Wallfully’s marathon poster guide shows how to frame a race result as wall art.
- Personal record: lift, distance, or time as the headline number
Tone adapts the whole design. A sentimental newborn print calls for a soft script headline and a warm neutral palette. A marathon print works better with bold sans-serif type and high contrast. A graduation piece can go formal (serif, navy, gold) or playful depending on the recipient.
Why does professional printing make a difference for milestone gifts?
The gap between a home-printed milestone print and a professionally produced one shows up most in color accuracy and longevity. A pro lab uses calibrated color workflows, archival inks, and papers that hold their tone for decades.
Choosing the right substrate is the quiet decision that everything else rides on — ink behavior, tonal depth, framing compatibility, and conservation life. Get it wrong and no amount of post-production rescues the piece.
Wallfully’s production process covers the details that trip up DIY printing: color calibration, eco-friendly materials, optional framing, and a satisfaction guarantee on every order. Free shipping on all orders removes the usual hesitation about ordering a single print. The live design preview means you see the finished piece before it goes to production — no surprises when the package arrives.
For gift-giving specifically, a milestone print that lasts is worth the extra step of ordering from a pro service rather than printing at home.
How to proofread and review your file before exporting
Read every word at 100% zoom — spell-check won’t catch a name spelled correctly but wrong (e.g., “Sara” vs. “Sarah”). Check dates against a calendar. Verify numbers: birth weight, finish time, age.
Then check the visual layer: confirm no text sits within 0.1–0.2 inches of any edge, all photos are sharp at full size, and colors look correct on a calibrated monitor. If you’re unsure about color, print a small test on your home printer before sending to a lab.
A quick pre-export checklist:
- All text proofread, names and dates verified
- No element within 0.1–0.2 inches of the trim edge
- File is at 300 DPI at final print dimensions
- Color space is sRGB (embedded profile confirmed)
- Exported as PDF/X (text/vector) or high-quality JPEG/PNG (photo)
How to handle color discrepancy, alignment, and paper jams
Color discrepancy is almost always a color space mismatch. If your print looks duller or has a color cast, check that your file is sRGB, not Adobe RGB or CMYK. On a home printer, run a nozzle check and print a color calibration page before your final print.
Alignment issues on home printers usually come from loading paper incorrectly or using a paper weight the printer wasn’t set up for. Always load paper flush against the guides, and set the paper type in your printer driver to match what’s in the tray.
Paper jams with heavier cardstock happen when the paper path isn’t set for thick media. Use the straight-through paper path (rear feed on most inkjets) for cardstock over 80 lb. Feed one sheet at a time for heavy stock.
How to set up your home printer for the best print quality
Start in your printer driver settings, not in your design app. Set the paper type to match your actual paper (photo paper, matte, cardstock). Set print quality to “Best” or “High.” Turn off any automatic color correction — let your file’s embedded sRGB profile drive the color.
In your design app, when you send to print, choose “No color management” or “Printer manages colors” consistently — never both at once, or you’ll get a double color conversion that shifts everything.
Print a small test crop (a 4x6 section of your design) before printing the full size. It uses a fraction of the paper and catches color and sharpness issues before you waste a full sheet.
How to order and specify print quantities from a pro service
For a single gift print, order one copy and approve it before ordering more. Most pro labs, including print-on-demand services, offer single-copy orders with no minimum.
When specifying an order:
- State the exact finished size (e.g., 11x14 inches, not “large”)
- Confirm the paper or substrate by name (e.g., “satin photo paper,” not just “glossy”)
- Upload the file with bleed included and mark the trim line clearly
- Request a digital proof or physical sample before approving a run of more than five copies
- For framed orders, confirm whether the lab frames to the print size or to a standard mat opening
For runs of 10 or more (school events, team gifts, family reunions), ask the lab for a bulk pricing sheet and confirm turnaround time in writing before placing the order.
Key Takeaways
A print-ready milestone print requires 300 DPI at final size, sRGB color space, correct bleed, and a proofed export file — get those four right and the rest is straightforward.
| Point | Details |
|---|---|
| Follow the 5-step workflow | Pick layout, customize, set specs, export, then print or order for the fastest path to a finished print. |
| 300 DPI + sRGB is non-negotiable | A 16x20 print needs 4,800 x 6,000 pixels at 300 DPI; wrong color space causes color shifts at the lab. |
| Bleed and safe margin matter | Add 0.125 in bleed on each side; keep all text and faces at least 0.1–0.2 in from the trim edge. |
| Proof before any multi-copy run | Order one test print to verify color and paper before committing to five or more copies. |
| Wallfully handles the hard parts | Wallfully’s personalized print tool covers design preview, calibrated production, eco-friendly materials, and free shipping. |
The detail most people skip
The single most common mistake in DIY milestone printing isn’t low resolution or the wrong color space — it’s skipping the physical proof. People approve a design on screen, order five copies for a family event, and discover the color is off or a name is clipped by the mat. One test print costs a few dollars and saves the whole run.
For gifts specifically, paper choice deserves more thought than it usually gets. Satin paper on a newborn photo print looks noticeably more considered than standard photo gloss — the finish affects perceived value as much as the design does. Decide on paper at the design stage, not as an afterthought at checkout.
The 5-step workflow in this guide is genuinely the fastest path to a gift-ready milestone print. But “fast” doesn’t mean skipping the proof. Build that one extra step in and the whole process becomes repeatable.
Wallfully makes milestone prints easy to order and gift-ready
Designing a milestone print yourself is satisfying. But when the print is a gift — something going into a frame, into someone’s home, onto their wall for years — the production quality has to match the moment.
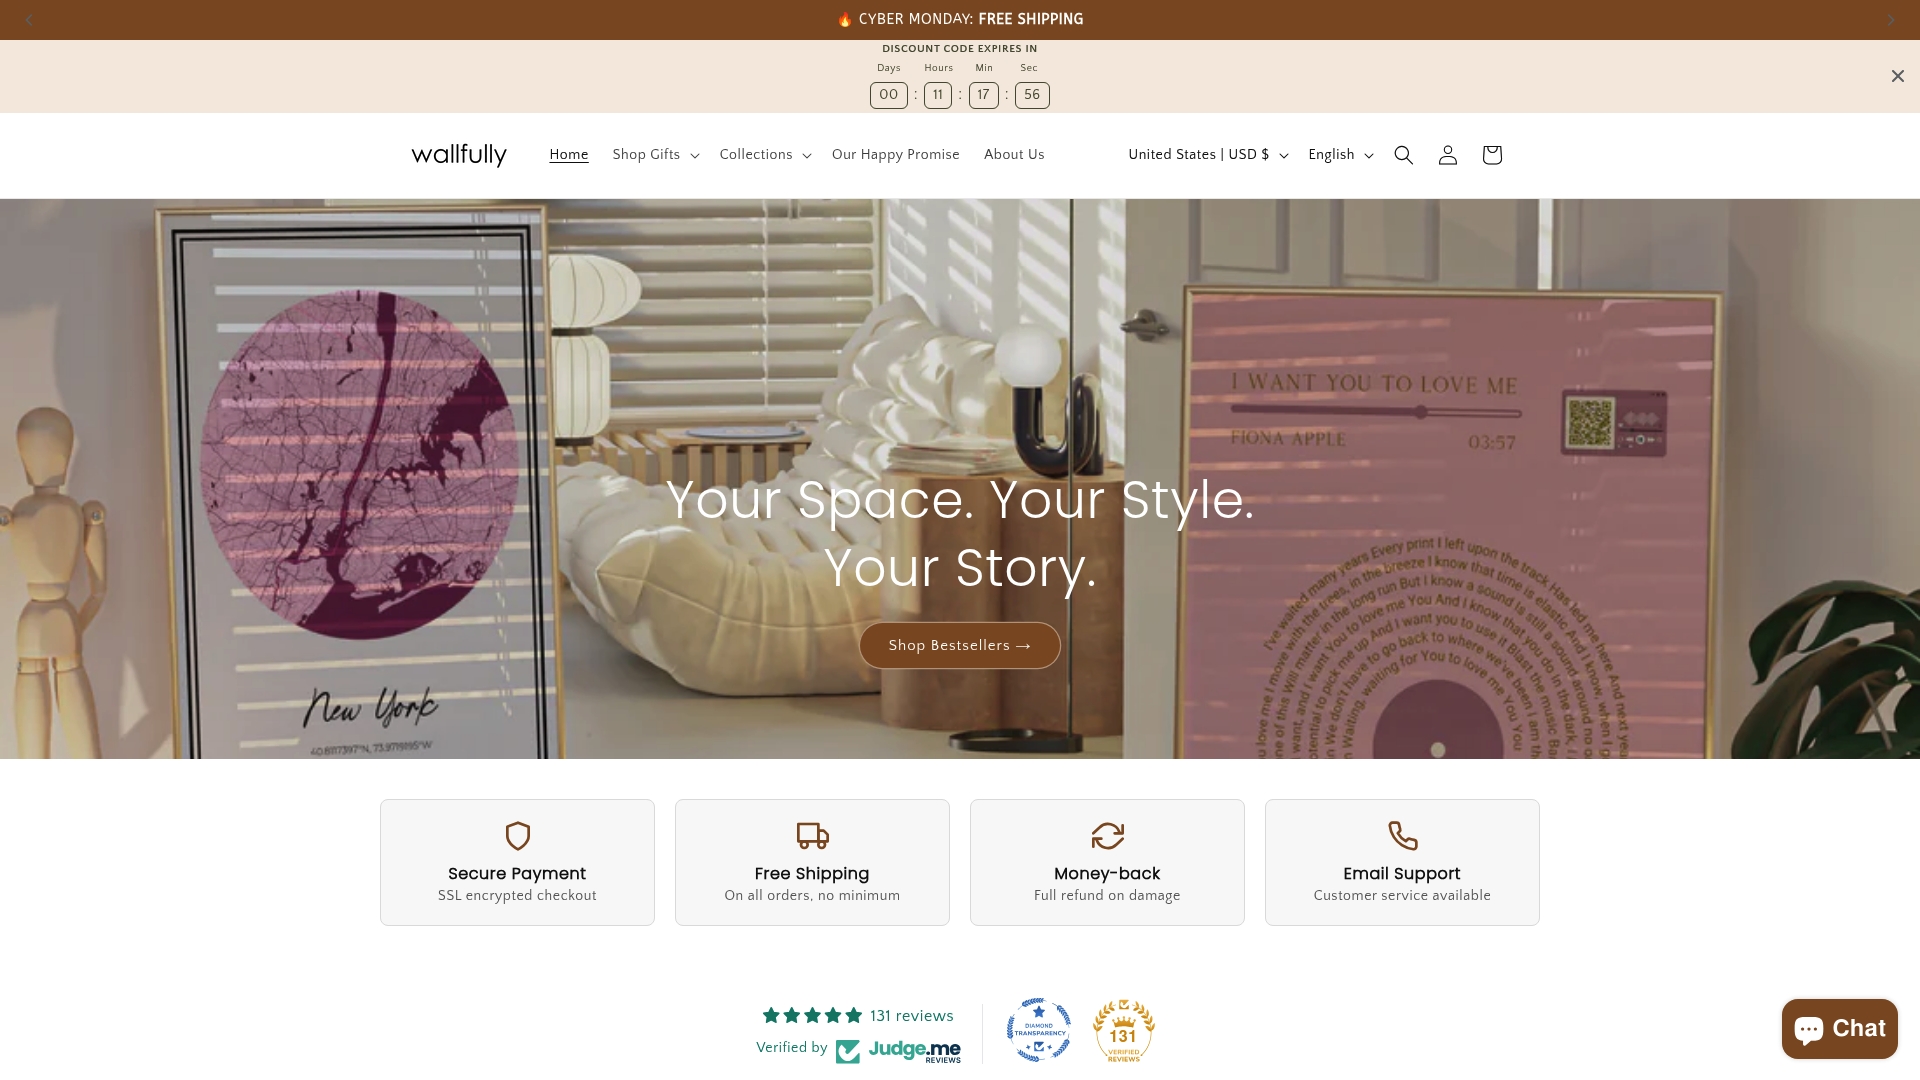
Wallfully handles every step after the design decision: a live preview before you commit, calibrated color production, eco-friendly materials, optional framing, and free shipping on every order. The satisfaction guarantee means if the print doesn’t meet your expectations, Wallfully makes it right. There’s no minimum order, so a single framed newborn print for a new parent is just as straightforward as a set of graduation prints for a whole family.
Browse Wallfully’s personalized milestone prints and start your order with a live preview today.
Useful sources and further reading
- How to Make Wall Art Print-Ready — Ratio Ready’s technical guide covering DPI, pixel dimensions, aspect ratios, and sRGB requirements; the most practical single reference for export specs
- How To Create Print On Demand Wall Art — Prodigi’s production checklist covering safe margins, bleed, mockup proofing, and sample print ordering
- Wall Art Mockup Preparation Guide — explains why mockups function as a proofing step, not just a presentation tool; useful before any production run
- Best Paper for Art Prints: A Buyer’s Guide — covers cotton rag, satin, matte, and lustre with guidance on matching paper to artwork type and display environment