How to Customize Wall Art for Unique Home Decor
WallfullyOver ninety percent of American homes have at least one piece of wall art, yet most do not reflect the unique style of the people living there. Creating personalized decor matters because it transforms a blank space into something that truly feels like home and captures what is important to you. This guide simplifies the journey from finding inspiration to displaying artwork that brings personality and purpose to every wall.
Table of Contents
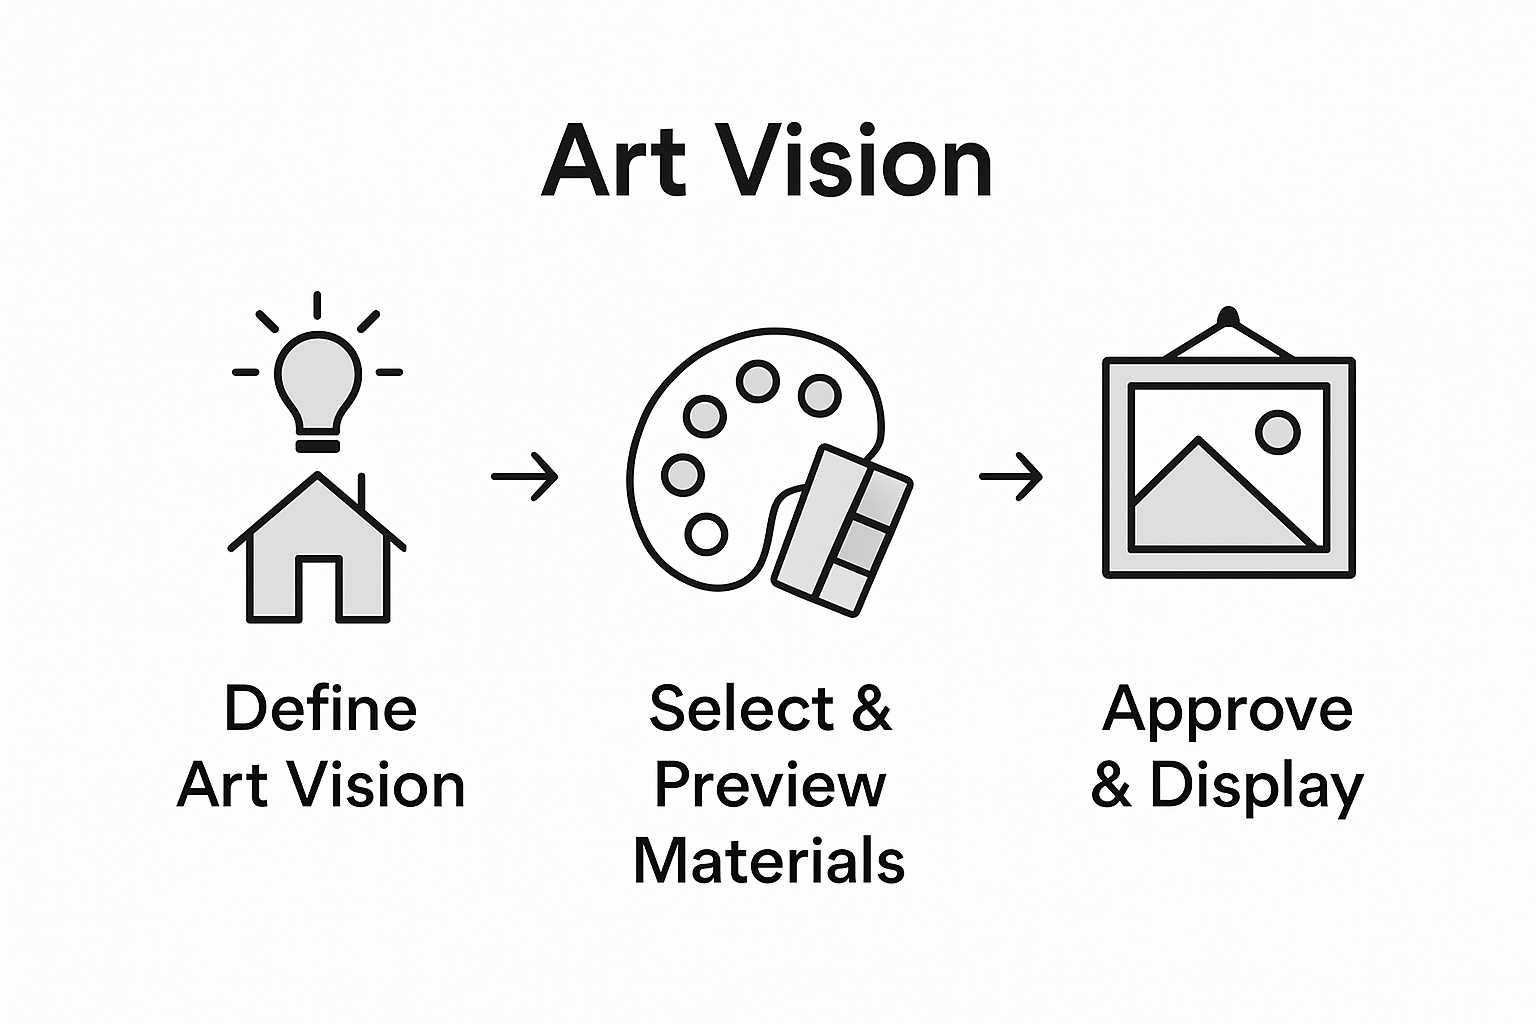
- Step 1: Define Your Wall Art Vision And Purpose
- Step 2: Choose And Personalize Design Elements
- Step 3: Select Materials And Preview Your Artwork
- Step 4: Review And Approve Customization Details
- Step 5: Order And Display Your Customized Wall Art
Quick Summary
| Key Takeaway | Explanation |
|---|---|
| 1. Define Your Art Vision | Understand your home aesthetic and emotional goals to choose meaningful wall art that reflects your personality. |
| 2. Personalize Design Elements | Use DIY techniques and materials that resonate with your style to create unique wall art that tells your story. |
| 3. Preview and Select Materials | Ensure materials suit your space and visualize designs with mock-ups to avoid costly mistakes. |
| 4. Review Customization Details | Examine all elements carefully to ensure your artwork matches your vision; small tweaks can greatly enhance the final product. |
| 5. Strategically Display Your Art | Measure wall space accurately, consider lighting, and create balance when placing your artwork to maximize visual impact. |
Step 1: Define Your Wall Art Vision and Purpose
Creating personalized wall art starts with understanding your unique design goals and home aesthetic. This initial step helps transform blank walls into meaningful visual narratives that reflect your personality and style.
Begin by analyzing your space and identifying the emotional impact you want your artwork to generate. Some people seek wall art that enhances interior design attributes, focusing on how colors, textures, and compositions complement existing decor. Others prioritize art that tells a personal story, selecting pieces that represent memories, passions, or significant life moments.
Consider how wall art can function beyond decoration. Will your chosen piece serve as a conversation starter, provide visual balance, or create a specific mood? Research suggests that art which resonates with your personality can bring fresh dimensions to living spaces, making your home feel more authentic and engaging. Think about whether you want artwork that blends seamlessly with your current color scheme or provides an intentional contrast that draws the eye.
Pro tip: Take photos of your space beforehand and use painter’s tape to outline potential art placement. This helps visualize scale and positioning before making a final decision.
Step 2: Choose and Personalize Design Elements
Selecting and customizing design elements transforms your wall art from generic decoration to a deeply personal statement that reflects your unique style and story. This step is about turning creative ideas into tangible artistic expressions that will make your space truly your own.
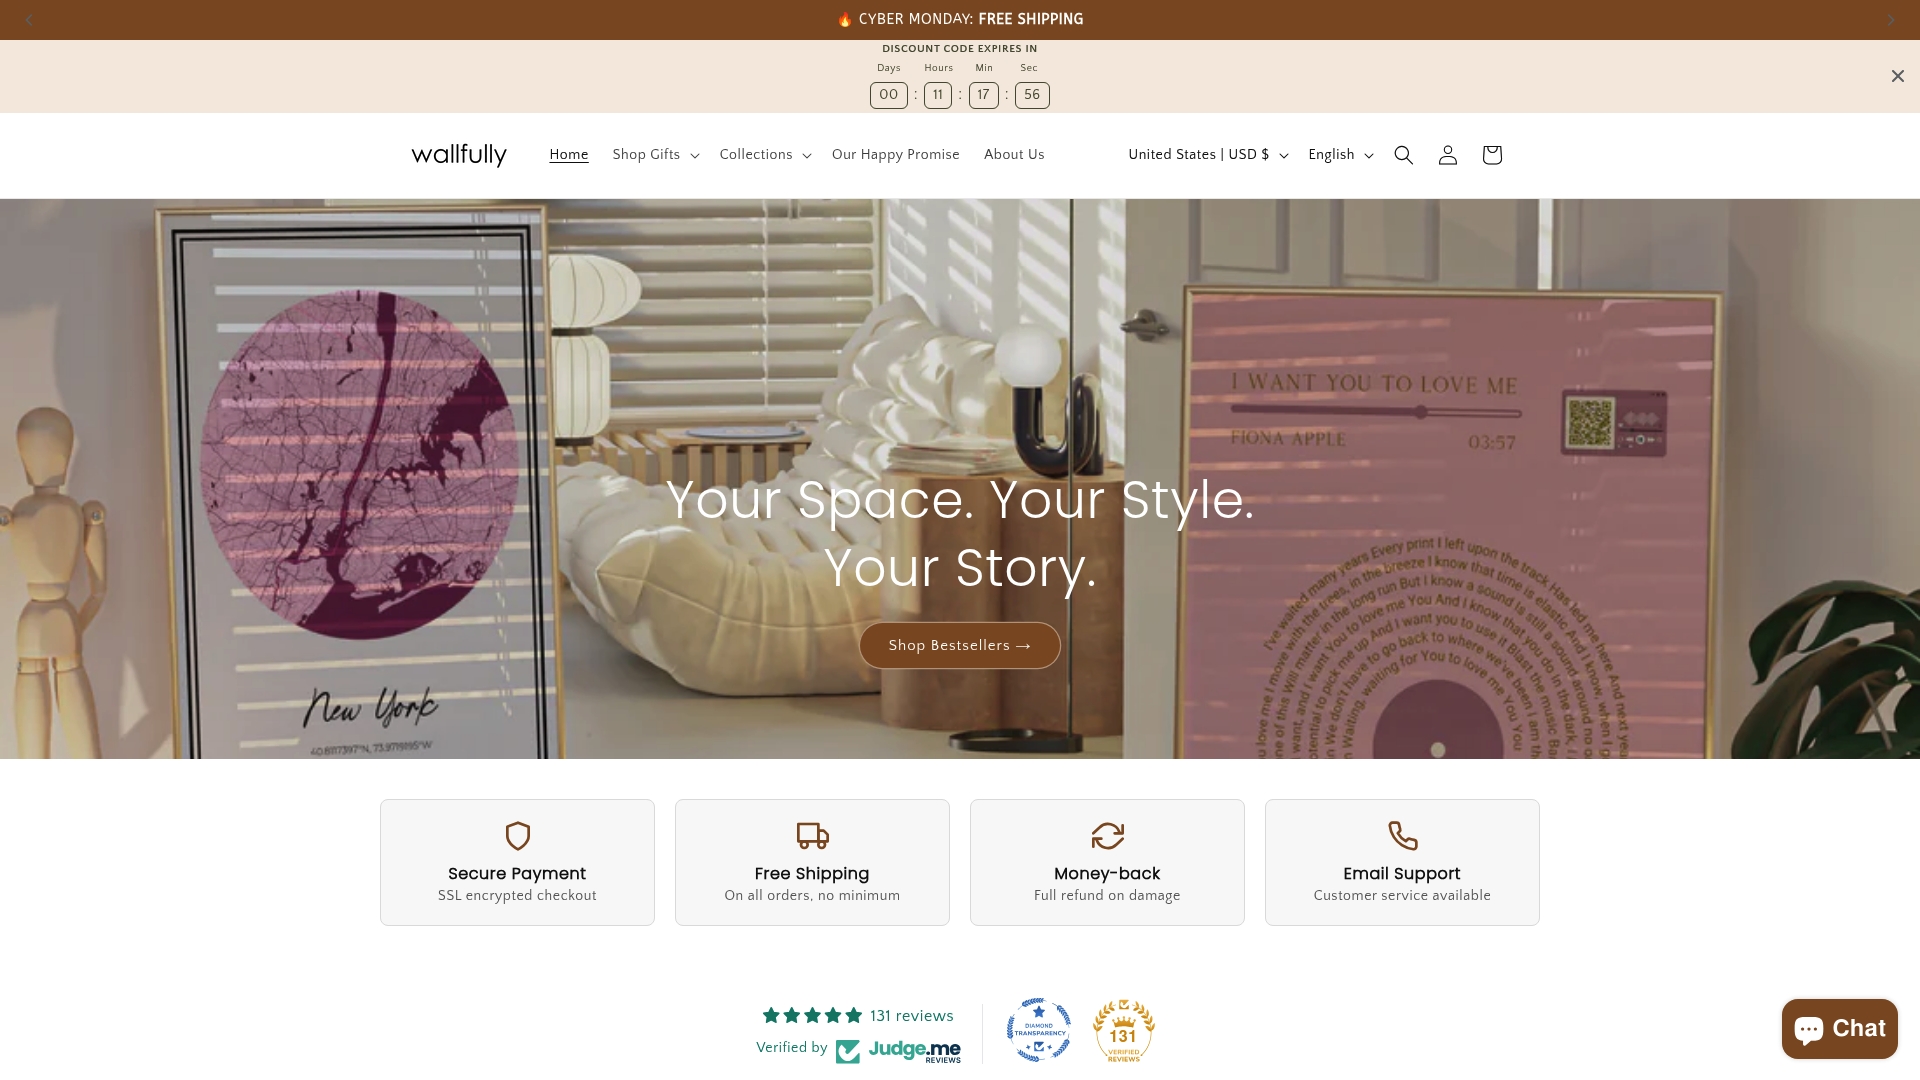
Start by exploring creative DIY techniques that allow for maximum personalization. For instance, unique home decor crafting methods like rolled paper art can introduce organic textures and nature-inspired designs without requiring advanced artistic skills. Consider materials that resonate with your aesthetic preferences wood, metal, canvas, or even unconventional items like vintage maps, sheet music, or meaningful photographs.
Experiment with design elements that tell your story. This might mean incorporating color palettes that match your room, selecting imagery that represents your passions, or creating art pieces that commemorate significant life moments. You could craft creative wall decorations using simple materials like wooden popsicle sticks, which offer an affordable and engaging way to produce personalized artwork. Think about scale proportion, color harmony, and how your chosen design will interact with existing decor.
Pro tip: Always create a mock-up or digital preview before finalizing your design. This helps you visualize the final piece and make adjustments without committing to a final product.
Step 3: Select Materials and Preview Your Artwork
Now that you have a vision for your wall art, it is time to transform your creative concept into a tangible piece by carefully selecting materials and visualizing the final result. This step bridges imagination and execution, ensuring your personalized artwork will perfectly complement your space.
Choose materials that not only match your design aesthetic but also suit the specific environment where the artwork will be displayed. Consider factors like moisture levels, lighting, and potential exposure to direct sunlight. Canvas prints work wonderfully in living rooms, while metal or acrylic options might be more suitable for kitchens or bathrooms. Investigate different print techniques like giclée for photographic quality, watercolor printing for soft textures, or digital printing for crisp graphics.

Before committing to a final product, create detailed digital previews or physical mock-ups. Use design apps, augmented reality tools, or simple paper templates to visualize scale and placement. Some online platforms offer virtual room preview features that allow you to see exactly how your artwork will look against your actual wall color and existing decor. This step helps prevent costly mistakes and ensures your personalized wall art will look exactly as you imagined.
Pro tip: Always order a small sample or print first. Colors and textures can appear differently on screen compared to physical materials, so a test run can save you time and disappointment.
Step 4: Review and Approve Customization Details
The final stage of creating personalized wall art is a critical moment where attention to detail can transform a good design into an extraordinary piece. This step is about carefully examining every aspect of your artwork to ensure it perfectly captures your original vision.
Carefully review all customization elements including color accuracy, text placement, image resolution, and overall composition. Zoom in on digital previews to check for potential pixelation or design imperfections. Pay special attention to typography if you are adding names, dates, or meaningful quotes make sure spelling is perfect and font selection complements the overall aesthetic. Verify that personal details like names, significant dates, or locations are exactly as you want them to appear.
Take time to mentally place the artwork in your intended space. Imagine how the colors will interact with your existing decor, how the scale will feel within the room, and whether the emotional impact matches your initial design concept. Many online platforms offer preview tools that can help you visualize the final product more accurately. If something feels slightly off during this review process do not hesitate to make adjustments even small tweaks can significantly improve the final result.
Pro tip: Always view your design on different devices and screen sizes to ensure consistent appearance, and if possible, ask a trusted friend or family member for a fresh perspective on your creation.
Step 5: Order and Display Your Customized Wall Art
With your design finalized, you are ready to transform your creative vision into a stunning piece of personalized wall art that will breathe life into your living space. This final step involves placing your order and strategically displaying your newly created artwork to maximize its visual impact.
When ordering, carefully review shipping options, print quality guarantees, and return policies. Explore personalized wall art design options that match your specific aesthetic preferences. Select the appropriate frame or mounting style that complements both your artwork and existing room decor. Consider factors like material durability, finish type, and whether you want a classic frame, floating mount, or frameless presentation.
Planning your artwork placement is just as crucial as the design itself. Measure your wall space precisely and consider lighting conditions that will enhance your piece. Create visual balance by considering factors like wall color, surrounding furniture, and room traffic flow. For gallery walls, experiment with different arrangements using paper templates or digital layout tools before making final nail holes. Remember that artwork should feel like an intentional part of your room rather than an afterthought.
Pro tip: Use picture hanging strips or laser level tools for precise placement to ensure your customized wall art looks professionally installed and perfectly aligned.
Transform Your Walls with Personalized Art That Speaks to You
Struggling to bring your unique style and personal story into your home decor? This article highlights the challenge of creating wall art that truly reflects your vision while fitting perfectly in your space. Whether you want to tell a meaningful story with custom details or enhance your interior design with harmonious colors and textures, having a trusted partner makes all the difference.
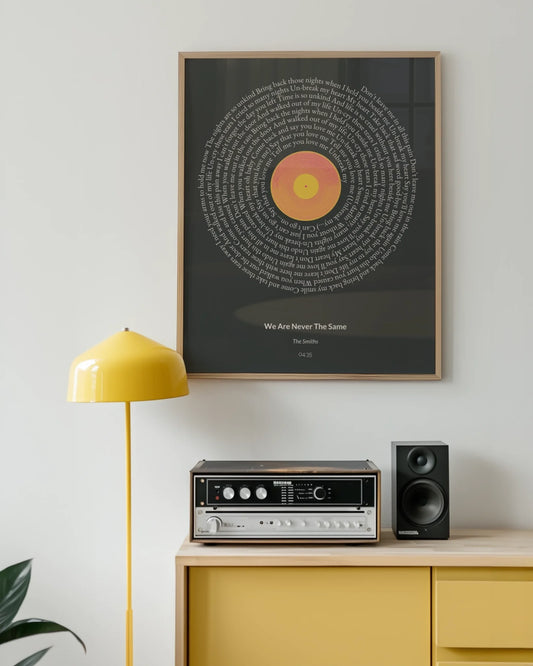
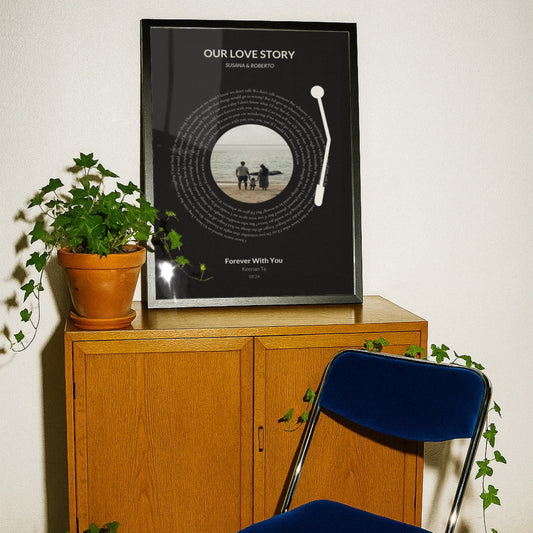
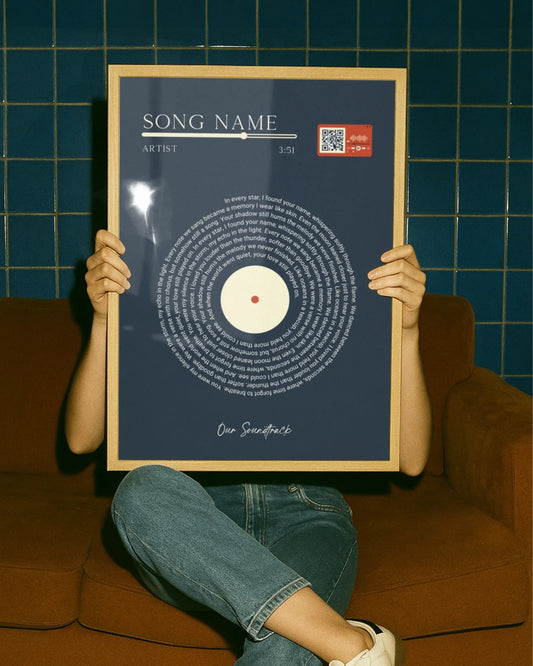
At Wallfully.com, we understand how important it is to turn your creative ideas into stunning, personalized wall art. Our wide selection of Personalized Wall Art – Custom Posters & Prints for any Occasion makes it easy to craft bespoke pieces using your names, dates, locations, or favorite music lyrics.
Bring your vision to life with high-quality prints on eco-friendly materials, secure checkout, and free shipping. Experience our guided customization process including previews that ensure every detail is just right. Start designing your unique wall decor now and create a home atmosphere that truly resonates with your personality. Visit Wallfully.com today and take the first step toward art that speaks just for you.
Frequently Asked Questions
How can I define my vision and purpose for wall art?
To define your vision for wall art, begin by analyzing your space and identifying the emotional impact you want your artwork to have. Consider the colors, textures, and themes that resonate with your personal style and how they can enhance your home decor.
What design elements should I choose for my customized wall art?
Select design elements that reflect your personal story and style. Consider incorporating colors, images, and materials that resonate with you, ensuring they complement your existing decor for a cohesive look.
How do I select materials for my wall art project?
Choose materials that match your design aesthetic and are suitable for the environment where the artwork will hang. For example, if displaying in a humid area, opt for materials that can withstand moisture, such as metal or acrylic.
How do I create a mock-up or preview of my wall art?
To create a mock-up, use design apps or simple paper templates to visualize your artwork’s scale and placement. This step helps you see how the final piece will look against your current wall color and decor.
What should I check before finalizing the customization details?
Before finalizing, carefully review aspects like color accuracy, image resolution, and text placement. Double-check for any spelling errors and ensure the typography matches your overall design vision.
How can I effectively display my customized wall art?
Effectively display your wall art by measuring your wall space accurately and factoring in lighting conditions. Use templates or digital layout tools to preview different arrangements, ensuring your artwork feels like an intentional part of the room.
Recommended
- How to Personalize Wall Art for Unique Home Decor
- Stunning Wall Decor for Custom Gifts
- Why Give Custom Wall Art: Complete Guide
- Transform Spaces with Personalized Wall Art
- Christmas Ornament Ideas: 15 Personalized Picks – TreasuredTale
- 7 Inspiring Crochet Home Decor Ideas for Creative Crafters – CRAFTISS