How to design a photo collage: a 2026 guide
WallfullyTreasured memories deserve more than sitting forgotten on your phone or computer. Creating a personalized photo collage transforms scattered images into cohesive wall art or meaningful gifts that celebrate relationships, milestones, and special moments. This guide walks you through the complete process of designing professional-quality photo collages using Photoshop, from gathering materials to final display, making the journey approachable for beginners while offering expert tips for polished results.
Table of Contents
- Gathering Your Materials And Planning Your Collage
- Step-By-Step Design Process Using Photoshop
- Tips For Refining Your Collage And Preparing For Display
- Exporting And Finalizing Your Photo Collage
- Bring Your Photo Collage Ideas To Life With Wallfully
- FAQ
Key takeaways
| Point | Details | |-------|---------|| | Preparation sets success | Selecting quality photos and organizing tools creates the foundation for professional collages. | | Photoshop simplifies design | Layer controls, alignment tools, and editing features make complex arrangements manageable. | | Layout choice impacts aesthetics | Grid layouts like the Memory Grid offer beginner-friendly structure and visual balance. | | Export settings preserve quality | Proper resolution and format choices ensure your collage looks great digitally or printed. | | Display options complete the story | Frame styles and sizing choices enhance the collage’s impact as home decor. |
Gathering your materials and planning your collage
Successful photo collages start with smart preparation. Select high-quality photos that share a theme, tell a story, or capture moments you want to showcase. Look for images with good lighting, sharp focus, and emotional resonance that connect with your intended audience.
Decide on your collage dimensions based on where you plan to display it. Common sizes include 16x20 inches for wall art or 8x10 inches for desk frames. Choose between grid layouts for uniform structure, asymmetrical arrangements for dynamic visual interest, or themed clusters that group related images. Photoshop’s versatility and precision offer professional control over layers, spacing, and editing that simpler tools cannot match.
Tools and technical requirements:
- Adobe Photoshop installed on your computer
- High-resolution photo files (minimum 300 dpi for print quality)
- Adequate storage space for working files
- Basic understanding of layers and selection tools
- Reference images or inspiration for layout styles
Organize your photo files in a dedicated folder before starting. This saves time and reduces frustration during the design process. Consider how many photos you want to include, as this affects spacing and visual complexity.
| File Format | Best For | Key Advantage |
|---|---|---|
| JPEG | Print collages, photo displays | Smaller file size, universal compatibility |
| PNG | Designs needing transparency | Supports layers, no quality loss |
| TIFF | Professional printing | Highest quality, large file size |
| PSD | Ongoing editing projects | Preserves all layers and adjustments |
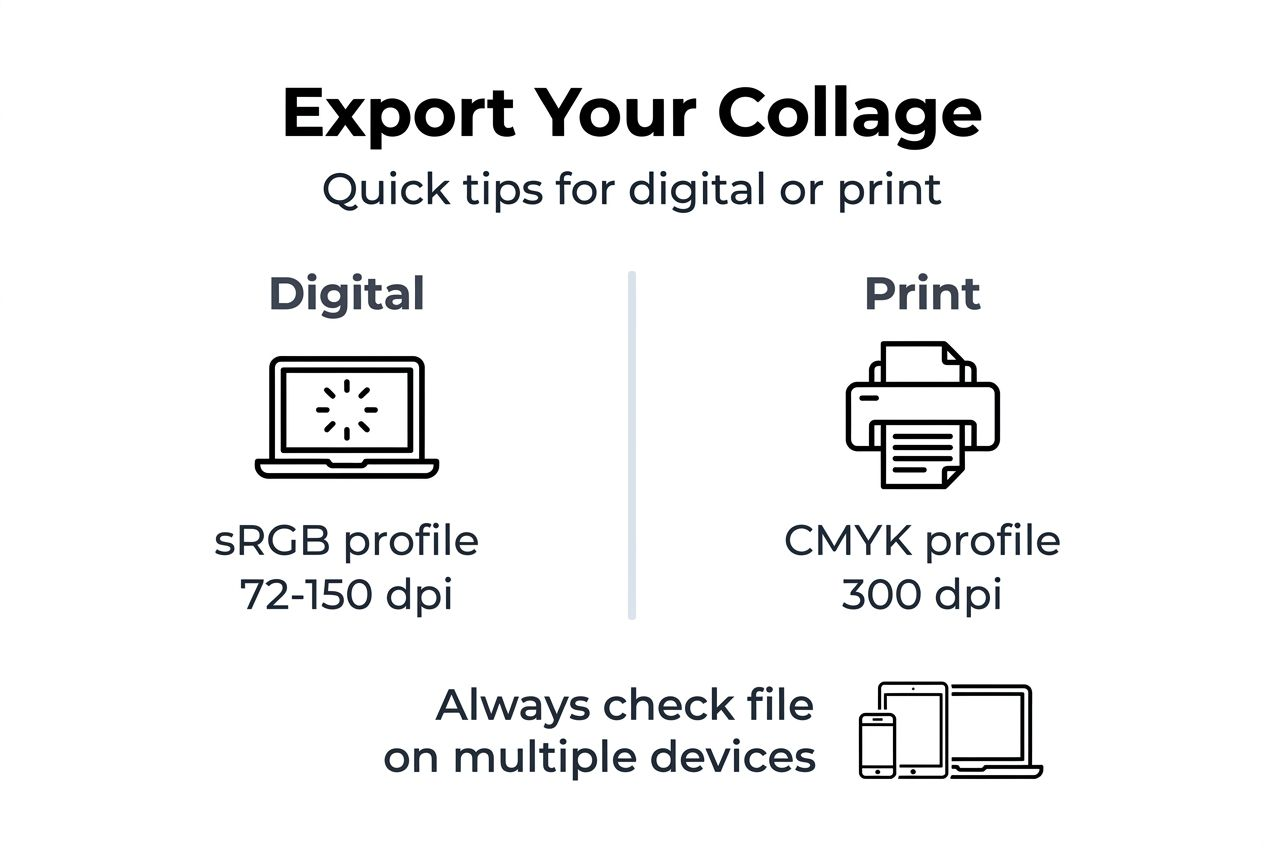
Understand your export destination early in the planning phase. Digital displays work well at 72 to 150 dpi resolution, while professional printing requires 300 dpi to maintain sharpness and detail. Review photo collage prints options to understand size and format choices available for final production.
Pro Tip: Create a mood board with your selected photos before opening Photoshop. This visual reference helps you identify color themes, spacing preferences, and which images work best together, streamlining your design decisions.
Step-by-step design process using Photoshop
Once your materials are ready, the actual design process becomes straightforward with the right workflow. Creating a grid-based collage typically takes 30 to 60 minutes for beginners when following systematic steps.
Creating your collage foundation:
- Open Photoshop and create a new document with your chosen dimensions
- Set resolution to 300 dpi for print or 150 dpi for digital display
- Choose RGB color mode for screens or CMYK for professional printing
- Name your document descriptively for easy file management
Importing and arranging photos:
- Drag and drop your first photo into the canvas area
- Photoshop automatically creates a new layer for each image
- Use the Transform tool to resize photos proportionally
- Position images roughly where you want them in the layout
- Repeat for all photos in your collage
Refining placement and spacing:
- Enable grid view or guides to maintain consistent spacing
- Use alignment tools to create uniform gaps between photos
- Adjust layer order by dragging in the Layers panel
- Apply layer masks to hide unwanted portions without deleting
- Crop individual photos non-destructively using clipping masks
Consistent spacing creates visual harmony that makes your collage feel intentional rather than haphazard. Most professional collages use gaps between 10 and 30 pixels, depending on overall size.
Adding aesthetic elements:
- Insert shape layers for colored backgrounds or borders
- Apply subtle drop shadows for depth and separation
- Add text layers for captions, dates, or meaningful quotes
- Experiment with photo filters to create cohesive color tones
Color consistency across photos prevents visual jarring. Use adjustment layers to match lighting, saturation, and warmth across all images. This creates a unified look even when photos come from different cameras or occasions.

Explore creative photo collage ideas that showcase various arrangement styles and themes to inspire your design choices and spark new creative directions.
Pro Tip: Save your work frequently using the PSD format to preserve all layers and editing capability. This allows you to make changes later without starting over, and you can export multiple versions with different layouts from the same source file.
Tips for refining your collage and preparing for display
Polishing your collage design and selecting appropriate display options transforms a good project into stunning wall art. Frame selection dramatically impacts how your collage integrates with your space and decor style.
Frame configuration options:
- Grid frames offer uniform openings in rows and columns for structured layouts
- Asymmetrical frames provide varied opening sizes for dynamic visual interest
- Gallery wall kits include multiple individual frames for customizable arrangements
- Single large frames work well for digitally assembled collages printed as one piece
Collage frames come in numerous arrangements and sizes, accommodating everything from small 4x6 prints to larger 8x10 displays. Consider how many photos you want to showcase and measure your available wall space before purchasing frames.
Wall collage kits simplify styling by including coordinated frames, hanging templates, and decorative elements like shelves or accent pieces. These packages ensure aesthetic cohesion and eliminate guesswork about spacing and arrangement.
| Frame Type | Best For | Typical Capacity | Key Benefit |
|---|---|---|---|
| Grid Frame | Uniform photo sizes | 4 to 12 openings | Clean, organized look |
| Collage Frame | Mixed photo sizes | 3 to 10 openings | Flexible arrangements |
| Gallery Kit | Custom layouts | 5 to 20+ frames | Maximum creative control |
| Single Frame | Digital collage print | 1 large image | Seamless appearance |
Display balance tips:
- Maintain visual weight by distributing larger photos evenly
- Use odd numbers of photos for more dynamic compositions
- Leave breathing room, avoid cramming too many images
- Consider viewing distance when choosing photo sizes
- Match frame styles to your room’s aesthetic
View photo collage wall art options to understand how different configurations work in various spaces and which arrangements complement specific decor styles.
Pro Tip: Choose frames with easy-open backs if you plan to swap photos periodically. This flexibility lets you update your collage for seasons, holidays, or new memories without purchasing new frames or remounting artwork.
Exporting and finalizing your photo collage
Proper export settings preserve the quality you worked hard to achieve. Exporting takes approximately 10 to 15 minutes when you understand the right options for your intended use.
Format selection guidelines:
- Choose JPEG for most print collages and standard photo displays
- Select PNG when you need transparency or plan further digital editing
- Use TIFF for professional printing services requiring maximum quality
- Save PSD versions to maintain editable layers for future changes
Resolution determines how sharp your collage appears. Set 300 dpi for any printed output to ensure crisp details and vibrant colors. Digital displays work well at 72 to 150 dpi, creating smaller file sizes that load quickly online or on devices.
Photoshop export workflow:
- Navigate to File, then Export, then Export As for modern workflows
- Choose Save for Web for optimized digital display versions
- Use Print Settings when sending directly to a printer
- Adjust quality sliders to balance file size and visual fidelity
- Preview the export at actual size before finalizing
Color profiles affect how your collage appears across different devices and printers. Use sRGB for digital displays and web sharing. Select Adobe RGB or CMYK for professional printing to ensure accurate color reproduction.
File size matters for sharing and storage. Large files preserve more detail but take longer to upload or email. Compress images thoughtfully, testing different quality levels until you find the sweet spot between size and appearance.
Review your exported file on multiple devices or request a test print from your printing service. Colors and details can look different on screens versus paper, and catching issues early saves time and money.
Learn more about professional collage printing to understand how preparation and export choices affect final results and what specifications professional services require.
Pro Tip: Always save your master PSD file with all layers intact before exporting. This preserves your ability to make adjustments, create alternative versions, or rescue your work if exported files become corrupted or lost.
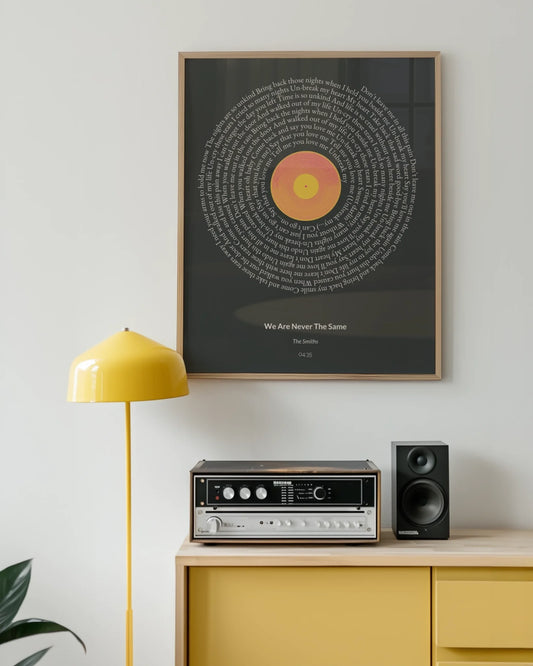
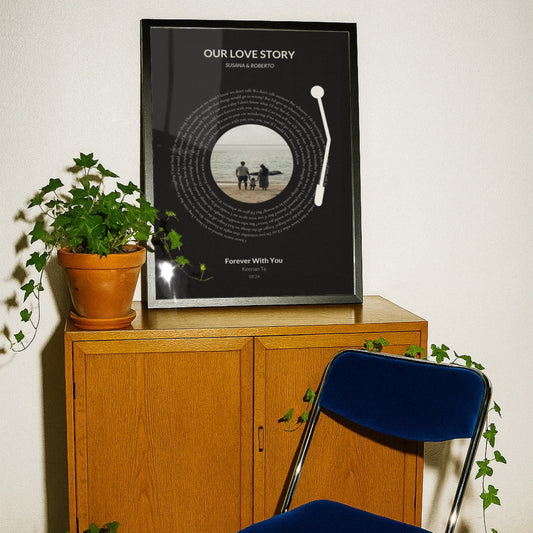
Bring your photo collage ideas to life with Wallfully
You have invested time and creativity into designing the perfect photo collage. Now transform your digital creation into tangible wall art that brings your space to life and preserves precious memories.
Wallfully specializes in turning personalized designs into high-quality prints using eco-friendly materials and professional printing processes. Choose from various sizes and frame options that match your collage dimensions and complement your home decor style. The streamlined ordering process includes preview capabilities, secure checkout, and free shipping on all orders. Quality assurance and customer satisfaction guarantees ensure your finished collage meets expectations. Whether creating meaningful gifts for loved ones or refreshing your own living space, expert printing services deliver the professional results your design deserves.
FAQ
What is the easiest layout style for beginners to design a photo collage?
The Memory Grid layout offers simplicity and professional appearance, making it ideal for beginners. It arranges photos uniformly with consistent spacing, creating visual balance without requiring advanced design skills.
Which file format should I use to export my collage for printing?
JPEG works best for most print collages due to good quality and manageable file sizes. PNG suits situations requiring transparency or layered editing capabilities that JPEG cannot provide.
How do I choose the right size for my photo collage frame?
Frame size depends on photo quantity and print dimensions like 4x6, 5x7, or 8x10 formats. Measure your wall space and select frames that balance scale with visibility, ensuring the collage fits proportionally in its intended location.
How long does it usually take to create a photo collage in Photoshop?
Beginners typically complete grid-based collages in 30 to 60 minutes, with export adding another 10 to 15 minutes. Complex designs with custom layouts or extensive editing require additional time.
Can I edit my collage after exporting it?
You can make changes if you saved the original PSD file with layers intact. Exported JPEG or PNG files limit editing capability, so always maintain your layered source file for future adjustments or alternative versions.