How to personalize prints: step-by-step guide for unique gifts
WallfullyTL;DR:
- Personalized prints require careful planning, including gathering high-quality materials and understanding the recipient’s style.
- The choice of print method impacts color quality, durability, cost, and batch size suitability.
- Attention to detail during design and verification ensures emotionally meaningful results and avoids costly mistakes.
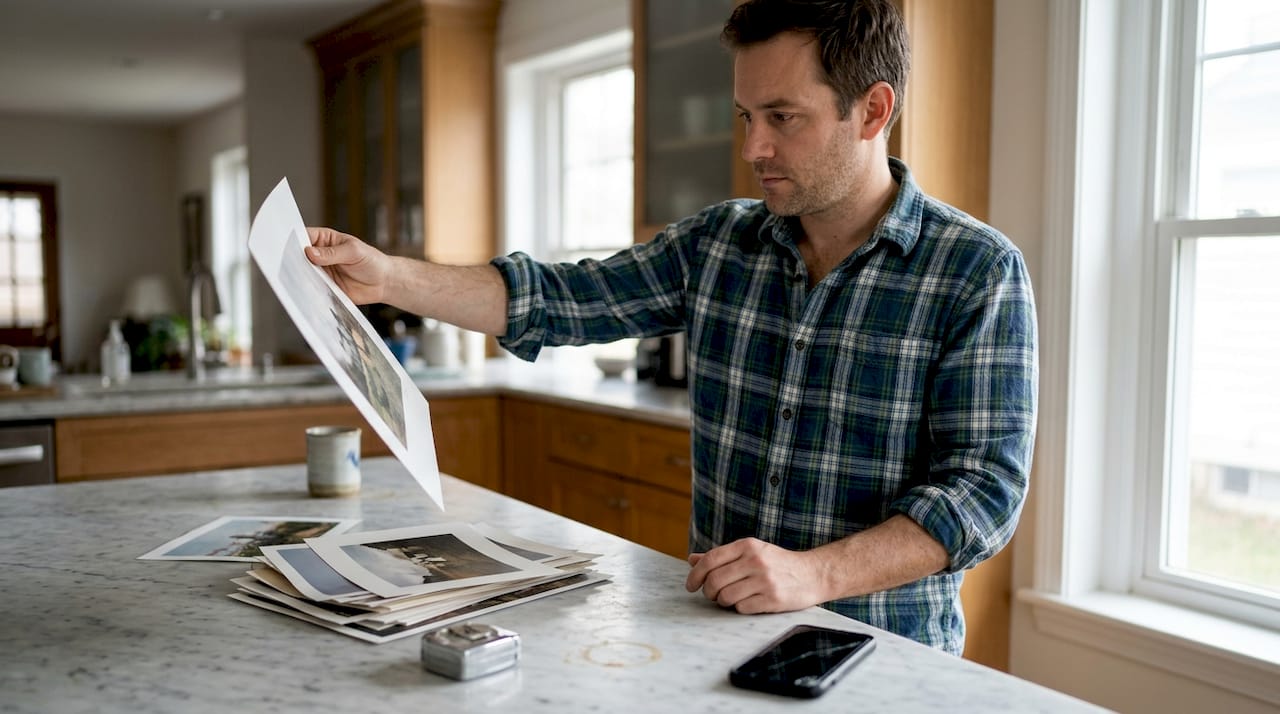
You’ve found the perfect occasion. Maybe it’s a wedding, a milestone birthday, or a first anniversary. You want to give something that actually means something, not another generic gift card or store-bought frame. Personalized prints are the answer, but the moment you start researching, you hit a wall: Giclée or screen printing? What size? Which fonts? How do you make sure the colors look right? The good news is that creating a stunning, one-of-a-kind print is completely doable when you break it into clear steps. This guide walks you through every stage, from gathering inspiration to verifying your final order.
Table of Contents
- Gathering inspiration and requirements
- Choosing the right print method
- Designing your print: Personalization essentials
- Reviewing, ordering, and verifying your print
- Our perspective: What most guides miss about print personalization
- Get started with your perfect personalized print
- Frequently asked questions
Key Takeaways
| Point | Details |
|---|---|
| Choose the right print method | Match your personalization needs and budget to Giclée, screen, DTG, or vinyl printing. |
| Plan your personalization details | Having all names, dates, and images ready prevents surprises and delays. |
| Verify before ordering | Proof everything carefully and request samples when possible for best results. |
| Use expert tips | Small changes in design and method selection make for truly memorable prints. |
Gathering inspiration and requirements
Once you understand why personalized prints matter, the first essential step is preparation. Skipping this stage is the number one reason people end up with prints they don’t love. Before you touch a single design tool, you need to know exactly what you’re making and for whom.
Start by clarifying the occasion and the recipient. A wedding gift calls for a different tone than a child’s birthday print. Think about the recipient’s home aesthetic. Do they prefer minimalist black-and-white designs or bold, colorful artwork? Knowing this upfront saves you from redesigning halfway through the process.
Next, gather everything you’ll need. This includes:
- Photos or artwork you want to include (high resolution, ideally 300 DPI or higher)
- Key text such as names, meaningful dates, or a favorite quote
- Preferred color palette or any colors that must match existing decor
- Target print size and where it will hang
- Delivery deadline, especially for event-based gifts
Having all of this in one place before you start making custom prints makes the whole process faster and far less stressful.
Pro Tip: Create a simple mood board using free tools like Pinterest or even a notes app. Pin colors, fonts, and layouts you love. This gives you a visual reference and helps you communicate your vision clearly if you’re working with a print provider.
If you’re ordering for an event like a wedding or corporate celebration, consider bulk ordering. Bulk discounts often range from 10-40% when ordering custom prints, which adds up quickly for larger guest lists.
Here’s a quick reference table to help you organize your requirements:
| Requirement | Details to gather |
|---|---|
| Occasion | Wedding, birthday, anniversary, etc. |
| Recipient style | Minimalist, bold, vintage, modern |
| Text content | Names, dates, quotes |
| Print size | Small (A4), medium (A3), large (A2+) |
| Deadline | Allow 7-14 days for custom orders |
| Budget | Per unit and total |
You can also find personalized home decor tips that help you match your print to the recipient’s existing space. Research shows that personalization drives better conversion and deeper emotional connection, which is exactly what a great gift should do.
Choosing the right print method
With your inspiration and materials ready, making the best technical choice sets your project up for success. The print method you choose affects everything: color vibrancy, durability, cost, and how well the final piece holds up over years of display.
Here’s a breakdown of the four most common methods:
- Giclée printing: Uses archival inks sprayed onto fine art paper or canvas. Exceptional color accuracy and longevity. Best for art prints, photo-based designs, and anything meant to last decades.
- Screen printing: Ink is pushed through a mesh stencil. Cost-effective for large runs but limited in color gradients. Ideal for 25 or more identical units.
- DTG/DTF (Direct-to-Garment/Film): Digital printing directly onto fabric or transfer film. Great for small, highly detailed batches where each piece can be unique.
- Vinyl cutting: Letters or shapes are cut from colored vinyl sheets. Perfect for name-based personalization and under 20 units.
Choosing the wrong method is a costly mistake. Screen printing a batch of 10 wedding favor prints, for example, will cost far more per unit than Giclée or DTF. The impact of print-on-demand art has made high-quality, small-batch printing more accessible than ever.
| Method | Best for | Batch size | Color detail | Cost range |
|---|---|---|---|---|
| Giclée | Fine art, photos | 1-50 | Excellent | $$-$$$ |
| Screen printing | Bulk identical runs | 25+ | Good | $ (bulk) |
| DTG/DTF | Detailed small runs | 1-20 | Excellent | $$ |
| Vinyl | Name/text only | 1-20 | Limited | $ |
Giclée prints offer excellent color and durability and typically cost around $20-80 for A3 size, making them a strong choice for meaningful, display-quality wall art.
One expert insight worth remembering: simpler personalization methods, like adding a name or date to an existing template, dramatically reduce design errors and speed up the ordering process. You can review the full wall art shopping workflow to understand how different methods fit different project types. For conversion-driven options, providers consistently find that clear, simple customization paths lead to higher satisfaction.
Designing your print: Personalization essentials
Now that you know which print method suits your needs, here’s how to customize your design for a truly personal effect. This is where most people either shine or stumble. The difference is usually in the details.
Follow these steps to build a design that feels intentional:
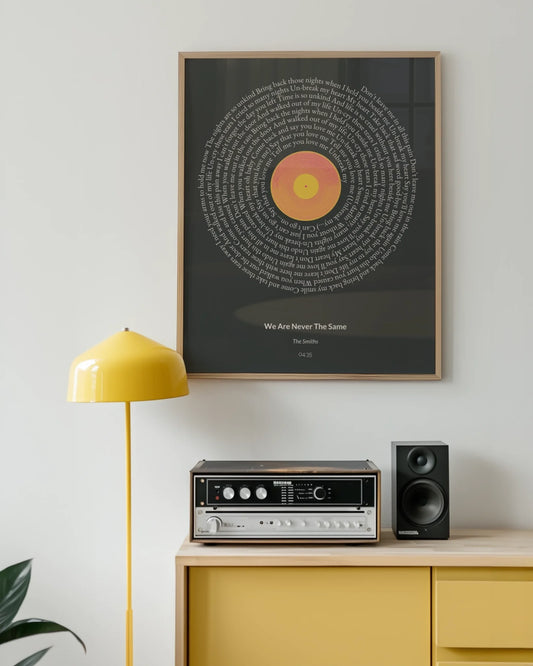
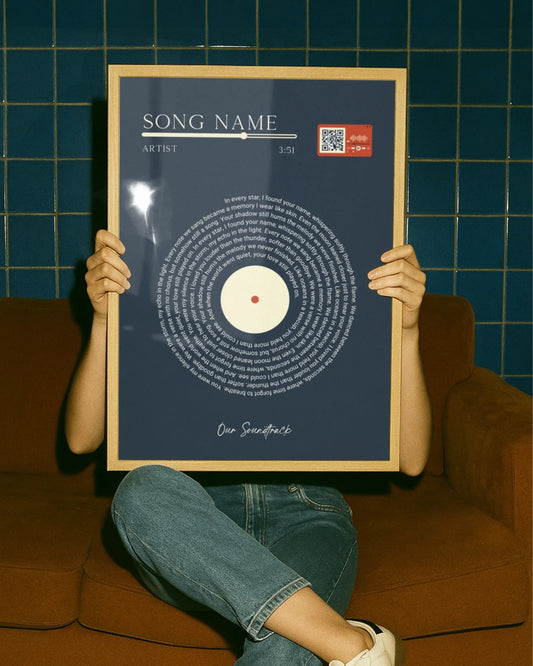
- Choose your template or layout. Start with a structure that fits your content. Song lyric prints work well in portrait format; map prints often suit square layouts.
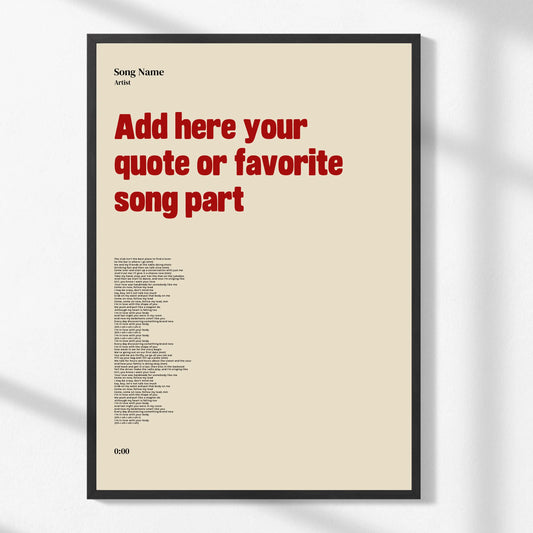
- Add your personalized text. Enter names, dates, or locations exactly as they should appear. Use a font that matches the mood: serif fonts feel classic and elegant, sans-serif fonts feel modern and clean.
- Select your color palette. Stick to two or three colors maximum. If the print is a gift, consider the recipient’s room colors.
- Insert photos or artwork. Use the highest resolution files available. Blurry source images produce blurry prints, no matter how good the printer is.
- Check layout harmony. Make sure text isn’t crowded, images aren’t cropped awkwardly, and there’s enough white space to let the design breathe.
As a general principle, balance simplicity for usability with flexibility for creative customization. The best designs feel personal without being cluttered.
Critical note: Always triple-check names and dates before you approve your design. A misspelled name on a wedding print is not just embarrassing; it’s expensive to reprint and stressful to fix under time pressure.
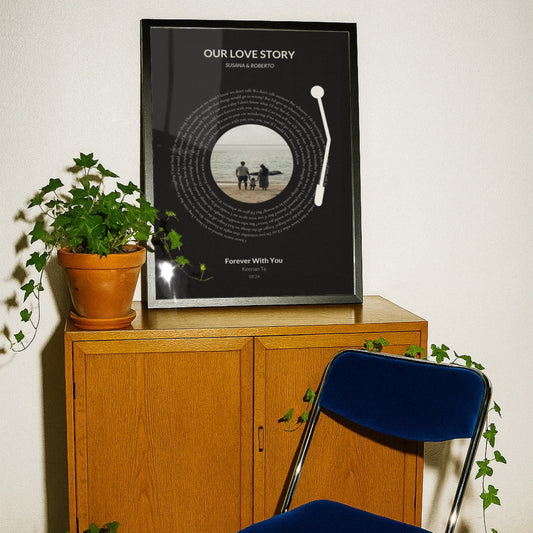
For designs featuring couples or locations, something like a personalized couple street sign shows how a simple concept, two names and a date, can create a genuinely emotional piece. Understanding why custom prints are special can also help you think about what story your design is telling.

Pro Tip: If you’re ordering for a large event or need precise color matching, request a physical sample print before committing to the full run. The small upfront cost is worth the peace of mind.
Reviewing, ordering, and verifying your print
With your design finalized, it’s time to review, order, and ensure your print matches expectations exactly. This stage is where attention to detail pays off. Rushing through the approval process is how small errors become expensive problems.
Before you place your order, run through this checklist:
- Spelling and grammar. Read every word of text in your design out loud. Your brain autocorrects on screen; reading aloud catches errors your eyes skip.
- Dates and numbers. Verify years, anniversary numbers, and any numerical data are correct.
- Color accuracy. Compare your on-screen design to any physical swatches or room photos you have.
- Layout and dimensions. Confirm the print size matches where it will hang. A print that’s too small for a large wall loses impact.
- File resolution. Check that your provider confirms the file is print-ready, typically 300 DPI minimum.
Samples help verify print quality, as ink and paper can vary batch to batch. Requesting a digital proof is free with most providers and should always be your first step.
Here’s a quick verification table by print method:
| Print method | Key verification step | Sample recommended? |
|---|---|---|
| Giclée | Color accuracy and paper texture | Yes, for large orders |
| Screen printing | Color match and registration | Yes, always |
| DTG/DTF | Detail sharpness and ink saturation | Yes, for first runs |
| Vinyl | Edge precision and color match | Optional |
Once your order ships, track it actively. Inspect the package immediately upon arrival. If something is wrong, photograph it right away and contact customer support with clear images showing the issue. Most reputable providers resolve problems quickly when you have documentation. You can also review a detailed custom map print workflow to see how verification fits into the broader ordering process.
Pro Tip: Always track your order and open the package as soon as it arrives. Waiting days to inspect means some providers may consider the window for reporting damage or errors closed.
Our perspective: What most guides miss about print personalization
Most personalization guides stop at the practical steps. They tell you which method to pick and how to upload a file. What they rarely address is the emotional layer that separates a nice print from one that makes someone cry in the best possible way.
We’ve seen it repeatedly: people spend time on the technical details but rush the story. They pick a template, drop in a name, and call it done. The result is technically correct but emotionally flat. The prints that truly land are the ones where someone paused and asked, “What detail will make this person feel truly seen?”
Relying on default templates without any modification rarely produces a standout gift. It’s worth spending an extra 20 minutes exploring layout options, adjusting a font, or adding a second line of meaningful text. That small effort is visible in the finished piece.
Mistakes almost always happen in the smallest details. A wrong year on an anniversary print. A middle name spelled incorrectly. These are the things that custom prints for home enthusiasts consistently flag as their biggest regrets. The verification steps in this guide exist precisely because these errors are so common and so preventable.
The real magic is in going just a little beyond your first idea. Pair the expert home decor tips with your own knowledge of the recipient, and you’ll create something genuinely unforgettable.
Get started with your perfect personalized print
Ready to create your own standout piece? Here’s how you can take action today.
You’ve covered every stage: gathering inspiration, choosing the right print method, designing with intention, and verifying before you order. The next step is putting that knowledge to work with a platform built for exactly this.
Wallfully personalized gifts brings together an inspiring range of customizable wall art, from song lyric posters and map prints to zodiac signs and milestone pieces. Every order comes with free shipping, a satisfaction guarantee, and a guided customization process that makes it easy to get exactly what you envisioned. Whether you’re shopping for a wedding, birthday, or anniversary, you’ll find options that feel personal and look stunning. Explore the full custom print guide to see how simple it is to start.
Frequently asked questions
What is the best printing method for personalized home decor?
Giclée prints offer excellent color and durability and are ideal for display-quality wall art, while screen printing is the most economical choice for large, identical batches of 25 or more.
How do I avoid errors in personalized prints?
Always read your design text out loud before approving, and double-check every name, date, and number against your original source to catch the small mistakes your eyes tend to skip.
Are there discounts for ordering multiple personalized prints?
Yes. Bulk discounts often range from 10-40% depending on the quantity and print method you choose, making group event orders much more cost-effective.
Can I see a proof or sample before my print is made?
Samples help verify print quality since ink and paper can vary between batches, and most providers offer digital proofs at no extra cost before committing to final production.
Recommended
- Create meaningful personalized home decor with expert tips
- How to Make Custom Prints for Unique Wall Art
- Why Gift Custom Prints for Memorable Occasions
- Gifting Personalized Art Steps for Meaningful Wall Decor
- How to create custom keychains step by step: a guide – PinPerfect
- 7 Creative Personalized Jacket Ideas for Unique Style - Maker of Jacket