
How to Create Milestone Prints: A Step-by-Step Guide
WallfullyThe fastest path from idea to a framed milestone print is four steps: design at 300 DPI in sRGB, export as a high-quality PDF or TIFF, run a proof print, then choose your print route. That’s the whole workflow. Everything below makes each step faster and less wasteful.
Here’s the minimum you need to get a print-ready file:
- Set your canvas to the final print size (not smaller, not “scale later”)
- Work at 300 DPI from the start
- Use the sRGB color profile unless your lab specifies otherwise
- Add 0.125 inches of bleed on every edge
- Keep all text and key design elements at least 0.25 inches inside the trim line
- Export as PDF/X-1a, high-quality JPEG (90%+), or TIFF
- Run one proof print before committing to a full order
Pro Tip: Print a single 4×6 test crop of the most detail-heavy area of your design before printing the full size. You’ll catch blurry text and color shifts in under two minutes and save yourself a wasted sheet of expensive paper.
Wallfully handles the printing and framing side if you’d rather skip the home-printer headaches entirely.
Key Takeaways
A print-ready milestone file requires 300 DPI at final size, sRGB color profile, 0.125-inch bleed, and a proof print before committing to a full order.
| Point | Details |
|---|---|
| File specs are non-negotiable | Set 300 DPI at final size, sRGB profile, and 0.125-inch bleed before exporting. |
| Proof before you print | Run a test crop or request a lab proof to catch color shifts and resolution issues early. |
| Home vs. pro lab | Home printing suits small sizes and drafts; use a lab for 11×17 and larger or color-critical pieces. |
| Consistent templates save time | Lock in one template, font hierarchy, and frame size on the first print to keep the whole series unified. |
| Wallfully handles the finish | Wallfully’s preview tool, eco-friendly materials, and framing add-ons make pro-quality milestone prints accessible without DIY file prep. |
Table of Contents
- What file specs does the milestone print creation process actually require?
- Which sizes actually work for milestone cards and posters?
- Matte, glossy, satin, or canvas: which finish fits your milestone print?
- Home printer, local shop, or online lab: which route makes sense?
- Step-by-step home printing checklist for milestone cards and small posters
- How to order from an online lab or local print shop
- Trimming, mounting, and framing: the finishing steps that matter
- How to keep a milestone series visually consistent
- Expert tips and the printing mistakes worth avoiding
- Pre-print checklist: confirm everything before you hit print
- Why a consistent milestone series is worth the effort
- Wallfully makes milestone prints easy to order with a professional finish
- Sources
What file specs does the milestone print creation process actually require?
Getting the file right before you touch a printer is where most parents lose time. A design that looks sharp on a laptop screen can print soft, muddy, or cropped if the specs are off.
Resolution is the most common failure point. Set your document to 300 DPI at the exact final output size. If you’re making an 18×24 poster, your canvas should be 5,400×7,200 pixels. Scaling a low-resolution file up after the fact produces blurry results. Scale only downward, never up, as professional print guides confirm.
Color profile matters more than most people expect. Monitor calibration and sRGB color profiles are the two factors print professionals flag most often for color surprises. A bright teal on your screen can print as a dull blue-green if your file is in Adobe RGB and the lab expects sRGB. Use sRGB unless your specific lab requests a different profile in writing.
Bleed and safe area are non-negotiable for anything that gets trimmed. Add 0.125 inches of bleed on all four sides so the cutter doesn’t leave a white sliver. Keep text and faces at least 0.25 inches inside the trim line.
Here are the specs you need for the most common milestone print formats:
For Canva users: export as PDF (Print) with crop marks and bleed turned on. That single setting handles bleed automatically. For Adobe Illustrator or Photoshop, use the “Save as PDF” option with PDF/X-1a preset and embed the color profile. You can also review Wallfully’s milestone print workflow for a practical walkthrough of the design-to-export steps.
Which sizes actually work for milestone cards and posters?
Standard US sizes exist for a reason: frames are built around them. Choosing a non-standard size means custom framing costs, and that adds up fast across a series.
Common US poster sizes include 11×17, 12×18, 16×20, 18×24, 20×30, and 24×36 inches. For milestone posters displayed on a nursery or bedroom wall, 18×24 is the practical sweet spot. It’s large enough to read from across the room, fits standard frames at most craft stores, and doesn’t dominate a small wall. For large-format statement pieces, 24×36 is the go-to.
For milestone cards, 5×7 and 4×6 are the standard choices. They fit greeting card envelopes, standard photo frames, and tabletop displays without any trimming.
A few layout decisions that save headaches later:
- Portrait orientation works best for baby milestone posters and monthly trackers, where you stack text and a photo vertically
- Landscape suits group shots and multi-photo collages where width matters more than height
- Square formats (8×8, 12×12) photograph well for social media but require custom frames, so plan for that cost
- Match your artwork’s aspect ratio to the frame before you finalize the design, not after. A 4:5 ratio image in a 5×7 frame will crop unless you add a white border or mat
- For a milestone series displayed together, pick one size and stick to it. Mixed sizes on the same wall look accidental rather than intentional
Matte, glossy, satin, or canvas: which finish fits your milestone print?
The finish you choose affects how the print looks on the wall, how readable the text is, and how long it lasts. There’s no universally correct answer, but there are clear patterns.
| Finish | Best For | Glare | Durability | Kid-Friendly |
|---|---|---|---|---|
| Matte | Text-heavy designs, nursery walls, indirect light | None | Good | Yes |
| Satin | Photos with text, balanced sheen | Low | Very good | Yes |
| Glossy | Photo-forward prints, vivid color | High | Good | Moderate |
| Canvas | Large wall art, gallery-style display | None | Excellent | Yes |
Matte paper is the most forgiving for milestone cards with a lot of text. It reads cleanly under any light and doesn’t pick up fingerprints the way glossy does. Satin sits between the two and is the most popular choice for photo-plus-text milestone posters because it gives photos some pop without the glare problem.
Glossy looks vivid in photos but creates a mirror effect under overhead lights. If the print will hang in a room with a ceiling fixture directly above it, glossy will frustrate you.
Canvas is a different category. It’s best for large milestone wall art where you want a gallery feel. The texture adds depth, but canvas printing failures almost always come from file prep errors — low resolution and skipped finishing steps. For stretched canvas, outsource to a pro lab unless you have experience with canvas mounting.
For paper weight, use 220gsm or heavier for photo paper or cardstock when printing milestone cards or posters at home. Lighter paper curls, shows bleed-through, and feels cheap in hand. Heavier stock also holds ink better, which means more accurate color.
Pro Tip: If color accuracy is critical (a photo-based milestone poster, for example), print a small test swatch on your chosen paper before committing to the full sheet. Paper texture and coating affect how ink absorbs, and two papers with the same gsm rating can produce noticeably different results.
Home printer, local shop, or online lab: which route makes sense?
Home printing works best for quick tests and small prints; print shops are better for larger formats and consistent color. The decision usually comes down to three factors: size, color sensitivity, and how many copies you need.
Home printing makes sense when:
- The final size is 8×10 or smaller
- You need it today and color matching is not critical
- You’re printing a draft to check layout and text before a final lab order
- You have quality photo paper and a well-maintained inkjet printer
A local print shop or online lab makes sense when:
- The final size is 11×17 or larger
- You need consistent color across multiple prints in a series
- The print will be framed and displayed long-term
- You’re ordering more than two or three copies (per-print cost drops significantly at labs)
The hidden costs of home printing are real. Factor in test prints, ink cartridge depletion, and failed sheets from paper jams or head strikes. A single print on quality photo paper at home can cost a few dollars in materials alone, not counting the time. For a milestone series covering several months, the costs can add up. Parents who plan many repeats often do better with a hybrid approach: draft and proof at home, then send the final file to a lab.
Quick decision rule: if the print needs to last more than a year on a wall and you care about color, use a lab.
Step-by-step home printing checklist for milestone cards and small posters
Follow these steps in order. Skipping the preflight checks is where most home-printing errors start.
- Open your file and confirm the canvas size matches the intended print size exactly. Do not rely on “fit to page” scaling in the print dialog.
- Check DPI in your design software. It should read 300 DPI at the final output dimensions. If it reads lower, do not upscale — go back to the source file.
- Verify the color profile is sRGB. In Photoshop: Edit > Convert to Profile > sRGB IEC61966-2.1.
- Run a printer nozzle check from your printer’s maintenance menu. Clogged nozzles produce streaks and banding that ruin a print.
- Load the correct paper and select the matching paper type in the print driver (e.g., “Premium Photo Paper Glossy” for glossy stock). Mismatched settings cause ink oversaturation or poor adhesion.
- Set print quality to the highest available option (often “Best” or “Photo”). Draft mode is for text documents, not keepsakes.
- Turn off printer color management if you’ve already calibrated your monitor and embedded the sRGB profile. Let the file’s profile drive color, not the printer’s auto-correction.
- Print a 4×6 test crop of the most complex area of your design first. Check sharpness, color, and text legibility before printing the full sheet.
- Inspect the test print in natural light, not under a desk lamp. Colors read differently under different light sources.
- Allow inkjet prints to dry fully before stacking or framing. Drying time matters for inkjet output — rushing it smears ink and causes color shifts.
- If the print shows head strikes (ink smears from the printhead touching the paper), stop immediately. The paper is likely too thick for your printer’s feed path. Switch to a lighter stock or use a lab for that paper weight.
How to order from an online lab or local print shop
Ordering from a pro lab is straightforward once your file is ready. The steps below apply to most online labs and local shops.
- Confirm accepted file types before uploading. Most labs accept PDF/X-1a, TIFF, and high-quality JPEG (300 DPI, maximum quality). Some reject files under 300 DPI automatically.
-
Name your files clearly: include the size, DPI, and version in the filename (e.g.,
milestone-poster-18x24-300dpi-v2.pdf). This prevents the lab from printing an old version and makes it easy to reorder. - Request a soft proof (a digital preview the lab generates from your file) for any order over $20. For color-sensitive milestone prints, request a physical proof. A physical proof from a lab is worth the small fee for large or framed pieces where a color mismatch means reprinting the whole job.
- Specify finishing options at checkout: lamination (adds durability and a uniform sheen), mounting (foam core or gatorboard for rigid display), or framing. Not all labs offer all options, so check before uploading.
- Include trim marks in your PDF export if the lab requires them. Most professional PDF exports from Illustrator or Canva include them automatically when you select “crop marks.”
Pro Tip: Before uploading a large file to a new lab, order a small 5×7 test print of your design first. It costs almost nothing and tells you exactly how that lab handles your color profile and paper choice before you commit to a large-format order.
Trimming, mounting, and framing: the finishing steps that matter
A sharp print on cheap mounting looks worse than a mediocre print in a quality frame. Finishing is where the print becomes a keepsake.
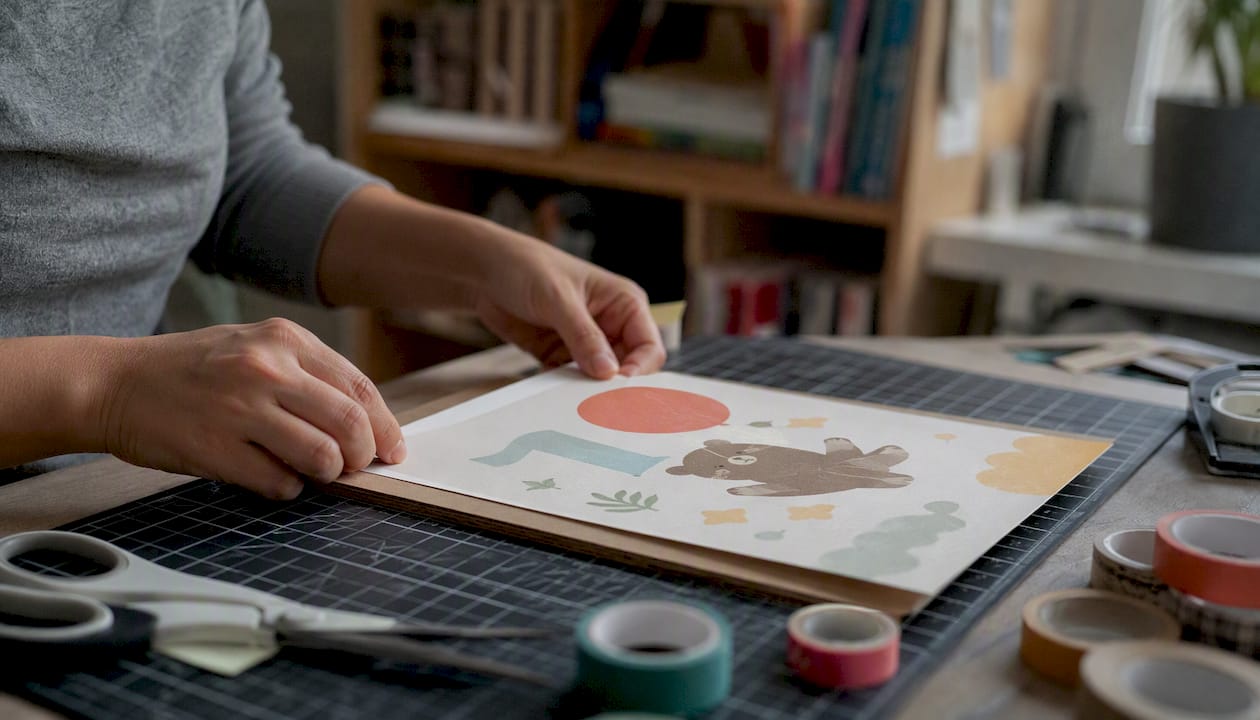
Trimming: if your print has bleed, cut along the trim line, not the bleed edge. Use a metal ruler and a sharp craft knife on a self-healing cutting mat. A single clean pass beats multiple light passes for a straight edge. Scissors leave a slightly compressed edge that’s visible up close.
Mounting options depend on how the print will be displayed. Foam core (3/16 inch) is the most accessible DIY option and works well for posters up to 18×24. Gatorboard is stiffer and better for larger pieces. For a polished look without a frame, consider a mat board border, which adds perceived size and protects the print surface from glass contact.
Framing: standard sizes (5×7, 8×10, 11×14, 16×20, 18×24) fit off-the-shelf frames from most home goods stores. A white or off-white mat inside the frame adds visual breathing room and makes even a simple print look intentional. For a milestone series displayed as a gallery wall, matching frame styles and mat colors unify the set.
Pro Tip: IKEA’s RIBBA and HOVSTA frames fit standard US poster sizes and cost under $20. Add a custom-cut mat from a local framing shop (usually $5–$15 per mat) and the result looks far more expensive than it is.
How to keep a milestone series visually consistent
Consistency is what separates a thoughtful milestone series from a collection of individual prints that happen to share a theme. The decisions you make on the first print lock in the look for every print that follows.
- Choose one template and commit to it. A master file with locked margins, font choices, and color palette means each new milestone is a fill-in, not a redesign. Canva’s template duplication feature handles this well.
- Use a clear font hierarchy: one display font for the milestone name (large, bold), one body font for dates and details (smaller, lighter weight). Two fonts maximum. More than two starts to look cluttered at typical poster viewing distances.
- For cards (5×7 and smaller), keep body text at 10pt minimum. For posters (18×24 and larger), milestone text should be readable from 6–8 feet away, which means display text at 72pt or larger.
- Lock your color palette to three or four values and use them consistently across every print in the series. Export a color swatch file alongside your master template so you’re not eyeballing hex codes each time.
- Export presets save time across a series. Set up a named export preset in your design tool (size, DPI, color profile, file format) so every monthly file exports identically. Designers advise deciding the look early and sticking to it — changing fonts or layouts mid-series creates a display that reads as inconsistent.
- For design inspiration across different milestone themes, creative milestone print ideas can help you settle on a direction before you build the master template.
Expert tips and the printing mistakes worth avoiding
Most print failures are preventable. The ones that cost parents the most time and money share a common cause: skipping the proof step.
The most common mistakes:
- Low DPI on the source file. A photo taken on a phone at 72 DPI looks fine on screen but prints soft at 8×10 and unusable at 18×24. Check pixel dimensions before you design around a photo.
- Wrong color profile on export. Designing in Adobe RGB and exporting without converting to sRGB is the single most common cause of washed-out or oversaturated prints at labs that expect sRGB.
- Missing bleed. A file without bleed that gets trimmed will show a white edge on one or more sides. Add 0.125 inches before you export, not after.
- Skipping the proof print. Monitor calibration and physical proof prints are the two steps print professionals consistently recommend for color-sensitive work. A screen that hasn’t been calibrated can be off by a full stop in brightness, which means your print will look darker than expected.
Pro Tip: Keep a version-numbered file log: milestone-v1.pdf, milestone-v2-bleed-fixed.pdf. When a lab asks “which file did you send?” you’ll know immediately. It also prevents the embarrassing reprint where you fixed the bleed but sent the old file.
Recovering from a misprint: if the color is off but the layout is correct, adjust the brightness and contrast in your design file (not in the print dialog), re-export, and request a new proof before reprinting the full run. If the resolution is the problem, the only fix is going back to a higher-resolution source image. There’s no software fix for a genuinely low-resolution file.
Pre-print checklist: confirm everything before you hit print
Run through this before every print, whether you’re printing at home or uploading to a lab.
- Canvas size matches the intended final print size exactly
- Resolution is 300 DPI at final dimensions
- Color profile is sRGB (or the lab’s specified profile)
- Bleed is set to 0.125 inches on all four sides
- All text and key elements are at least 0.25 inches inside the trim line
- File is exported as PDF/X-1a, TIFF, or high-quality JPEG (not a screen-resolution PNG)
- A proof print or test crop has been reviewed in natural light
- Paper type and weight are confirmed (220gsm+ for cards and posters)
- Printer nozzles checked (home printing) or lab file requirements confirmed (pro lab)
- Finishing choices are decided: trim, mount, frame, or mat
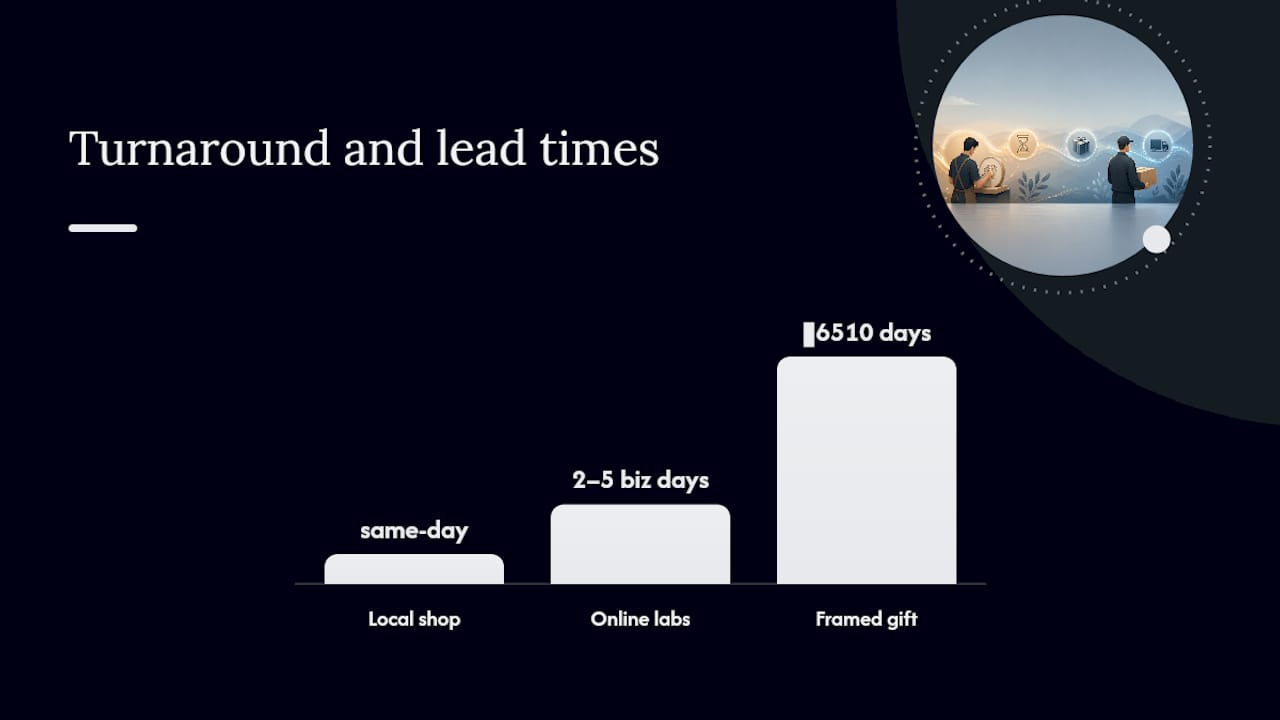
Time and cost expectations: a home-printed 5×7 milestone card takes about 20–30 minutes from file-open to dry print. A lab-printed 18×24 framed poster, including upload, proof review, production, and shipping, typically runs 7–12 days and $25–$60 depending on finish and framing. Budget extra time for the first print in a series while you dial in the template.
Why a consistent milestone series is worth the effort
The prints that end up on the wall for years aren’t the ones that took the most time. They’re the ones that were planned once and executed consistently. A parent who locks in a template, a frame size, and a paper finish on month one of a baby milestone series will spend 15 minutes on every subsequent print instead of starting from scratch each time.
The technical side of milestone print creation, the DPI, the bleed, the color profiles, matters because it’s the difference between a print that looks like a keepsake and one that looks like a home-office experiment. Getting those specs right once, in a master template, means every print in the series benefits from that single decision. The types and ideas behind milestone prints are genuinely varied, but the ones that hold up over time share one thing: they were made with intention, not improvisation.
Wallfully makes milestone prints easy to order with a professional finish
Wallfully is built for exactly the situation where you want a print that looks polished without managing DPI settings and paper weights yourself. The online customization tool lets you add names, dates, and personal details to milestone designs, preview the result before ordering, and choose framing add-ons, all in one place.
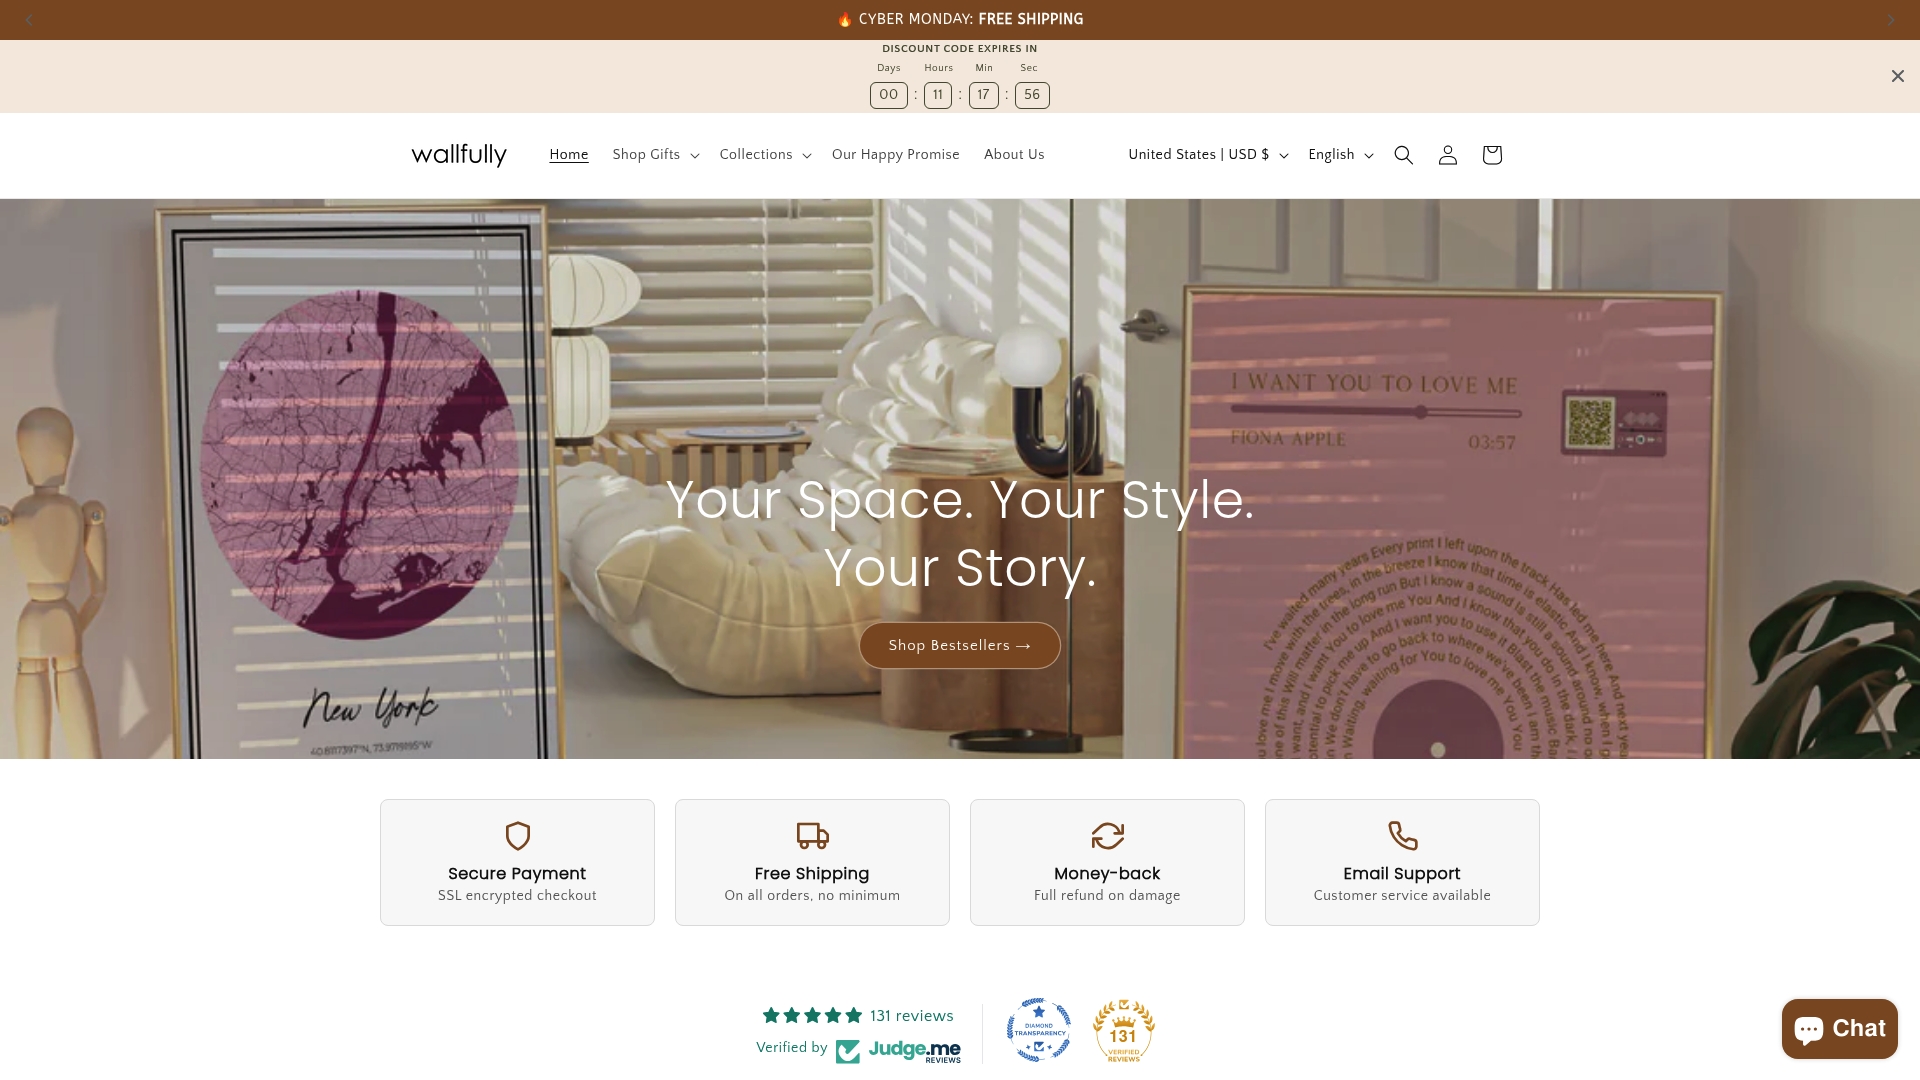
Every order ships on eco-friendly materials with free shipping and a satisfaction guarantee. For parents who want a framed milestone print ready to hang, Wallfully handles the file prep, printing, and finishing. The preview tool shows you the final result before you commit, which removes the color-surprise problem entirely.
Start your custom milestone print at Wallfully and have a print-ready, framed keepsake without the home-printer guesswork.
Sources
- How to create better photo prints
- How to print digital art: complete professional guide 2025
- Posters (product landing)
- Print digital art at home vs print shop