How to preview personalized art for home decor
WallfullyChoosing personalized art for your home can feel risky when you cannot see the final piece before committing. Many buyers hesitate because they worry the custom design will not match their vision, fit their space, or suit the occasion. Previewing personalized art effectively removes this uncertainty and helps you make confident decisions. This guide walks you through a clear, stepwise method to preview custom wall art accurately, ensuring your purchase delivers the meaningful decor you envision for your home or as a thoughtful gift.
Table of Contents
- Preparing To Preview Personalized Art: What You Need And Expect
- Executing The Preview: Step-By-Step Guide To Generating And Customizing Your Art
- Verifying And Refining Your Preview: Common Pitfalls To Avoid And Quality Tips
- Discover Personalized Art Gifts And Decor At Wallfully
- Frequently Asked Questions
Key takeaways
| Point | Details |
|---|---|
| Preview process stages | Personalized art preview involves user input, AI image generation, rendering, customization, and integration for accurate visualization. |
| AR and photorealistic tools | Combining AR and photorealistic visualization improves decision accuracy by offering complementary spatial and aesthetic insights. |
| AI quality degradation | AI image quality can degrade with scaling and multiple edits, making careful workflow essential for print-ready results. |
| Common pitfalls awareness | Understanding common pitfalls like resolution limits and lighting inconsistencies helps avoid disappointment with final art. |
| Reduced purchase time | Previewing custom art reduces purchase time and increases satisfaction by aligning expectations with the final product. |
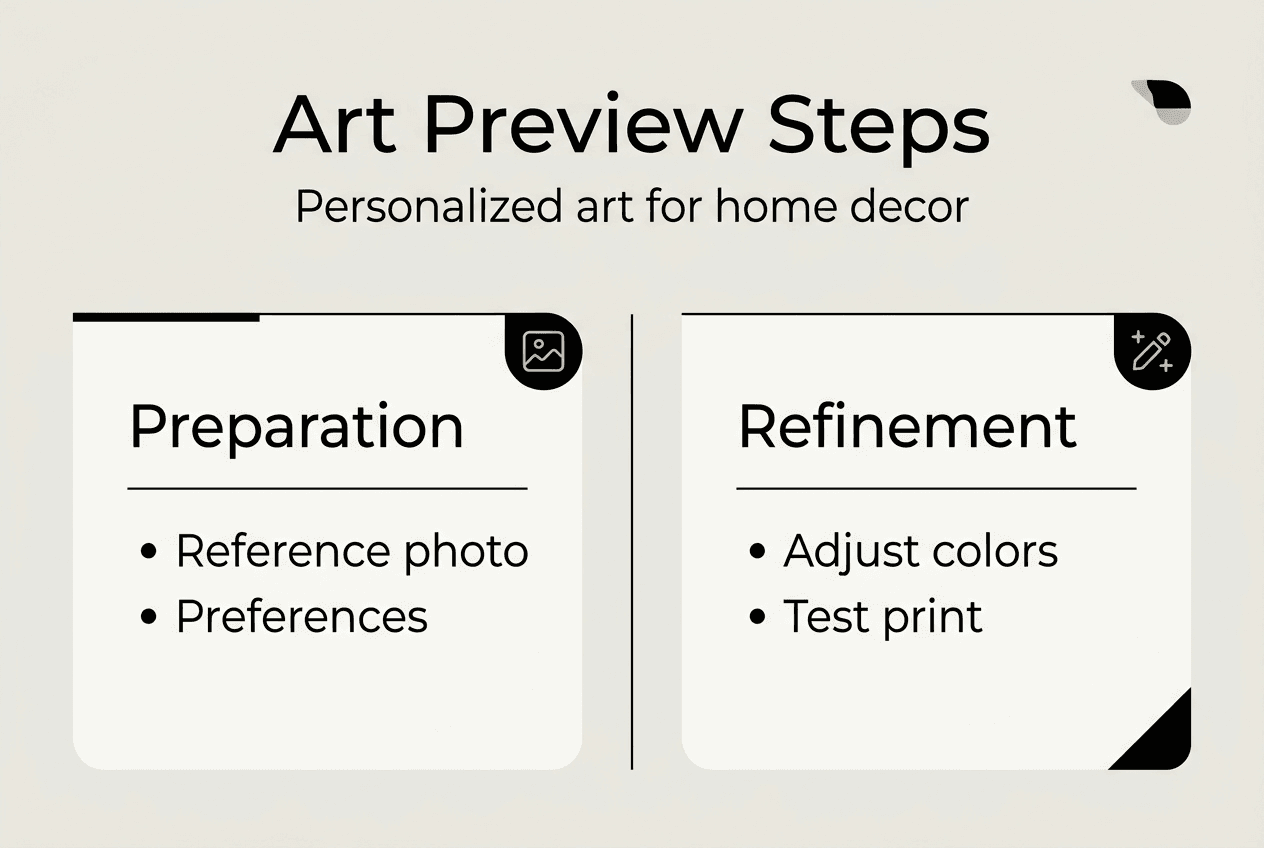
Preparing to preview personalized art: what you need and expect
Before you start previewing, gather detailed information about your preferences. The core preview process begins with gathering detailed user preferences like style, size, color, and subject. Write down the exact dimensions you need, the color palette that matches your room, and the subject matter that resonates with you. If you are designing a gift, consider the recipient’s tastes and the occasion.
Choose the right AI generation tool based on your priorities. Some tools prioritize speed and real-time feedback, while others focus on high-resolution outputs. If you want to experiment quickly with multiple designs, select a tool optimized for low latency. If you need a single, highly detailed preview, prioritize throughput and resolution.
Prepare high-quality reference images to guide the AI. Including lighting, specific materials, and tone descriptors improves AI-generated preview quality. Take photos of your room in natural light, capturing the wall where you plan to hang the art. Ensure the images are clear and show accurate colors. Poor lighting or blurry photos will mislead the preview tool.
Set realistic expectations about AI limitations. AI tools excel at generating creative visuals but struggle with extreme detail and resolution beyond certain thresholds. If you plan to print large-format art, understand that preview quality may not perfectly reflect the final print. AI-generated images often require manual refinement for professional results.
Understand that previewing is iterative. You will likely need multiple rounds of adjustments to refine colors, compositions, or placement. Each iteration should bring you closer to your vision, but avoid excessive edits that degrade image quality. Plan for a few rounds of feedback and revision.
Pro Tip: Before uploading reference images, check that your photos are well-lit and free from distracting objects. A clean, accurate reference helps the AI generate a preview that truly reflects your space.
For more guidance on creating personalized designs, explore our personalized art design guide. If you want to understand the broader customization process, visit our personalize wall art resource.
Executing the preview: step-by-step guide to generating and customizing your art
Once you have prepared your inputs, follow these steps to generate and customize your preview:
-
Input your preferences into the preview tool. Enter your style, size, color, and subject details. Be as specific as possible to guide the AI accurately.
-
AI generates initial art images rapidly. Gemini 2.0 Flash optimizes for low latency and real-time preview editing through fast conditional image synthesis. This allows you to see multiple design options in seconds.
-
Render art in simulated or uploaded room photo environments. Upload your room photo or choose a simulated environment that matches your space. The tool overlays the art onto the wall, showing how it fits within your decor.
-
Use AR for quick scale and placement checks. AR apps let you visualize the art at actual size using your smartphone or tablet. Walk around your room and see the art from different angles.
-
Customize colors, sizes, or styles as needed. Adjust the design elements that do not match your vision. Change the color palette, resize the art, or tweak the composition.
-
Review realistic visual cues like lighting and shadows. Combining AR apps and realistic room visualization provides complementary benefits throughout the preview. Check that lighting and shadows look natural and consistent with your room.
-
Iterate edits sparingly to maintain image quality. Limit your revisions to two or three rounds to avoid quality degradation. Each regeneration cycle can introduce artifacts or reduce sharpness.
| Preview Stage | Tool Type | Key Benefit |
|---|---|---|
| Initial generation | AI image generator | Rapid creation of multiple design options |
| Room rendering | Photo-based visualizer | Accurate color and lighting context |
| Scale and placement | AR app | Real-time spatial feedback |
| Customization | Hybrid AI and manual tools | Precision control over design elements |
Pro Tip: Save each version of your preview as you iterate. This allows you to compare different designs side by side and choose the best one without losing earlier options.
For practical examples of previewing custom art for special occasions, see our guide on preview personalized art weddings. To understand the full shopping workflow, visit our wall art shopping workflow resource.
Verifying and refining your preview: common pitfalls to avoid and quality tips
After generating your preview, verify its quality and watch for common mistakes. AI-generated art often loses quality with each edit, and scaling beyond 4K can introduce distortions and artifacts. If you notice blurriness or pixelation, stop editing and start fresh with a new generation.
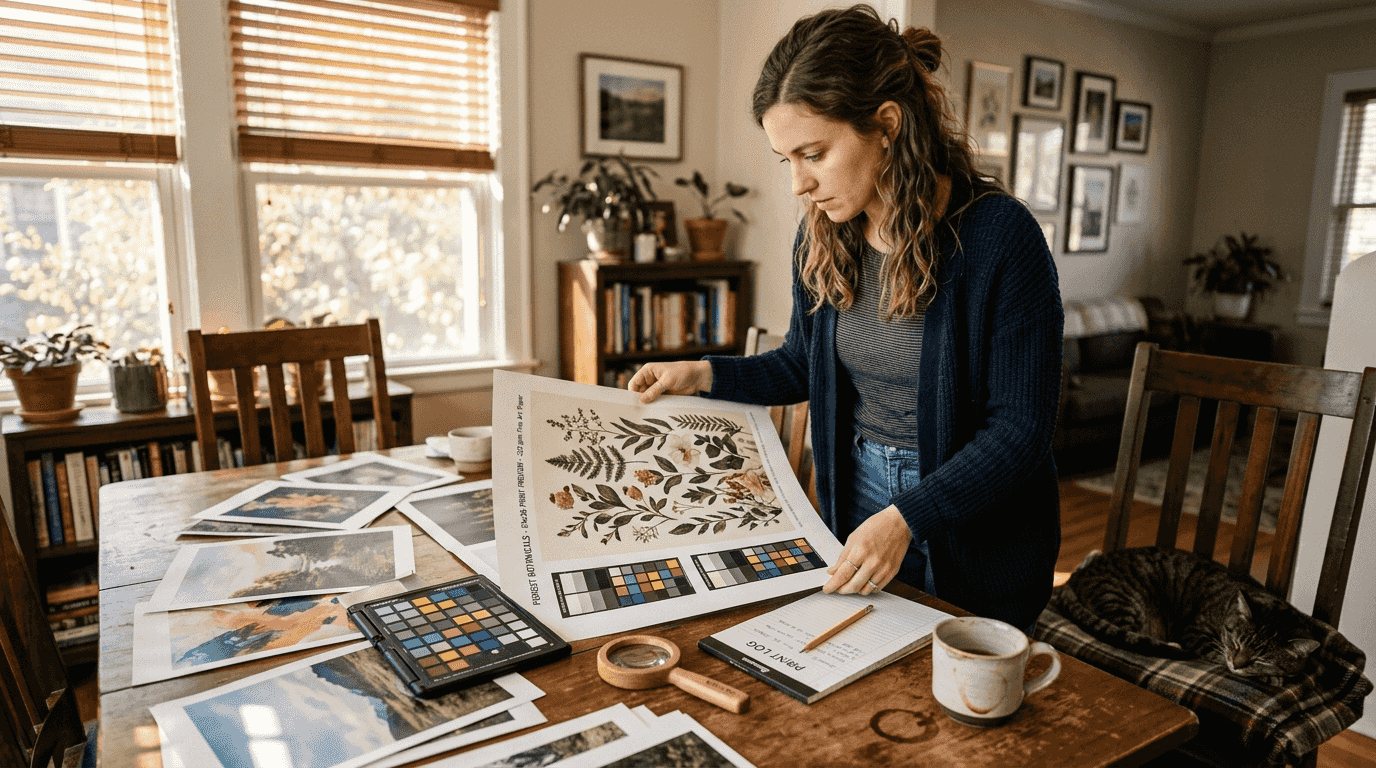
Do not rely solely on screen previews for print-ready quality. Screens display images at lower resolutions than professional prints require. Always request a high-resolution export and zoom in to check fine details. If the preview looks sharp on screen but blurry when zoomed, it will not print well.
Understand upscaling limits and artifact risks. Generative upscaling can maintain coherence up to 4K-8K, but most tools struggle beyond this, leading to pixelation. If you need larger prints, work with a designer who can manually refine the art for higher resolutions.
Check lighting, shadows, and perspective consistency to ensure realism. Handling complex user requests and consistent lighting/shadows is critical for realistic, visually comfortable previews. If the art looks out of place or the lighting does not match your room, adjust the rendering settings or upload a better reference photo.
Use a combined approach of AI and manual design tools to preserve quality. AI excels at generating creative concepts, but manual tools like Photoshop or Illustrator allow precise refinements. Combine both to achieve professional results.
Avoid excessive edits on gradients and fine details. These elements are particularly vulnerable to quality loss during regeneration. If you need to adjust gradients or intricate patterns, use manual editing tools instead of regenerating the entire image.
Verify copyright and licensing for AI-generated art. Some AI tools may produce images that resemble copyrighted works. Ensure your preview tool provides clear licensing terms and that you own the rights to use the final art commercially or personally.
Common pitfalls to avoid:
- Regenerating the same image more than three times
- Upscaling beyond 4K without manual refinement
- Ignoring lighting inconsistencies between the art and your room
- Relying on screen previews without checking high-resolution exports
- Skipping copyright verification before printing
| Quality Issue | Cause | Solution |
|---|---|---|
| Blurry prints | Low resolution or excessive upscaling | Use high-resolution source images and limit upscaling |
| Color mismatch | Poor reference photos or screen calibration | Upload well-lit photos and calibrate your screen |
| Unnatural lighting | Inconsistent rendering settings | Adjust rendering to match room lighting |
| Artifacts and distortions | Multiple regeneration cycles | Start fresh and limit edits to two rounds |
Pro Tip: Before finalizing your order, print a small test version of your art at a local print shop. This lets you verify colors and quality without committing to a large, expensive print.
For more tips on creating custom prints, visit our make custom prints guide. To understand the role of design in personalized art, explore our design role personalized art resource.
Discover personalized art gifts and decor at Wallfully
Now that you understand how to preview personalized art effectively, explore the curated collections at Wallfully. Our platform combines innovative preview technology with expert craftsmanship to deliver meaningful home decor and gifts. Whether you are designing a custom print for your living room or searching for a thoughtful gift for new parents, Wallfully makes it easy to preview and customize art from the comfort of your home.
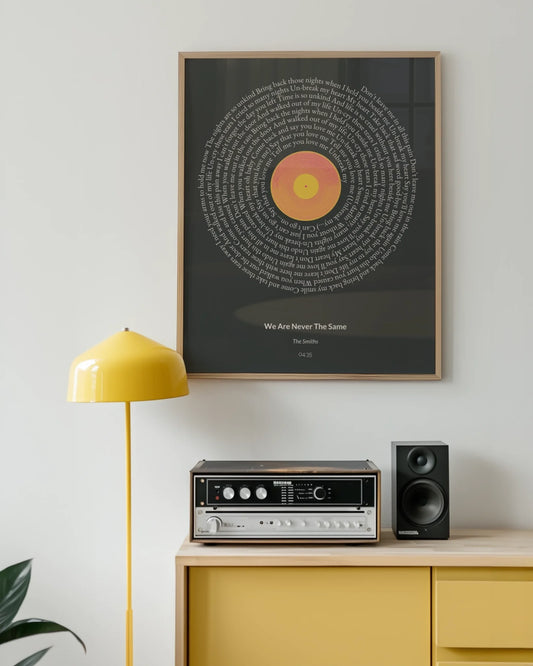
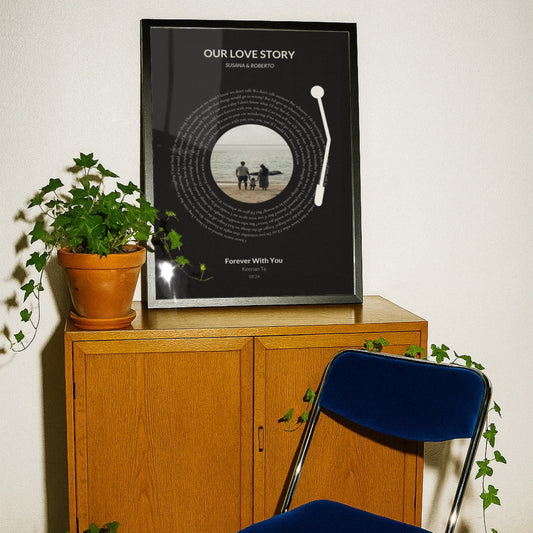
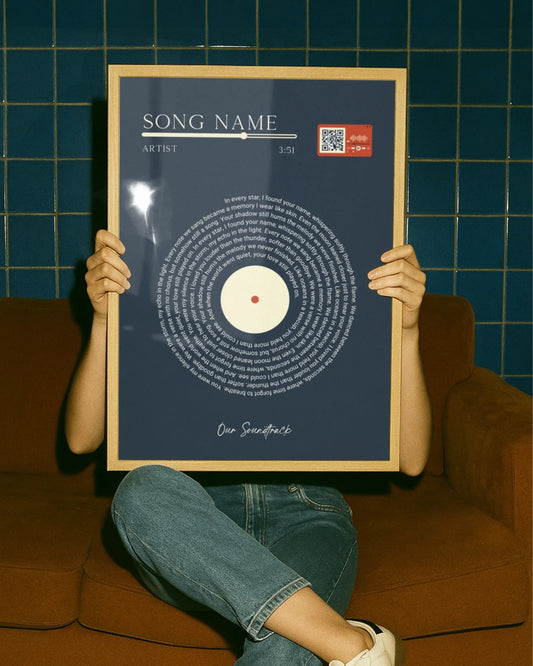
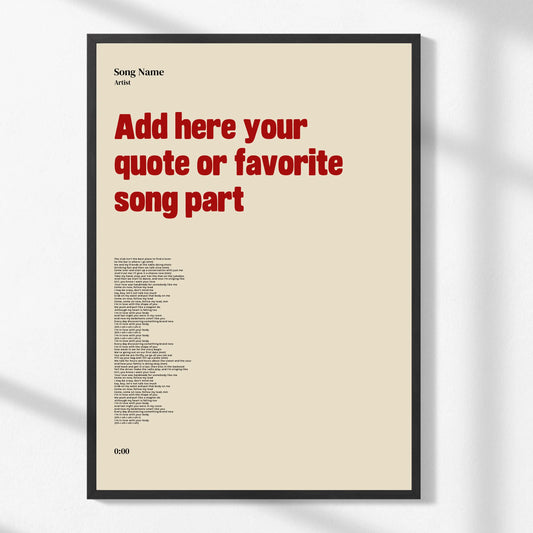
Discover unique options that match your style and occasion. From song lyric posters to milestone prints, our collections offer something for every taste. Check out our personalized gifts for new parents or browse the full range of decor at Wallfully home decor. Start creating art that truly reflects your vision today.
Frequently asked questions
How do I preview personalized art before buying?
Use digital tools that combine AI generation with room visualization for best previews. Ensure you provide accurate style and size preferences to improve preview relevance. Look for preview tools offering real-time customization and iterative edits. Be aware of preview limitations like resolution and lighting realism before printing. For more examples, visit our preview personalized art weddings guide or explore gifting personalized art steps.
Can I see how personalized art will fit my space using AR?
Yes, AR apps provide a useful size and placement preview, but they often lack full photorealism. AR apps excel at showing rough scale and placement but often lack realistic lighting and texture. For accurate color and lighting, combine AR with photo-based visualizations. This dual approach gives you both spatial context and aesthetic accuracy.
Why does AI-generated art sometimes look blurry when printed?
AI images often lack the high resolution and texture integrity needed for large-format printing, causing blur and distortion. Low resolution and artifact exaggeration when upscaling are common causes. Use generative upscaling tools carefully and limit edits to preserve detail. Always request high-resolution exports and verify quality before printing.
How can I ensure my personalized art preview matches the final product?
Providing detailed references including lighting, tone, and environment helps improve AI preview outcomes. Use precise style and environmental references when submitting preview requests. Limit multiple regeneration rounds to avoid quality loss. Combine AI preview with manual edits for best fidelity. For additional design guidance, visit our art design guide.