Wall Decor Customization Steps: Your Practical Guide
WallfullyTL;DR:
- Personalized wall decor transforms a room by reflecting meaningful memories and individual style.
- Following a structured process, including image selection, editing, layout planning, and framing, ensures professional-looking results.
- Prioritizing meaningful images and proper mockups leads to more cohesive and impactful displays that truly enhance your space.
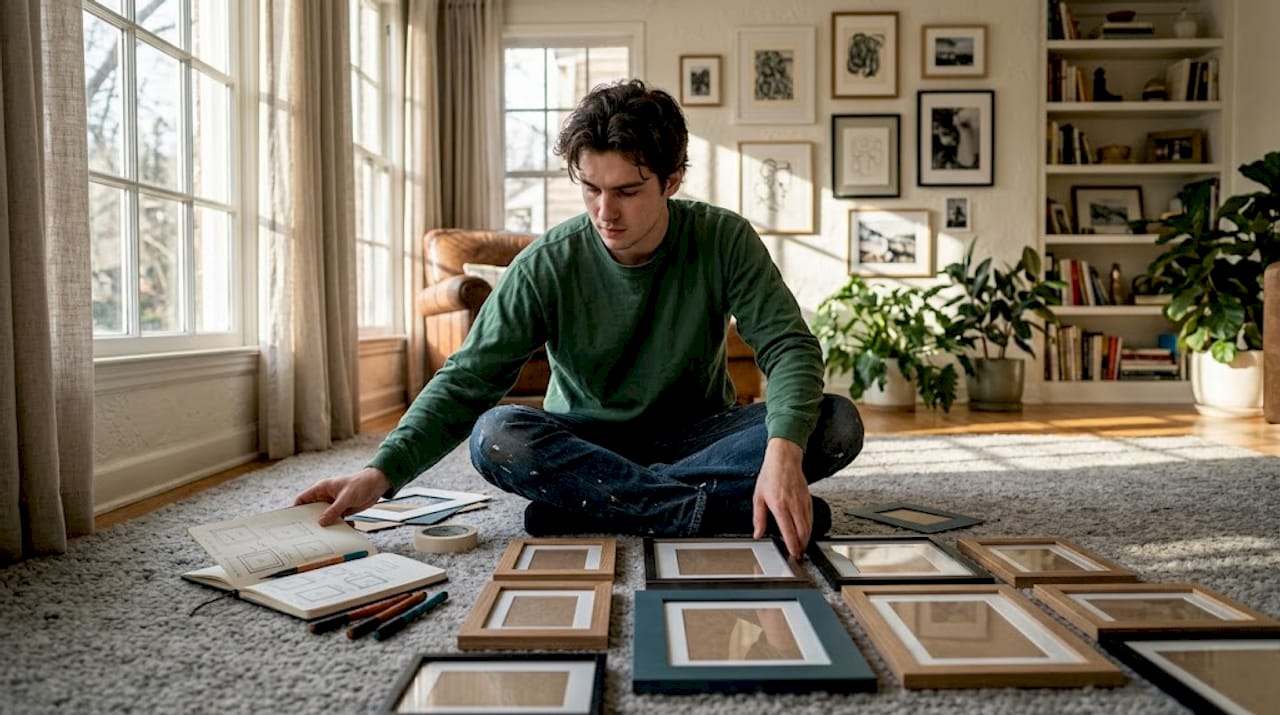
Most people settle for whatever art they find on sale, hang it up, and wonder why their room still feels generic. The problem is not the wall. It is the absence of you in the decor. Working through clear wall decor customization steps changes that completely. You go from choosing what is available to building something that reflects a specific memory, relationship, or aesthetic vision. This guide walks you through every phase of the process, from gathering your tools to hanging your final piece, so you leave with decor that actually means something.
Table of Contents
- Key takeaways
- Gathering materials for wall decor customization steps
- Step-by-step guide to customizing wall art
- Common mistakes to avoid when customizing wall decor
- What personalized wall decor actually does for your space
- My honest take on what makes this process work
- Ready to bring your vision to life with Wallfully
- FAQ
Key takeaways
| Point | Details |
|---|---|
| Start with materials | Gather frames, quality prints, adhesives, and leveling tools before you begin customizing. |
| Follow a six-step process | Move from image selection through editing, media choice, layout planning, framing, and hanging. |
| Use the 57-inch rule | Center your artwork at eye level, approximately 57 inches from the floor, for best visual comfort. |
| Avoid spacing mistakes | Keep frames 2-3 inches apart in a gallery wall to maintain a unified, connected look. |
| Plan before you hang | Use paper templates or digital mockups to test layouts and prevent unnecessary wall damage. |
Gathering materials for wall decor customization steps
Before you touch a single frame, you need the right supplies in front of you. Skipping this step is the single most common reason DIY projects stall halfway through.
Here is a breakdown of what you actually need:
Essential supplies:
- Frames in consistent or intentionally varied styles
- High-resolution printed images or canvas prints
- Picture hanging hardware (hooks, nails, or adhesive strips)
- A level and a tape measure
- Painter’s tape or paper templates for layout testing
- Matting materials (optional but recommended for a polished finish)
Optional extras that make a real difference:
- A stud finder for heavier pieces
- A pencil for marking hanging points
- Wall anchors for drywall installations
- Foam core or backing boards for lightweight framing
| Supply | Purpose | Where to find it affordably |
|---|---|---|
| Frames | Display and protect your art | Thrift stores, discount home goods retailers |
| Adhesive strips | No-nail hanging option | Hardware and big-box stores |
| Matting board | Adds visual depth and finish | Craft supply stores |
| Level | Prevents crooked hanging | Hardware stores or borrow from a neighbor |
| Painter’s tape | Layout planning on the wall | Any home improvement store |
Quality matters more than quantity here. A cheap frame can visually undercut even a beautiful print. Spend a few extra dollars on materials and you will notice the difference immediately.
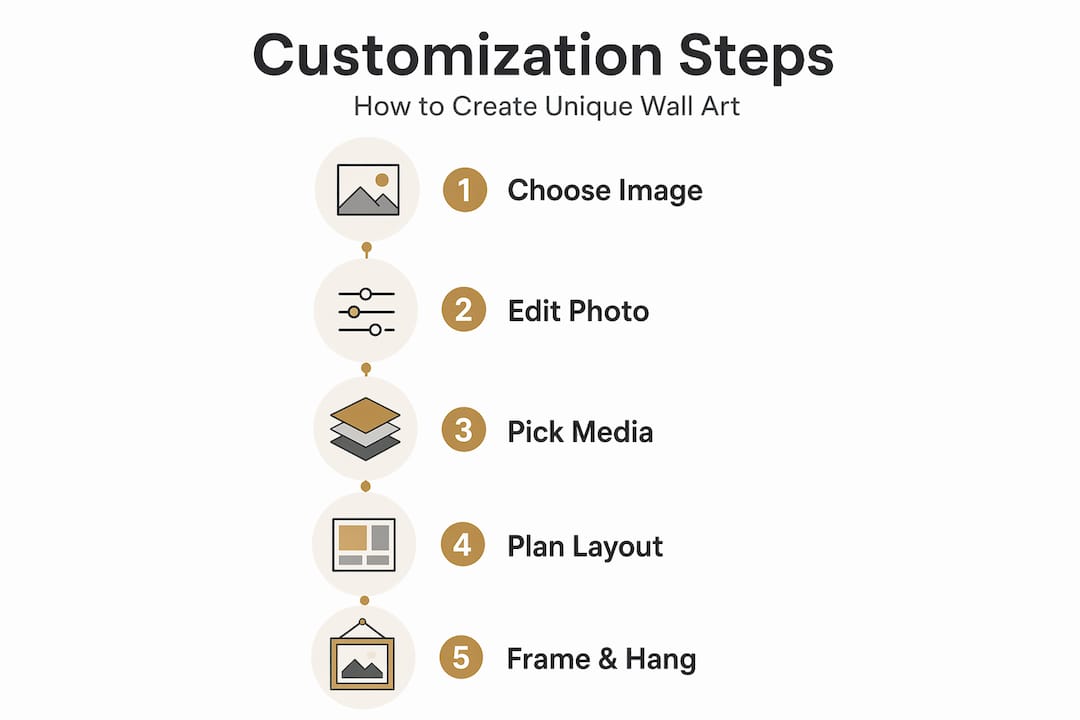
Step-by-step guide to customizing wall art
This is where the process becomes real. Each step builds on the previous one, so resist the urge to skip ahead.
-
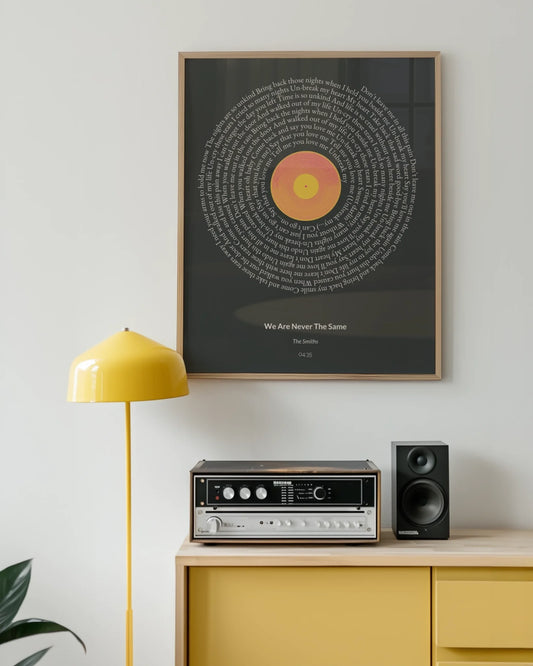
Select a meaningful, high-quality image. The best wall art starts with emotional resonance. A photo from a meaningful trip, a lyric from your wedding song, or a map of where you met someone carries weight that generic stock art simply cannot. Beyond meaning, good resolution and composition matter for print clarity and final impact. A blurry image printed large looks worse than it does on a phone screen.
-
Edit and prepare your image for print. Adjust brightness, contrast, and sharpness. Most photo editing apps, including free ones like Snapseed or Google Photos, handle this well. If you are printing at a large scale, export at 300 DPI minimum. Colors also shift between screens and print, so bump saturation slightly before submitting to a print service.
-
Choose the right medium. Canvas prints feel warm and textured, ideal for photos and painted-style artwork. Photo paper prints are sharp and detailed, better for graphic designs or typographic pieces. Paint-by-number kits give you a finished piece you created yourself, which adds a personal layer that ready-made prints cannot replicate. Selecting the right frame ties the art into your room’s style and adds real sophistication.
-
Plan your layout. A single large piece makes a bold statement. A grid layout creates order and symmetry. A salon-style gallery wall feels eclectic and personal. Standard gallery walls use 5-7 pieces spaced 2-3 inches apart, and the paper template method reduces wall damage while giving you 30-60 minutes of confident layout testing. Cut paper to the size of each frame, tape them to the wall, and step back.
-
Frame with matting for a professional finish. DIY framing saves 40-60% compared to professional framing, and adding a mat board around your print gives it breathing room that elevates the entire piece. White or off-white matting works with nearly any color palette. For a modern, gallery-style look, consider floater frames that leave space between the art and the frame edge.
-
Hang at the right height. The 57-inch rule aligns artwork center with average eye level for the best visual comfort. When hanging above furniture, place the bottom of the frame 6-10 inches above the piece. This keeps the art visually connected to the furniture rather than floating on the wall.
Pro Tip: Before driving a single nail, take a photo of your paper template layout. Compare it on your phone against reference images of gallery walls you like. You will catch spacing and proportion issues in five minutes that would otherwise take three attempts to fix on the wall.
| Media type | Best for | Finish feel |
|---|---|---|
| Canvas print | Photos, painted art | Warm, textured |
| Photo paper print | Graphics, typography | Sharp, detailed |
| Metal print | Modern spaces, bold color | Sleek, vibrant |
| Paint-by-number | DIY creation | Personal, hand-crafted |
Common mistakes to avoid when customizing wall decor
Even well-planned projects run into problems. Knowing what goes wrong in advance puts you ahead of most first-timers.
- Inconsistent spacing. Spacing wider than 4 inches makes a gallery wall feel disconnected. Maintaining 2-3 inches between frames creates a unified grouping rather than scattered individual pieces.
- Poor image resolution. Selecting a photo that looks fine at 4x6 but prints poorly at 11x14 is a common frustration. Always check the pixel dimensions before ordering a large print.
- Skipping the mockup phase. Using digital mockups helps identify glare, shadow, and scale issues before a single hole is made in the wall. Several free apps let you upload a photo of your room and virtually place art on it.
- Ignoring visual weight. A wall full of heavy dark frames on one side and tiny light pieces on the other will feel off even if you cannot immediately name why. Mixing large, dark pieces with smaller, lighter ones creates balance and harmony.
- Choosing frames that clash. You do not need matching frames, but you do need a connecting thread. Consistent finish color, consistent material, or consistent width keeps a diverse set of frames feeling intentional.
Pro Tip: Lay all your frames flat on the floor before hanging anything. Photograph the arrangement from above. This bird’s-eye view reveals proportion and balance issues that are nearly invisible when you are standing in front of the wall.
The thoughtful intent behind your decor choices matters more than any single aesthetic decision. A gallery wall that tells a story with mismatched frames almost always feels better than a perfectly matched display with nothing meaningful inside.
What personalized wall decor actually does for your space
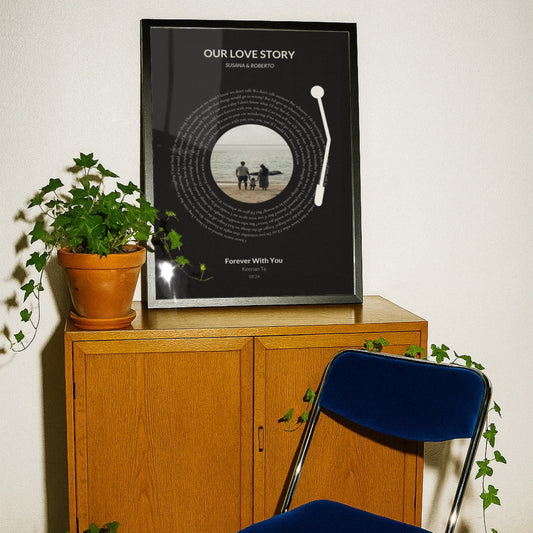
There is a measurable difference in how a room feels when the art on the walls is genuinely personal. It is not just decoration at that point. It is context. When guests walk into a room and see a map of the city where you met your spouse, or a print of song lyrics from your college years, the conversation that follows is about you, not about where you bought the art.
“The quality of a design comes from the thoughtful intent behind decor choices, not just aesthetics.” — Interior design process insight
Cohesive gallery walls do something specific for a room’s energy. They create a visual anchor that draws the eye and holds it. A well-executed grouping of personalized wall decorations does not just fill space. It establishes the character of the entire room.
Maintenance matters too if you want your work to last. Keep prints out of direct sunlight to prevent fading. Use UV-protective glass or acrylic in frames when possible. Dust frames with a dry cloth rather than sprays that can seep under the glass. A wall you invested time customizing deserves a small amount of ongoing care.
The best creative wall decoration techniques are the ones you will actually use. Start with one wall, one grouping, or even one piece. Build from there. The learning curve is short, and the first finished project almost always motivates the next.
My honest take on what makes this process work
I have helped a lot of people think through how to customize wall decor, and the pattern I keep noticing is this: the projects that turn out best are the ones where someone spent most of their time on image selection and almost no time worrying about whether the frames matched.
When you start from an image that carries real meaning, every other decision flows naturally from it. The frame choice, the media type, the placement. It all becomes obvious when the art itself has clear emotional weight.
What I have found genuinely changes outcomes is the mockup step. I used to skip it. I thought I had good spatial reasoning and could visualize a wall in my head. I was wrong, repeatedly. Using paper templates and even basic phone apps to preview arrangements has saved me from bad layouts more times than I can count. It takes an extra hour and saves you from redoing everything twice.
DIY matting was another revelation. The first time I added a simple white mat to a print I had framed myself, the whole thing looked like it came from a high-end gallery. The professional finish from matting is not subtle. It is the single highest-return move in the entire process.
My advice: plan more than feels necessary, start with the piece that matters most to you, and let the rest build around it.
— Luanda
Ready to bring your vision to life with Wallfully
If you have worked through these steps and realized you want a professional-quality print without the production hassle, Wallfully was built exactly for that moment. You bring the personal detail, such as a name, a date, a location, or a song, and Wallfully handles the design and printing. The platform lets you customize personalized wall art with a live preview before you order, so what you see is genuinely what you get.
Every order ships free, uses eco-friendly materials, and comes with a satisfaction guarantee. Whether you are building a gallery wall around a milestone print or gifting a custom map to someone meaningful, the types of custom wall decor available at Wallfully cover every style and occasion. Browse the collections at Wallfully and find the piece that starts your next wall project.
FAQ
What are the basic wall decor customization steps?
The core steps are image selection, image editing, media and frame choice, layout planning, matting and framing, and finally hanging at the correct height. Following this order prevents most common mistakes and produces a professional result.
How far apart should frames be in a gallery wall?
Keep frames 2-3 inches apart for a cohesive gallery look. Spacing beyond 4 inches makes the grouping feel disconnected.
What is the 57-inch rule for hanging art?
The 57-inch rule means centering your artwork 57 inches from the floor, which aligns with average eye level. When hanging above furniture, adjust so the frame bottom sits 6-10 inches above the piece.
How do I avoid crooked hanging?
Use a level and mark your hanging points with a pencil before driving any nails. The paper template method also helps you confirm exact placement before committing to holes in the wall.
Does matting really make a difference in DIY framing?
Yes. Matting adds visual breathing room around the print and creates a finished look that dramatically improves perceived quality. It is one of the simplest upgrades in the entire DIY framing process.