How to Preview Custom Prints Before You Order
WallfullyTL;DR:
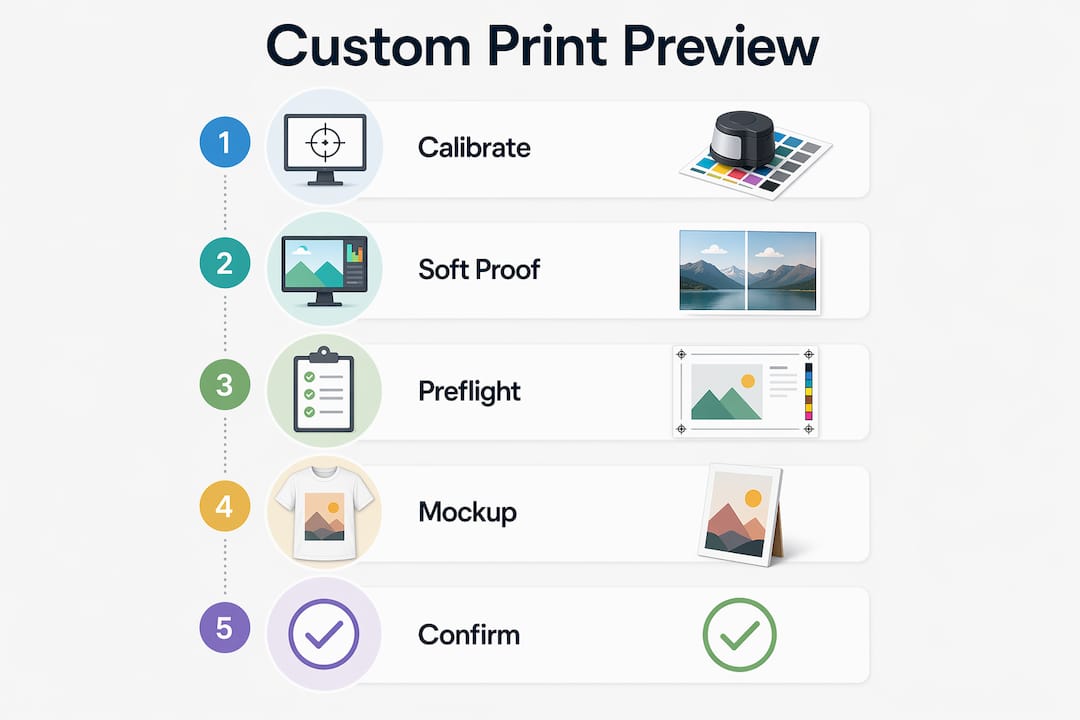
- Previewing custom prints involves soft proofing with calibrated monitors and ICC profiles to accurately simulate print colors and paper effects. It also requires preflight checks to identify issues like missing fonts, incorrect color spaces, or insufficient resolution before submitting files. Additionally, verifying size and layout through mockups and true-scale previews ensures proper placement and avoids costly mistakes.
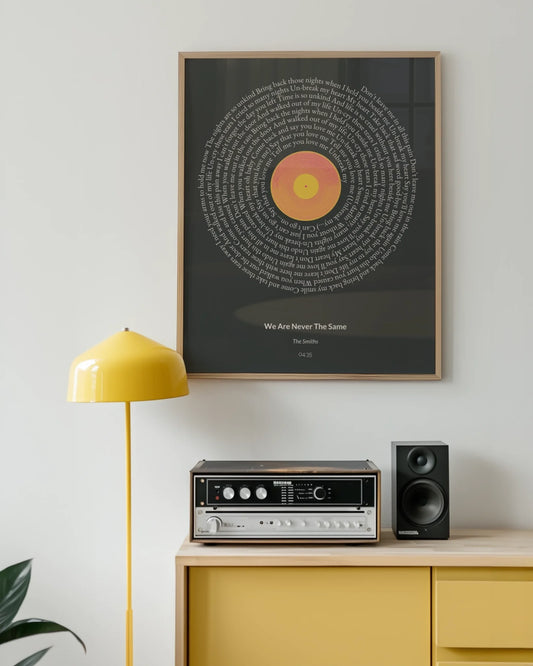
Previewing custom prints is the process of using calibrated displays, color management profiles, PDF preflight verification, and mockup visualization tools to confirm exactly how your design will look once it comes off the press. Skip this step and you risk receiving a print where colors look muddy, text sits too close to the edge, or the image appears pixelated at full size. Whether you are creating a song lyric poster for your living room or ordering a milestone print as a birthday gift, knowing how to preview custom prints accurately saves you money, time, and disappointment. The right workflow combines soft proofing, preflight checks, and size simulation into one repeatable process.
How to preview custom prints: tools and prerequisites
Getting an accurate preview starts before you open any design file. Three things must be in place: a properly calibrated monitor, the correct ICC color profiles for your print conditions, and software capable of rendering a color-managed proof.
Monitor calibration is the foundation. A display that has never been profiled can show colors that are 20 to 30 percent off from the final print. Soft proofing accuracy depends on the entire color management chain, including monitor calibration and correctly embedded ICC profiles. Without calibration, every preview you see is a guess.
Here is what you need before starting any preview workflow:
- A calibrated and profiled monitor with a valid ICC profile (hardware calibrators like X-Rite i1Display or Datacolor Spyder produce the most reliable results)
- Destination ICC profiles that match your print conditions, such as Coated FOGRA39 for European offset printing or SWOP 2006 Coated3v2 for North American commercial print
- Adobe Acrobat Pro or Adobe Photoshop for soft proofing and color simulation
- A PDF preflight tool such as Xodo PDF Studio to check file integrity before submission
- Design files set up with correct bleed, safety zones, and minimum 300 DPI resolution at final print size
| Requirement | Why it matters |
|---|---|
| Calibrated monitor | Eliminates display-introduced color shifts |
| Destination ICC profile | Simulates the specific ink and paper combination |
| Preflight software | Catches file errors before they reach the printer |
| Correct bleed setup | Prevents white edges after trimming |
| 300 DPI at final size | Avoids pixelation in the finished print |
Pro Tip: Download ICC profiles directly from your print provider’s website. Wallfully and most professional print services publish their profiles in the help or technical specifications section.
How does soft proofing work for print color accuracy?
Soft proofing is the on-screen simulation of how your design’s colors will appear after printing on a specific paper with specific inks. It is the digital equivalent of a physical color proof, and digital proof workflows increasingly rely on it because it eliminates the cost and delay of shipping hard proofs.
Follow these steps to set up soft proofing in Adobe Photoshop:
- Open your design file and go to View > Proof Setup > Custom.
- Under “Device to Simulate,” select the destination ICC profile that matches your print condition (for example, Coated FOGRA39).
- Choose a rendering intent. Perceptual works best for photographic images with wide color ranges. Relative Colorimetric suits designs with spot colors or precise brand colors.
- Check “Simulate Paper Color” to include the paper white point in the simulation. This is the most realistic setting because it shows how the paper’s natural tone affects your colors.
- Toggle the soft proof view on and off with Ctrl+Y (Windows) or Cmd+Y (Mac) to compare your original RGB view against the simulated CMYK print output.
- Adjust hue, saturation, or brightness in your design if the proof reveals colors that shift too far from your intent.
The paper white point simulation step surprises most first-time users. Pure white in your design will display as a slightly warm or cool tone depending on the paper stock, which is exactly what the final print will show. Soft proofing simulates press, paper, and ink gamuts on a calibrated monitor including that paper white point, making it the closest you can get to a physical proof without printing.
Pro Tip: If colors look dramatically different after enabling soft proofing, your design is using colors outside the CMYK gamut of that paper. Adjust those colors before ordering, not after.
What does PDF preflight check and why does it matter?
PDF preflight is the automated inspection of a print-ready PDF file to detect errors that would cause production failures or unexpected results. Preflight flags production issues including missing fonts, incorrect color spaces, low-resolution images, transparency conflicts, and bleed problems before the file ever reaches a printer.
Common issues that preflight catches include:
- Missing or unembedded fonts that cause text to reflow or display in a substitute typeface
- Incorrect color spaces such as RGB images in a CMYK document, which printers convert unpredictably
- Low effective resolution at the final print size, which causes visible pixelation
- Missing bleed that leaves white edges after trimming
- Transparency and overprint conflicts that produce unexpected color interactions
Here is how to run a preflight check using Xodo PDF Studio:
- Open your print-ready PDF in Xodo PDF Studio.
- Go to Document > Preflight and select a print standard profile such as PDF/X-1a or PDF/X-4.
- Run the check and review the results panel. Errors appear in red, warnings in yellow.
- Fix each flagged issue in your original design application, re-export the PDF, and run preflight again.
- Iterate fixes through repeated preflight checks until the PDF passes all verification before submitting.
- Save a backup copy of the final preflighted PDF with a clear version label.
Xodo PDF Studio provides a visual, user-friendly interface that gives clear feedback without requiring deep technical knowledge. That makes it practical for gift-givers and personal print creators who are not professional prepress operators.
Pro Tip: Always preflight the final exported PDF, not the source design file. Export settings in Illustrator, InDesign, or Canva can introduce errors that were not present in the original layout.
How to preview size, layout, and mockups for personalized designs
Color accuracy is only half the preview equation. Size, layout, and placement on the wall matter just as much, especially for large-format prints like canvas art or poster-size milestone prints.
Use these methods to check print design dimensions and placement before ordering:
- Upload to a mockup viewer. Online canvas print simulators let you place your design on a realistic wall scene to judge scale and proportion. Wallfully’s preview interface shows your personalized design in context before you finalize the order.
- Check bleed and safety zones. Print-ready files require a minimum 3 mm bleed and a 3 to 5 mm safety zone inside the trim line. Any text or critical image content placed outside the safety zone risks being cut off.
- Verify effective resolution at final print size. Effective resolution must be checked at the actual output dimensions, not the original file size. A 1000-pixel image looks sharp at 3 inches but pixelated at 12 inches.
- Use actual size or 100% scaling print previews. On-screen size previews can mislead unless you verify 100% scaling using the “actual size” option in your PDF viewer’s print dialog. Browser zoom and OS display scaling both distort perceived dimensions.
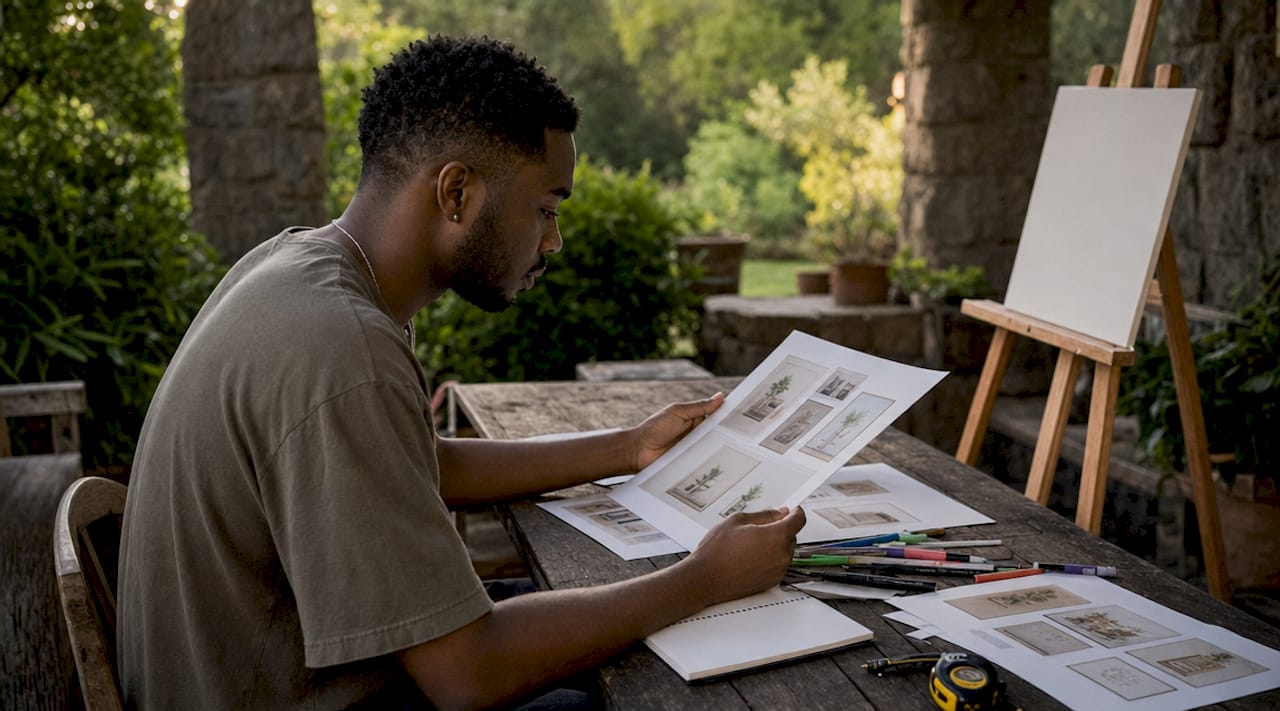
- Compare against a physical reference. Print a scaled version on standard letter paper and hold it against the wall to judge proportion before committing to a large canvas order.
| Preview method | Best for | Limitation |
|---|---|---|
| Online mockup viewer | Wall placement and scale judgment | Does not show color accuracy |
| Soft proof in Photoshop | Color simulation | Requires calibrated monitor |
| 100% size print dialog | Verifying actual dimensions | Needs accurate printer settings |
| Physical scaled printout | Proportion and placement | Colors will differ from final print |
Common mistakes when previewing custom prints
Most print disappointments trace back to a small set of repeatable errors. Recognizing them before you order is far cheaper than reprinting.
- Skipping monitor calibration. An uncalibrated display makes colors look accurate on screen while the print comes out with a color cast. Soft proofing is only reliable when the entire viewing and color management chain is correct.
- Ignoring bleed. Designs without bleed produce white edges after trimming because the cutter shifts slightly. Treat bleed as a safety buffer for cutter variance and always keep critical content inside the safety zone.
- Scaling images after placement. Enlarging an image inside your design application after placing it reduces the effective DPI. Always check resolution at the final output size, not the original file dimensions.
- Relying only on the browser preview. Browser-based design tools apply their own scaling and color rendering. They are useful for layout review but not for final color or size verification.
- Submitting PDFs without embedded fonts. Missing fonts cause text to reflow or substitute, changing your design’s appearance entirely.
“Looks good on screen is not enough. PDF preflight is the step that separates confident ordering from costly surprises.” — Xodo PDF Studio
Pro Tip: After fixing any flagged issue, run the full preflight check again from scratch. One fix can sometimes expose a secondary issue that was masked by the first error.
For a deeper look at how monitor settings and lighting affect what you see during preview, the Wallfully guide on print preview accuracy covers calibration and environmental factors in practical detail.
Key takeaways
Accurate custom print previews require soft proofing with calibrated monitors, PDF preflight verification, and size simulation at actual output dimensions before any order is placed.
| Point | Details |
|---|---|
| Calibrate your monitor first | An uncalibrated display makes soft proofing unreliable and color previews misleading. |
| Use destination ICC profiles | Match the profile to your specific paper and ink combination for accurate color simulation. |
| Run PDF preflight every time | Preflight catches missing fonts, color space errors, and bleed problems before they reach the printer. |
| Check resolution at final size | Effective DPI must meet print standards at the actual output dimensions, not the original file size. |
| Verify size with 100% scaling | Use the “actual size” print dialog option to confirm dimensions, since browser and OS scaling distort on-screen measurements. |
Why I think most people preview prints the wrong way
Most people open their design in a browser, zoom out to see the whole thing, decide it looks good, and click order. I have done it myself, and I have paid for it with a canvas print where the faces in a family photo looked like watercolor blurs at 24 inches wide.
The uncomfortable truth is that the browser preview is the least reliable tool in the entire workflow. It applies its own color rendering, its own scaling logic, and it has no concept of what your specific paper stock will do to your blues and reds. Yet it is the step most people treat as final approval.
What actually changed my results was treating the preview as a three-part process rather than a single glance. Soft proofing handles color. Preflight handles file integrity. A mockup or 100% size check handles dimensions. Each one catches a different category of error, and none of them overlap enough to skip.
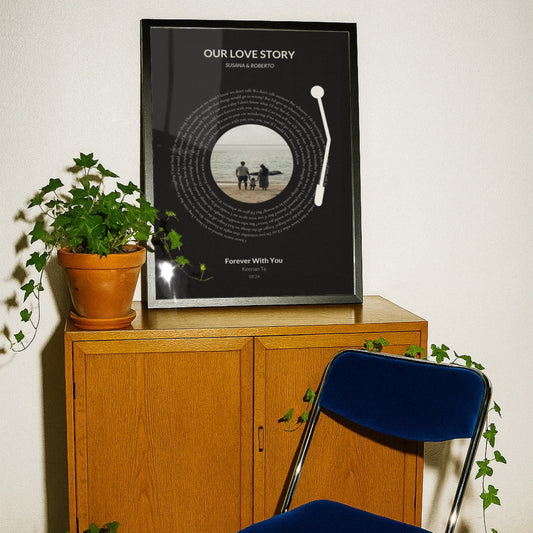
The other thing most guides skip is the iterative nature of preflight. You fix one issue, re-export, and run the check again. That loop feels tedious the first time. After the second or third print order where everything arrives exactly as intended, it becomes the most satisfying part of the process. For a personalized gift, especially something like a custom song lyric poster or a map print tied to a meaningful location, that confidence is worth every extra minute.
The readers who get the best results are the ones who stop treating preview as a formality and start treating it as the last line of quality control before money changes hands.
— Luanda
See your design come to life with Wallfully
Wallfully makes the preview process straightforward for anyone creating a personalized print, whether it is a first-time gift order or a new piece of wall art for your home.
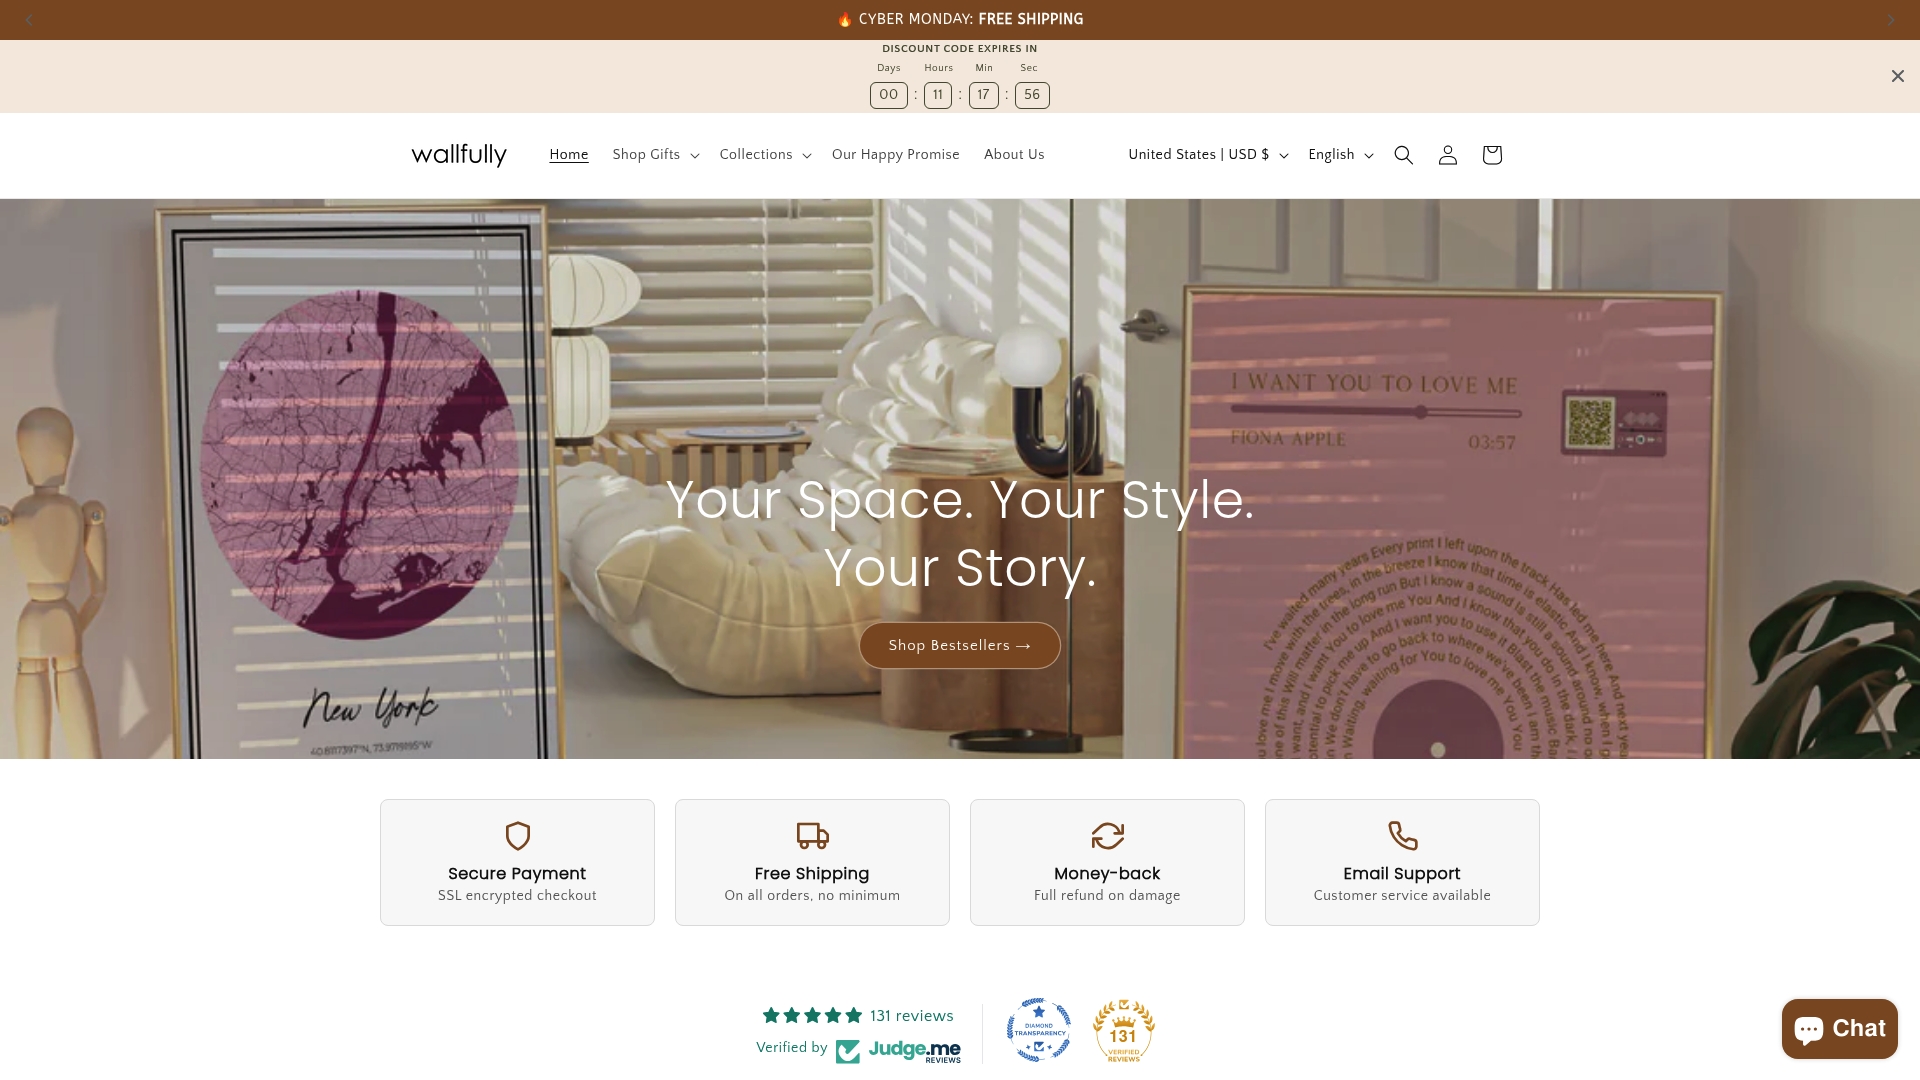
Every Wallfully order includes a live design preview so you can see your custom text, photo, or layout before confirming your purchase. The platform guides you through each customization step, from uploading your image to selecting your print size, with a real-time mockup that updates as you make changes. Wallfully prints on eco-friendly materials with free shipping on every order and a satisfaction guarantee. Start your custom wall art order today and see exactly what you will receive before it ever goes to print.
FAQ
What is soft proofing for custom prints?
Soft proofing is an on-screen color simulation that uses ICC profiles to show how your design’s colors will appear on a specific paper and ink combination. It requires a calibrated monitor and the correct destination profile to produce a reliable preview.
How do I check if my print file is ready to submit?
Run a PDF preflight check using a tool like Xodo PDF Studio to detect missing fonts, incorrect color spaces, low resolution, and bleed errors. Fix every flagged issue and re-run the check until the file passes all verification.
Why does my print look different from the screen preview?
The most common cause is an uncalibrated monitor combined with no soft proofing setup. Screen colors are in RGB while print uses CMYK, and without color management the conversion produces unexpected shifts, especially in blues, oranges, and saturated reds.
What resolution do I need for a custom print?
Your image must reach at least 300 DPI at the final print size, not the original file dimensions. Enlarging an image after placing it in your design reduces effective DPI and causes visible pixelation in the finished print.
How do I preview the actual size of my print before ordering?
Use the “actual size” or “print at 100%” option in your PDF viewer’s print dialog to output a true-scale reference. You can also use an online mockup tool to place your design on a wall scene and judge proportion against familiar objects.