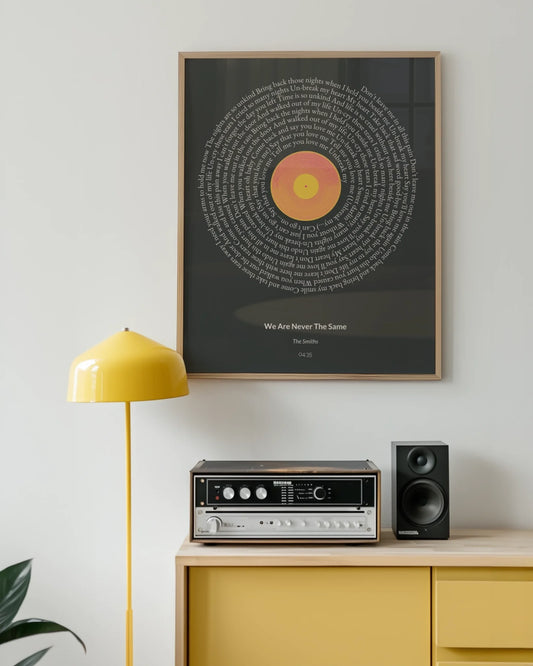
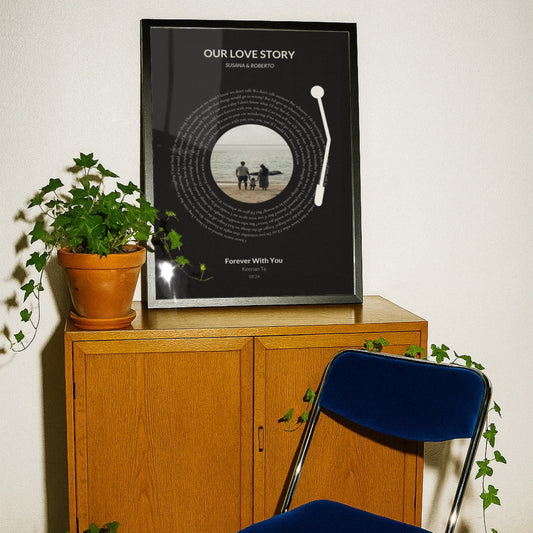
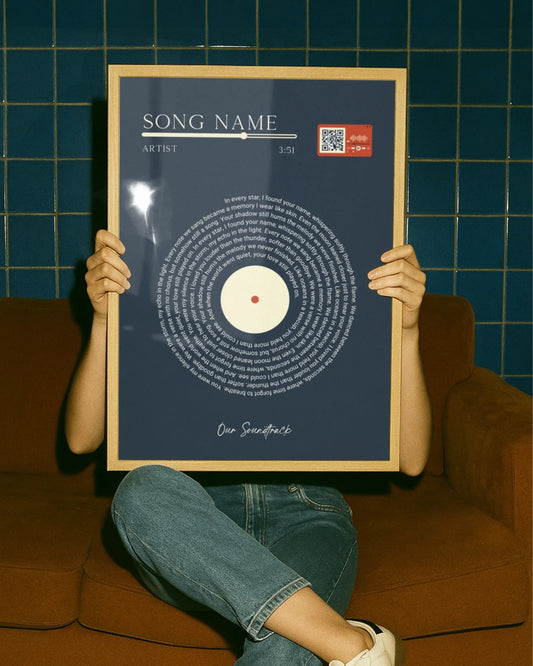
Best photo collage tips for stunning wall art in 2026
WallfullyCreating a beautiful photo collage can feel overwhelming when you’re staring at dozens of cherished memories and trying to decide which layout, colors, and frames will do them justice. Whether you’re designing personalized wall art for your living room or crafting a heartfelt gift for a loved one, the difference between a cluttered mess and a stunning display often comes down to a few key design principles. This guide walks you through expert tips covering layout selection, color harmony, framing techniques, and digital tools that transform ordinary photo collections into eye-catching collages. You’ll discover actionable strategies that work beautifully for home décor projects and special occasion gifts alike, giving you the confidence to create collages that truly captivate.
Table of Contents
- How To Choose The Right Layout Style For Your Photo Collage
- Mastering Color Harmony And Photo Sizing For Cohesive Collages
- Essential Framing And Display Tips To Showcase Your Photo Collage
- Using Digital Tools To Create Professional Photo Collages With Ease
- Create Your Perfect Photo Collage With Wallfully
- Frequently Asked Questions
Key takeaways
| Point | Details |
|---|---|
| Layout style sets the foundation | Choosing between grid, cluster, geometric, or shape-based layouts determines your collage’s overall aesthetic and visual flow. |
| Color harmony creates cohesion | Using consistent color palettes, accent colors, or monochrome themes unifies diverse photos into a polished display. |
| Photo size hierarchy guides attention | Larger hero images combined with smaller supporting photos create natural focal points and visual interest. |
| Digital tools streamline precision | Photoshop and AI-assisted platforms offer professional-grade control and dramatically reduce creation time. |
| Proper framing elevates presentation | Selecting the right frame configurations and spacing transforms collages from amateur projects into gallery-worthy displays. |
How to choose the right layout style for your photo collage
Your layout choice shapes everything that follows in your collage design journey. Grid layouts arrange photos in uniform rows and columns, delivering a modern, structured appearance that works perfectly when you have similarly sized images. These arrangements feel clean and organized, making them ideal for minimalist spaces or when you want the photos themselves to be the primary focus without competing visual elements.
Organic cluster layouts take the opposite approach, grouping photos in asymmetrical arrangements that feel casual and dynamic. This style shines when you’re working with varied photo sizes and want to create a lived-in, personal aesthetic. Non-traditional layouts like heart-shaped or geometric collages significantly enhance visual appeal compared to standard grids, offering personalized flair for romantic gifts or milestone celebrations.
Geometric mosaics use repeating shapes or patterns to create sophisticated displays. These require more planning but deliver striking results. Shape-based layouts, such as hearts or stars, add emotional resonance to anniversary gifts or nursery décor. When selecting your layout, consider your photo collection’s characteristics and your display space’s style.
Pro Tip: Mix frame sizes within heart-shaped or geometric collages to increase visual interest while maintaining the overall shape’s integrity. Use a level and tape measure when hanging geometric mosaics to ensure precise alignment that showcases the pattern’s intentional design.
Here are key factors to evaluate when choosing your layout:
- Number of photos: Grids accommodate many images efficiently, while clusters work better with 5-15 photos
- Photo dimensions: Uniform sizes favor grids; varied sizes suit clusters or geometric arrangements
- Display location: Formal spaces benefit from structured grids; casual areas welcome organic clusters
- Emotional tone: Romantic occasions call for shape-based designs; everyday memories fit modern grids
For photo collage design success, match your layout to both your photos and your intended emotional impact. The layout style significantly impacts the overall aesthetic, with grid layouts offering modern appeal and organic clusters providing casual warmth.
Mastering color harmony and photo sizing for cohesive collages
Once you’ve selected your layout structure, color coordination becomes your next critical design element. Photos taken in different lighting conditions, seasons, or settings can clash visually when placed together. Creating a cohesive color palette ties disparate images into a unified whole that feels intentional rather than random.
Color harmony is crucial in photo collage design; sticking to a theme, using accent colors, or converting photos to monochrome creates a cohesive look. Consider selecting photos that share a dominant color, such as ocean blues for vacation memories or warm autumn tones for fall family gatherings. Alternatively, apply subtle color filters or convert your entire collection to black and white for timeless elegance.
“The most visually striking collages use color as a unifying thread that connects individual moments into a single story, whether through shared tones, complementary palettes, or the simplicity of monochrome.”
Photo sizing creates hierarchy that guides viewers through your collage in a deliberate way. Creating hierarchy with photo sizes, where one or two hero images are larger than supporting photos, adds visual interest and guides the viewer’s eye. Your largest images should feature the most important moments or the strongest compositions, while smaller surrounding photos provide context and supporting narrative.
Follow these steps to create effective photo size hierarchy:
- Identify your 1-2 hero photos that capture the most significant moments or strongest visual appeal
- Select supporting images that complement rather than compete with your focal points
- Arrange larger photos in primary viewing positions, typically center or upper portions
- Place smaller photos around heroes to create visual flow and balance
- Test different size ratios until the eye moves naturally through the composition
Quick tips for balancing colors and sizes effectively:
- Limit your color palette to 3-4 dominant hues for cohesion
- Use photo editing software to adjust saturation levels for consistency
- Position your largest photo slightly off-center for dynamic tension
- Maintain at least a 2:1 size ratio between hero and supporting images
- Group photos with similar tones together to create color zones
Explore best photo collage ideas that demonstrate these color and sizing principles in action, showing how professional designers create visual harmony across diverse photo collections.
Essential framing and display tips to showcase your photo collage
Even the most thoughtfully designed collage falls flat without proper framing and display execution. The use of collage frames transforms living spaces by showcasing memories, offering a versatile and elegant solution for home décor. Your frame selection impacts both the collage’s visual impact and its longevity as a cherished display piece.
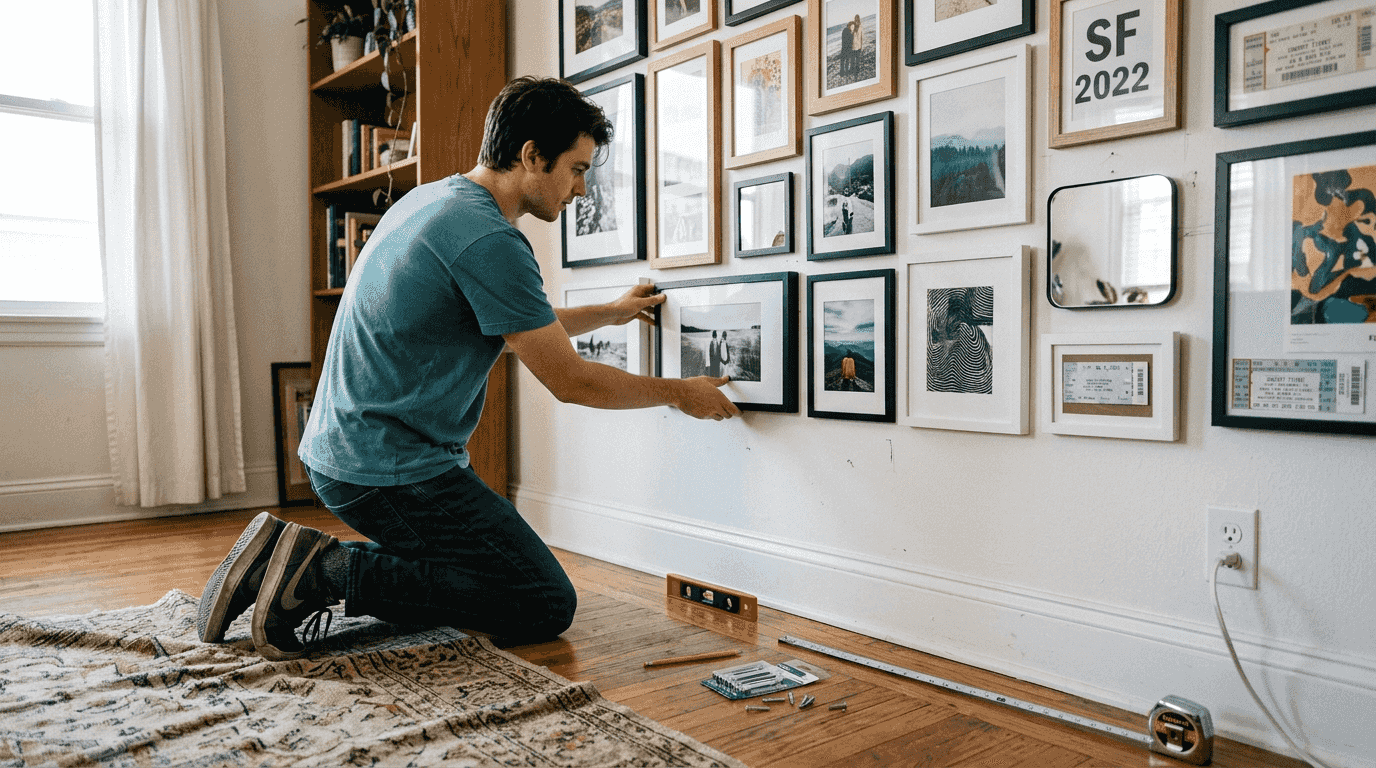
Standard collage frames accommodate anywhere from 3 to 20 photos in configurations designed for common print sizes. The most versatile options work with 4x6, 5x7, and 8x10 prints, which are readily available from most photo printing services. Choosing the right size and configuration of collage frames is crucial for effective display, ensuring your photos fit properly without awkward gaps or excessive matting.
Mixed frame sizing within a single collage unit offers flexibility and enhanced design possibilities. You might combine a large 8x10 center frame with surrounding 4x6 frames, creating built-in hierarchy through the frame structure itself. This approach works particularly well for milestone celebrations where one key image deserves prominence.
| Frame Configuration | Number of Photos | Typical Sizes | Best Use Case |
|---|---|---|---|
| Grid collage frame | 9-12 | 4x6 uniform | Family galleries, vacation collections |
| Mixed size frame | 5-7 | 8x10 center, 4x6 surrounding | Wedding displays, anniversary gifts |
| Linear collage frame | 3-5 | 5x7 or 4x6 uniform | Hallway displays, timeline stories |
| Large format frame | 15-20 | 4x6 uniform | Year in review, extended family |
Pro Tip: Select frame colors that complement your wall color and photo themes rather than competing with them. Black frames create modern sophistication, white frames offer clean versatility, and wood tones add warmth to family-focused displays.
Hanging and spacing recommendations maximize visual appeal:
- Position collage frames at eye level, typically 57-60 inches from floor to center
- Maintain 2-3 inches of space between individual frames in multi-frame arrangements
- Use painter’s tape to map your layout on the wall before committing to nail holes
- Ensure adequate lighting, either natural or with picture lights, to showcase your photos
- Consider the viewing distance when selecting frame and photo sizes
Discover photo collage prints for home decor that demonstrate professional framing techniques and display strategies you can adapt to your own spaces.
Using digital tools to create professional photo collages with ease
Digital creation tools have revolutionized collage making, offering precision and creative control that manual cutting and pasting simply cannot match. Photoshop’s versatility and precision make it ideal for creating photo collages, offering professional-grade features including layer management, precise alignment tools, advanced color adjustments, and export options optimized for printing.
Photoshop enables you to resize images without quality loss, apply consistent filters across your entire collection, and experiment with layouts risk-free through non-destructive editing. The software’s masking capabilities let you create custom shapes and seamless blends between photos. For beginners, expect to invest 2-3 hours learning basic functions, but this investment pays dividends in creative possibilities.
AI-assisted platforms represent the cutting edge of collage creation technology. Collager.ai reduces typical creation time from 3 hours of manual design work to 5-20 minutes per collage, enabling batch processing of 100+ images simultaneously. These tools analyze your photos for faces, composition, and color, then automatically generate balanced layouts that you can customize further.
Comparing manual versus AI-assisted digital collage creation:
- Time investment: Manual design requires 2-4 hours per collage; AI tools complete initial layouts in minutes
- Learning curve: Photoshop demands significant skill development; AI platforms offer intuitive interfaces
- Creative control: Manual methods provide unlimited customization; AI tools excel at quick, professional results
- Cost consideration: Photoshop requires subscription fees; many AI tools offer free tiers with premium upgrades
- Output quality: Both approaches deliver print-ready files when used properly
Recommended digital tools for different skill levels:
- Beginners: Canva, PicCollage, or Fotor for template-based simplicity
- Intermediate: Adobe Spark or Photoshop Elements for enhanced control without overwhelming complexity
- Advanced: Adobe Photoshop or Affinity Photo for professional-grade precision
- AI-assisted: Collager.ai or similar platforms for speed and automated optimization
- Mobile creators: Layout by Instagram or Pic Stitch for on-the-go design
Digital tools deliver precise, customizable, and easily shareable collages that maintain quality across different display sizes. You can create versions optimized for printing, social media sharing, or digital photo frames from a single design file. Explore comprehensive photo collage digital creation guides that walk you through specific software workflows and best practices for various platforms.
Create your perfect photo collage with Wallfully
Now that you understand the essential principles of layout selection, color harmony, framing techniques, and digital tools, you’re ready to bring your vision to life. Wallfully makes implementing these expert tips effortless through an intuitive platform designed specifically for personalized wall art creation. You can design custom photo collages with professional-quality printing, eco-friendly materials, and configurations that match your exact specifications.
The platform offers guided customization that walks you through each design decision, from selecting your layout style to fine-tuning color balance and sizing. You’ll see real-time previews of your collage before ordering, ensuring the final product matches your vision perfectly. With free shipping on all orders and a satisfaction guarantee, creating stunning personalized wall art or meaningful gifts has never been more accessible. Explore Wallfully’s personalized photo collages to discover how easy it is to transform your cherished memories into gallery-worthy displays that elevate any space.
Frequently asked questions
What is the best photo collage layout for beginners?
Grid layouts are generally best for beginners due to their simplicity and clean aesthetic. They require minimal design decisions since photos are arranged in uniform rows and columns, making spacing and alignment straightforward. As you gain confidence, you can experiment with organic clusters or shape-based designs that offer more creative expression.
How can I make my photo collage look cohesive?
Use a consistent color palette by selecting photos with similar tones or applying uniform filters across your collection. Converting all images to black and white creates instant unity. Create hierarchy with photo sizes, positioning one or two larger hero images as focal points while surrounding them with smaller supporting photos that guide the viewer’s eye through your composition.
What size prints work best for different collage layouts?
Standard sizes like 4x6, 5x7, and 8x10 are versatile and work across most layout styles. Mixed sizes add visual interest to shape-based or cluster layouts, with larger prints serving as focal points. Consistent sizes simplify grid arrangements and create clean, modern aesthetics that work well in formal spaces or minimalist décor schemes.
What digital tools are easiest for beginners to create photo collages?
Photoshop is powerful but has a learning curve that may intimidate newcomers. AI-based tools like Collager.ai streamline creation and dramatically reduce design time through automated layout suggestions. Many mobile apps offer pre-designed templates and intuitive drag-and-drop interfaces that let you create professional-looking collages without technical expertise or software subscriptions.