Create a personalized poster step by step: complete guide
WallfullyTL;DR:
- Creating a custom poster enables you to tell a personal story or celebrate a milestone uniquely suited to your space or gift-giving needs.
- By choosing accessible design tools and high-quality materials, anyone can produce a professional-looking poster without prior experience, ensuring meaningful results.
You’ve browsed countless stores looking for the perfect wall art or a truly meaningful gift, only to come home empty-handed because nothing felt personal enough. Generic posters fill shelves everywhere, but none of them tell your story, celebrate your milestone, or match the exact color palette of your living room. Creating a custom poster solves all of that, and it’s far more achievable than most people expect. This guide walks you through every stage of the process, from gathering your tools to displaying or gifting the finished piece, so you can confidently bring your vision to life.
Table of Contents
- What you need to get started
- Step-by-step poster creation process
- Avoiding common mistakes and troubleshooting
- Showcasing and gifting your custom poster
- A fresh perspective: Why personal posters unlock creativity
- Ready to create your custom poster?
- Frequently asked questions
Key Takeaways
| Point | Details |
|---|---|
| Gather quality materials | Using the right paper and tools sets up your poster for lasting impact. |
| Follow step-by-step process | Clear instructions help you avoid frustration and achieve professional results. |
| Proof before printing | Checking your design prevents costly mistakes and ensures your poster looks great. |
| Personalize for meaning | Custom posters reflect your taste or celebrate special moments as unique gifts. |
| Showcase your creation | Display or gift your poster to make it a centerpiece and conversation starter. |
What you need to get started
Now that you’ve seen why custom posters make a difference, let’s assemble what you’ll need before opening a single design tool.
The good news is that the barrier to entry is low. You don’t need an art degree or a professional printing setup. What you do need is a reliable computer, internet access, and a clear idea of what story you want to tell. Most people already have the hardware; it’s the software choices and material decisions that trip them up.
Design tools to consider
| Tool | Best for | Cost |
|---|---|---|
| Canva | Beginners, quick layouts | Free or $15/month Pro |
| Adobe Photoshop | Advanced photo editing | $22/month |
| Adobe Illustrator | Vector graphics, scalable art | $22/month |
| Affinity Designer | Professional quality, one-time fee | $70 |
| Google Slides | Ultra beginners, basic posters | Free |
Each tool has its strengths. Canva dominates for speed and ease. Photoshop wins on photo manipulation. If you’re making a text-heavy lyric poster or a map print, Canva or Illustrator will serve you best.
Materials checklist
- A computer or laptop with a modern browser or installed software
- A high-resolution image source (your own photos or licensed stock images)
- Access to a quality printer or a professional print service
- Poster paper suited to your printer type (inkjet vs. laser)
- Optional: a frame, mounting hardware, or poster hanger
Paper quality matters more than most beginners realize. Matte paper softens colors and reduces glare, making it ideal for text-forward designs. Glossy paper makes photos pop with vivid contrast. Semi-gloss sits comfortably in the middle. For home decor, 80 lb. or heavier paper stock prevents curling and gives the poster a premium, substantial feel.
Pro Tip: If you plan to print at home, run a sample print on regular copy paper first. This reveals layout problems before you burn through your specialty paper.
Framing supplies are optional at this stage, but thinking about the final presentation early will influence your design choices. A poster destined for a deep-set frame needs wider margins. A poster that will hang freely with clips can extend closer to the edges.
Step-by-step poster creation process
With your equipment and materials ready, here’s exactly how to turn your vision into a custom poster.
Step 1: Define your purpose and theme
Start by answering one question: what should this poster make someone feel? A birthday tribute should feel warm and celebratory. A song lyric poster should capture the emotional weight of those lyrics. A city map poster for a new home should feel proud and adventurous. Locking in your emotional goal before touching any design tool keeps every subsequent decision focused.
Step 2: Choose your dimensions and layout
Standard poster sizes are 18x24 inches and 24x36 inches. Smaller options like 11x17 inches work well for gallery walls or desk displays. Decide whether you want a portrait (tall) or landscape (wide) orientation based on the wall space you have in mind. Setting the correct document size at the very beginning prevents frustrating resizing issues later.
Step 3: Select fonts, colors, and images
Limit yourself to two or three font styles maximum. Pairing a bold serif headline with a clean sans-serif body text is a timeless combination. For colors, use a palette of three to four tones that either match your room’s existing decor or reflect the poster’s theme. If you’re incorporating photos, use images with a resolution of at least 300 DPI (dots per inch) to avoid blurry printed results.
Step 4: Design your poster using your chosen tool
Build your layout from the background outward. Place the largest element (a photo, a headline, a map) first, then layer supporting elements around it. Keep white space intentional. Crowded posters feel anxious; well-spaced designs feel confident and polished. For ideas and step-by-step inspiration, browsing detailed poster creation steps shows how others have approached their own custom projects.
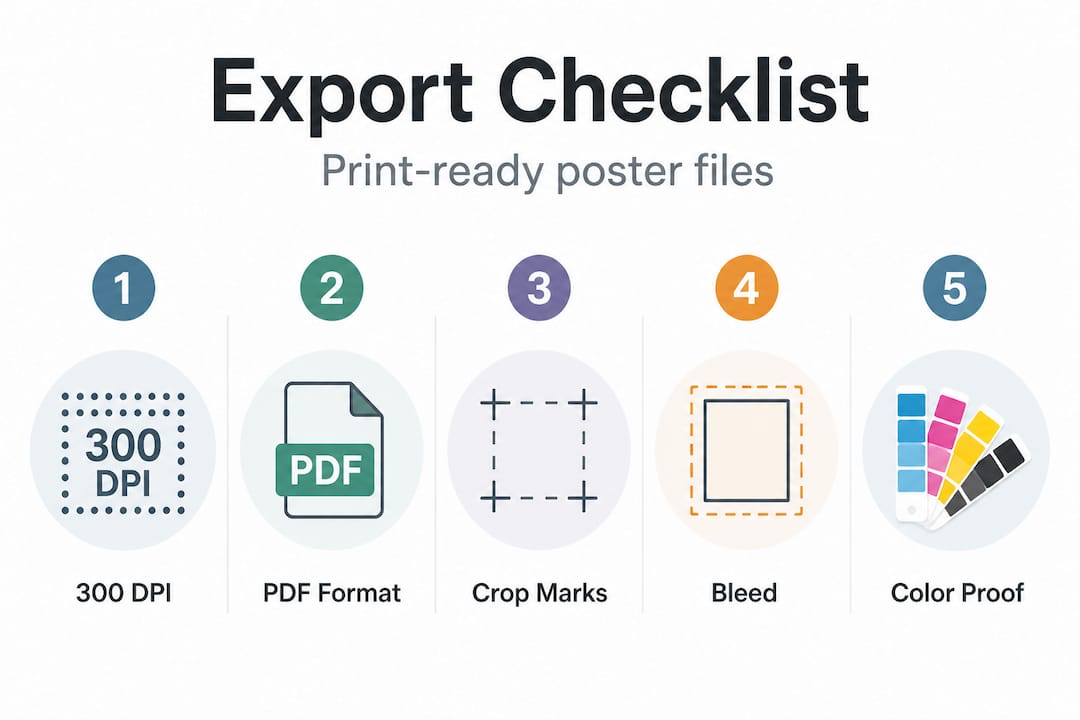
Step 5: Export as a print-ready file
This step is where many beginners make costly mistakes. When your design is final, export as PDF Print with crop marks and bleed settings enabled for professional printing results. Bleed refers to extending your background color or image slightly beyond the trim line, typically 0.125 inches on each side, so that no white edges appear after cutting.
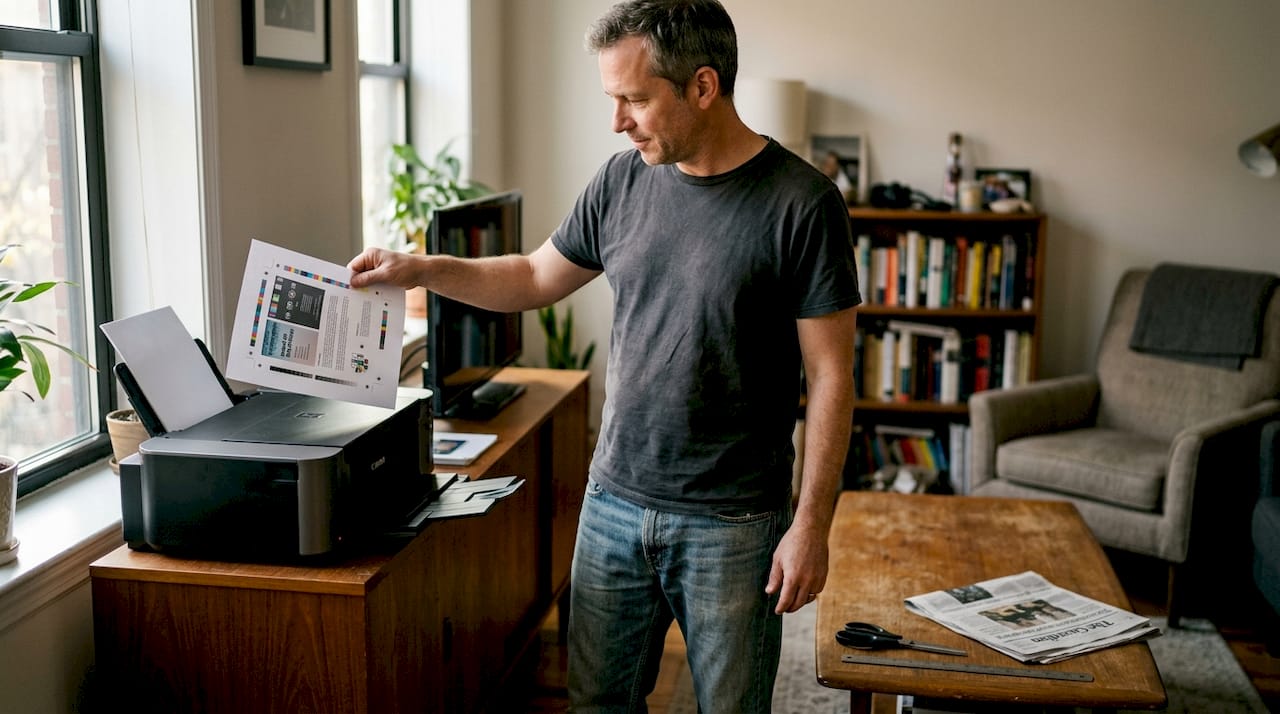
Step 6: Print a test copy
Always print one test copy on standard paper before committing to your specialty poster stock. Check that text is readable at size, images aren’t pixelated, and colors appear as expected. Many home printers shift colors slightly from what you see on screen, so a test run lets you adjust before the final print.
| Export setting | Why it matters |
|---|---|
| 300 DPI resolution | Prevents blurry or grainy prints |
| PDF format | Preserves layout across all printers |
| Crop marks | Guides professional trimmers |
| Bleed (0.125 in.) | Eliminates white edge artifacts |
| Color mode: CMYK | Matches physical ink output accurately |
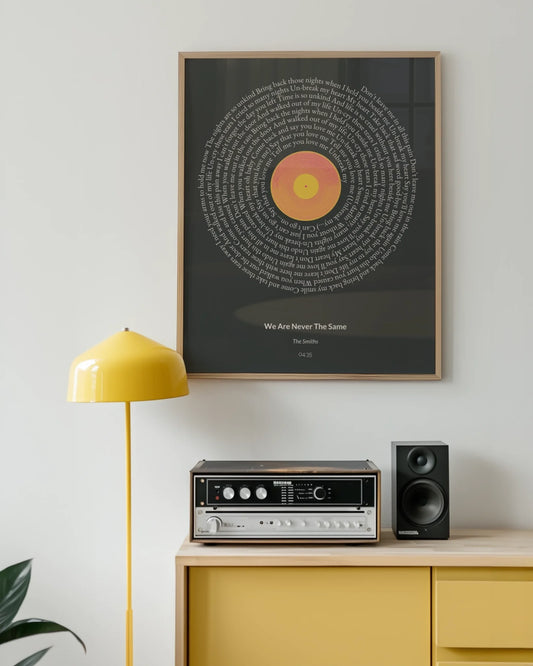
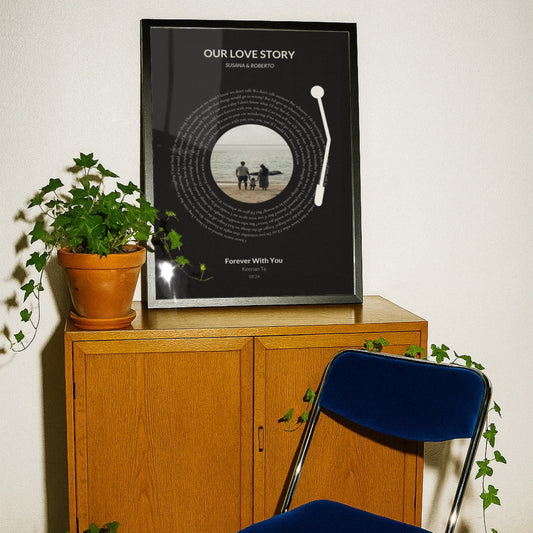
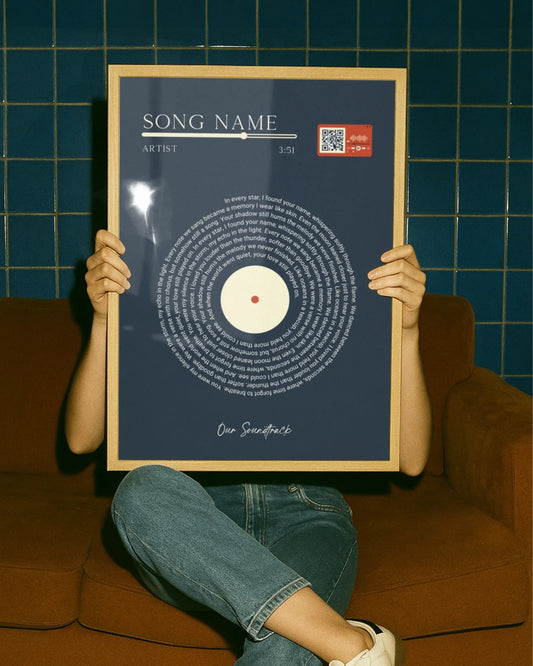
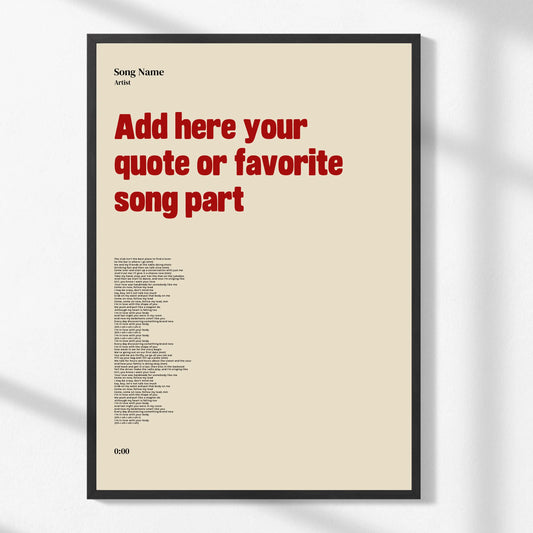
For creative direction on specific poster styles, looking at lyric poster examples can spark ideas and show how typography-driven designs come together beautifully.
Avoiding common mistakes and troubleshooting
Once your poster design is complete, knowing how to troubleshoot issues will save time and money.
Even experienced designers run into problems. The difference is that they know what to look for before sending a file to print. Here are the most common pitfalls and how to sidestep them.
Technical mistakes to avoid
- Wrong document size: Always set your canvas to the final intended print size at the start, not after designing.
- Low resolution images: Any image below 150 DPI will look soft or pixelated when printed large. Verify resolution in your design tool before placing images.
- Missing bleed: Forgetting to add bleed results in thin white lines along the edges of your printed poster.
- RGB color mode: Screens use RGB color, but printers use CMYK. Designing in RGB and printing without converting can cause colors to appear dull or shifted.
- Wrong file type at export: Sending a JPG instead of a PDF with crop marks removes the bleed and trim guides that professional printers rely on.
Design pitfalls
Overcrowding is the number one visual mistake. When you add too many elements, the eye doesn’t know where to land, and the overall impact is lost. Edit ruthlessly. If an element doesn’t contribute directly to the message, remove it.
Poor font choices are another frequent issue. Using three or four decorative fonts at once creates visual chaos. Stick to a primary display font for headlines and a readable secondary font for supporting text. Avoid ultra-thin fonts at small sizes; they disappear when printed.
“A well-designed poster communicates its message in under three seconds. If your viewer has to search for the main idea, your layout needs editing.”
Color contrast is critical, especially for text legibility. Dark text on a light background or light text on a dark background always reads clearly. Mid-tone text on a mid-tone background, such as gray on beige, often looks fine on screen but becomes nearly illegible in print.
For broader guidance on what separates average from outstanding layouts, reading poster design tips gives you a framework for evaluating your own work with a more critical eye. And if you’re deciding between different print formats, understanding poster vs. print differences helps you choose the right product for your specific use case.
Pre-print checklist
- Spell-check every piece of text, including names, dates, and locations
- Confirm document dimensions match your intended print size
- Check that all images are 300 DPI or higher
- Verify bleed and crop marks are included in your export
- Review the test print under natural light, not just under artificial lighting
Pro Tip: Print your test page and hold it at arm’s length. This mimics how most people view wall art and reveals spacing or readability issues that aren’t obvious up close on your screen.
Showcasing and gifting your custom poster
After solving any design or print issues, discover how to present or gift your finished posters for maximum impact.
A custom poster doesn’t reach its full potential until it’s displayed or presented thoughtfully. The framing, placement, and presentation all contribute to the emotional response it creates.
Display and framing options
- Simple black or white frames: Timeless choices that complement almost any design style and wall color.
- Natural wood frames: Add warmth and texture, especially effective for maps, botanical prints, or vintage-style posters.
- Floating frames: Create a modern, gallery-like effect by mounting the poster so it appears suspended within the frame.
- Clip or dowel hangers: Minimalist options ideal for casual spaces like home offices or college dorms.
- Foam mounting: Affixes the poster directly to a rigid board for a sleek, frameless look.
Placement matters as much as framing. The center of a wall-mounted piece should sit at approximately 57 to 60 inches from the floor, which aligns with average eye level. For gallery walls featuring multiple pieces, lay the arrangement out on the floor first to test spacing before putting holes in the wall. For more ideas on how to integrate custom pieces into your living space, poster decor ideas offers practical room-by-room suggestions.
Creative gifting ideas
Custom posters are among the most personal gifts you can give, because they show you paid attention. Consider these gifting scenarios:
- A wedding gift: A custom map of the city where the couple met, with their names and wedding date added to the design.
- A milestone birthday: A song lyric poster featuring the birthday person’s favorite song from their birth year.
- A new baby: A birth stats poster listing the name, weight, height, and arrival date in a beautiful typographic layout.
- A graduation: A poster celebrating the graduate’s achievement with their school colors, name, and graduation year.
Research consistently shows that personalized gifts are rated as more thoughtful and emotionally meaningful than generic alternatives, because they signal effort and attentiveness. Exploring special occasion poster ideas offers even more inspiration for life’s big moments.
For presentation, roll the finished poster and place it inside a kraft paper tube tied with ribbon. This protects the print during transit and adds a sophisticated unboxing experience that makes the gift feel special before it’s even opened.
A fresh perspective: Why personal posters unlock creativity
Most people approach custom poster creation as a task to complete. You follow the steps, export the file, press print, and move on. But if you’ve ever stood back and looked at a finished piece that carries your family’s history or your best friend’s favorite song, you know that something bigger happened in the process.
Creating a poster forces you to make meaningful choices. Which photo truly captures that moment? Which words matter enough to display permanently on a wall? These decisions aren’t trivial. They’re acts of curation, and curation is a form of storytelling.
There’s also a confidence effect that rarely gets mentioned. Completing a creative project from a blank canvas to a framed print on a real wall changes how you think about your own capabilities. Many people who create their first custom poster move on to redesigning entire gallery walls, making gifts for every occasion, and eventually developing a genuine eye for visual composition.
The real value of custom posters for special moments isn’t just the finished object. It’s the process of deciding what’s worth celebrating and then making something physical to hold that memory. In a world where most experiences live on a phone screen, a poster on a wall is a deliberate, permanent statement: this mattered.
We believe personalization is the antidote to forgettable decor. When every element of a poster reflects a real person, a real place, or a real moment, it stops being decoration and starts being a record of a life well lived.
Ready to create your custom poster?
If this guide has you excited to start your own project, you don’t have to build everything from scratch.
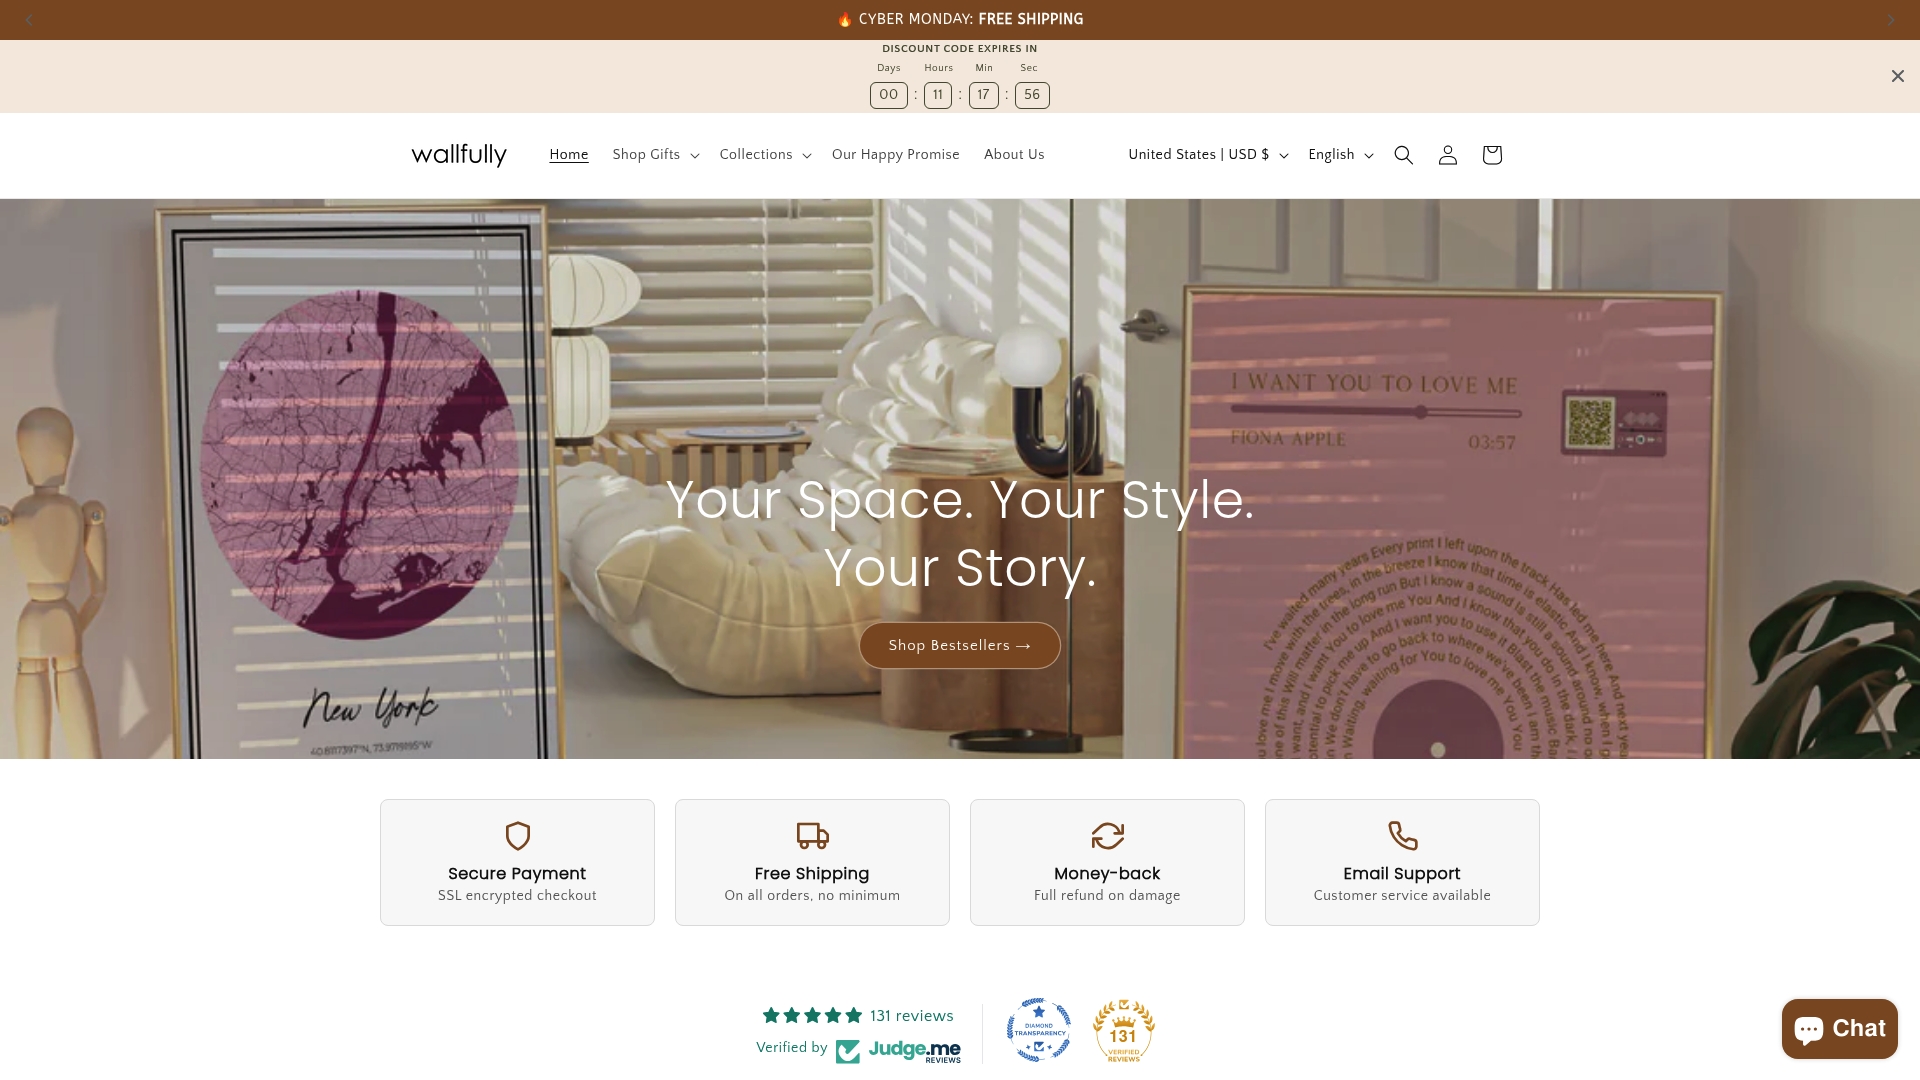
At Wallfully, we’ve built a platform that makes the entire design and print process seamless, whether you’re creating a song lyric poster, a milestone print, a zodiac design, or a custom map. Every order includes professional-quality printing on eco-friendly materials, free shipping, and a satisfaction guarantee. You get a live preview of your design before anything goes to print, so what you see is exactly what you receive. Browse the collections, pick a template that speaks to you, add your personal details, and let us handle the rest.
Frequently asked questions
What file type should I use for poster printing?
PDF files with crop marks and bleed are the preferred format for professional poster printing because they preserve layout integrity and guide trimmers accurately.
Can I create a poster without design software experience?
Yes, free tools like Canva offer beginner-friendly templates and drag-and-drop instructions that require no prior design knowledge to produce polished results.
How do I proof my poster before printing?
Print a test copy on standard paper and review for crop marks, checking layout, color accuracy, and text readability under natural light before your final production run.
What size should I choose for my poster?
Select a size based on available wall space and the poster’s purpose. The most common standard sizes are 18x24 inches for medium spaces and 24x36 inches for larger feature walls.
What’s the best way to frame or display a homemade poster?
Choose a frame that complements your design’s color palette and style, then use proper mounting hardware or adhesive strips to hang it at eye level for the best visual impact.