Easy Wall Decor Tutorials for Unique DIY Art at Home
WallfullyTL;DR:
- DIY wall decor projects are affordable, renter-friendly, and easy to personalize.
- Tape art, wood blocks, and rug hangings offer quick, impressive ways to transform walls.
- Personal-created art adds emotional value and creates a unique, welcoming home environment.
Blank walls are frustrating. Whether you rent a studio apartment in Chicago or own a home in suburban Melbourne, staring at empty beige surfaces day after day makes any space feel impersonal and forgettable. The good news is that transforming your walls doesn’t require a contractor, a big budget, or even artistic talent. A few basic supplies and a free afternoon are all it takes to create something that genuinely reflects who you are. This guide walks you through four hands-on DIY wall decor projects, from tape art to rug hangings, each designed to be renter-friendly, affordable, and impressive enough to give as a gift.
Table of Contents
- Gathering your materials and planning your space
- Step-by-step tutorial: Tape art for bold, modern designs
- Crafting wood block wall art: Personalized flair on a budget
- Textile creativity: Rug wall hangings made simple
- Fail-proof displays: Command strips and renter-friendly gallery walls
- Rethinking wall art: Your personal touch matters most
- Get inspired and elevate your space with Wallfully
- Frequently asked questions
Key Takeaways
| Point | Details |
|---|---|
| DIY empowers personalization | Creating your own wall decor makes your space a true reflection of your personality. |
| Projects are renter-friendly | Removable adhesives and creative layouts mean no wall damage for renters. |
| Affordable, giftable results | Most projects use low-cost materials and are perfect for heartfelt gifts. |
| Step-by-step simplicity | Each tutorial breaks the process into manageable steps—no experience required. |
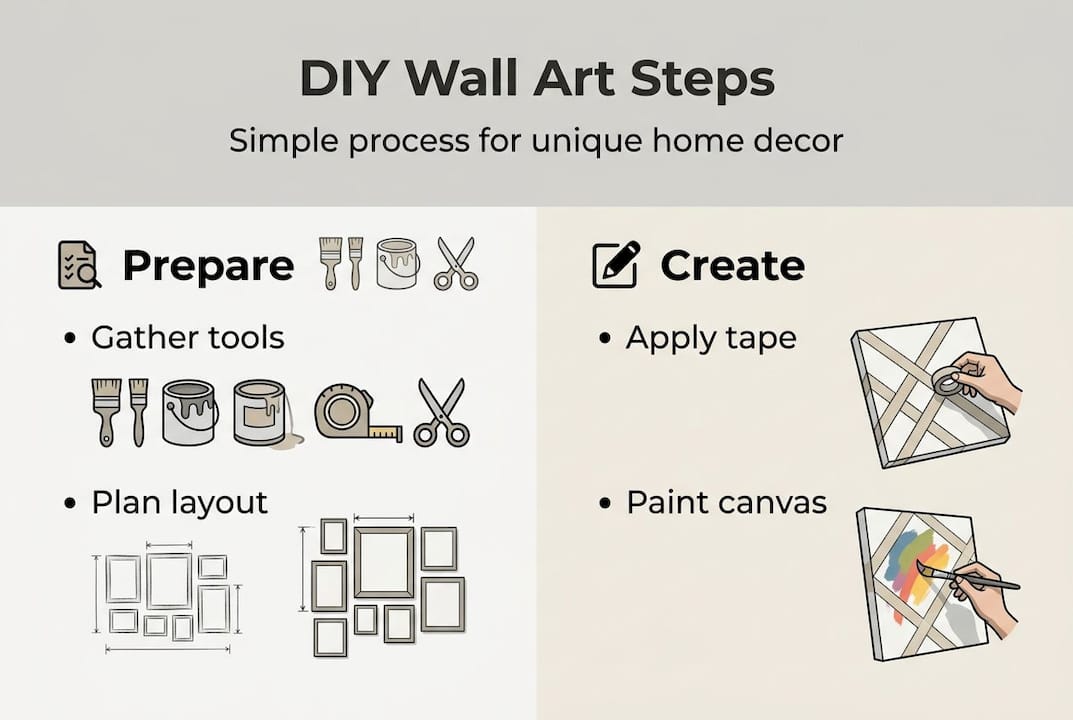
Gathering your materials and planning your space
Before you pick up a paintbrush, take five minutes to assess your space. Stand back and look at your wall. Is it a large feature wall that needs a bold statement piece, or a narrow hallway that calls for something smaller and more personal? Natural lighting matters too. Bright, south-facing rooms can handle darker, more dramatic artwork, while dim spaces benefit from lighter colors and reflective materials that bounce light around the room. Understanding these basics helps you choose the right project and avoid wasting supplies.
When it comes to style, you have three main directions to choose from:
- Abstract and painted designs like tape art, which use color and geometry to create visual impact
- Tactile, three-dimensional pieces like wood block art, which add depth and warmth
- Textile-based art like rug wall hangings, which bring softness and texture to hard surfaces
Once you know your direction, gathering materials is straightforward. Most projects rely on supplies you can find at any craft store or big-box retailer. A solid wall art materials overview can help you decide what to stock up on before you start. Here’s a quick reference for the three main projects covered in this guide:
| Project | Key Materials | Estimated Cost | Prep Time |
|---|---|---|---|
| Tape Art | Canvas, painter’s tape, acrylic paint | $10-$20 | 20 min |
| Wood Block Art | Wood squares, sandpaper, paint, Command strips | Under $2/piece | 15 min |
| Rug Wall Hanging | Small area rug, hot glue, yarn, wood slat | $15-$30 | 30 min |
For tape art specifically, plan for a
For sourcing supplies affordably, check dollar stores for basic brushes and small canvases, and look at thrift shops for small rugs and wooden frames. Buying in bulk at craft stores often cuts costs significantly, especially if you plan to make multiple pieces.
Step-by-step tutorial: Tape art for bold, modern designs
Once you’ve got your materials ready, tape art is one of the fastest ways to create a striking, custom piece. The process is simple, and the results look far more complex than the effort involved.
- Prep your canvas. Lay it flat on a protected surface. If you want a dark, dramatic background, coat the canvas in black paint first and let it dry completely.
- Apply painter’s tape. Press strips across the canvas in your chosen pattern. Geometric layouts use straight lines and sharp angles. Organic layouts use curved or overlapping strips for a more fluid look.
- Layer your colors. Paint over the entire canvas, including the tape. Use two or three colors for depth. Work quickly so colors blend at the edges while still wet.
- Peel and reveal. Once the paint is dry to the touch, carefully peel back the tape in one smooth motion. The unpainted lines underneath create the design.
- Seal and hang. Apply a clear acrylic sealer for durability, then hang using your preferred method.
Most tape art projects wrap up in under two hours from start to finish, making this one of the most time-efficient DIY options available. The peel-reveal technique is especially satisfying because the final design always surprises you a little.
Pro Tip: Experiment with metallic gold or copper paint on a dark background for a luxe, gallery-worthy finish that looks expensive without the price tag.
For design ideas, geometric layouts work well in modern or minimalist rooms, while organic tape patterns suit bohemian or eclectic spaces. If you’re drawn to sustainability, pairing this project with eco-friendly wall art principles, like water-based paints and recycled canvases, keeps your creative practice green. Always work in a ventilated room if using aerosol sprays or strong acrylics.
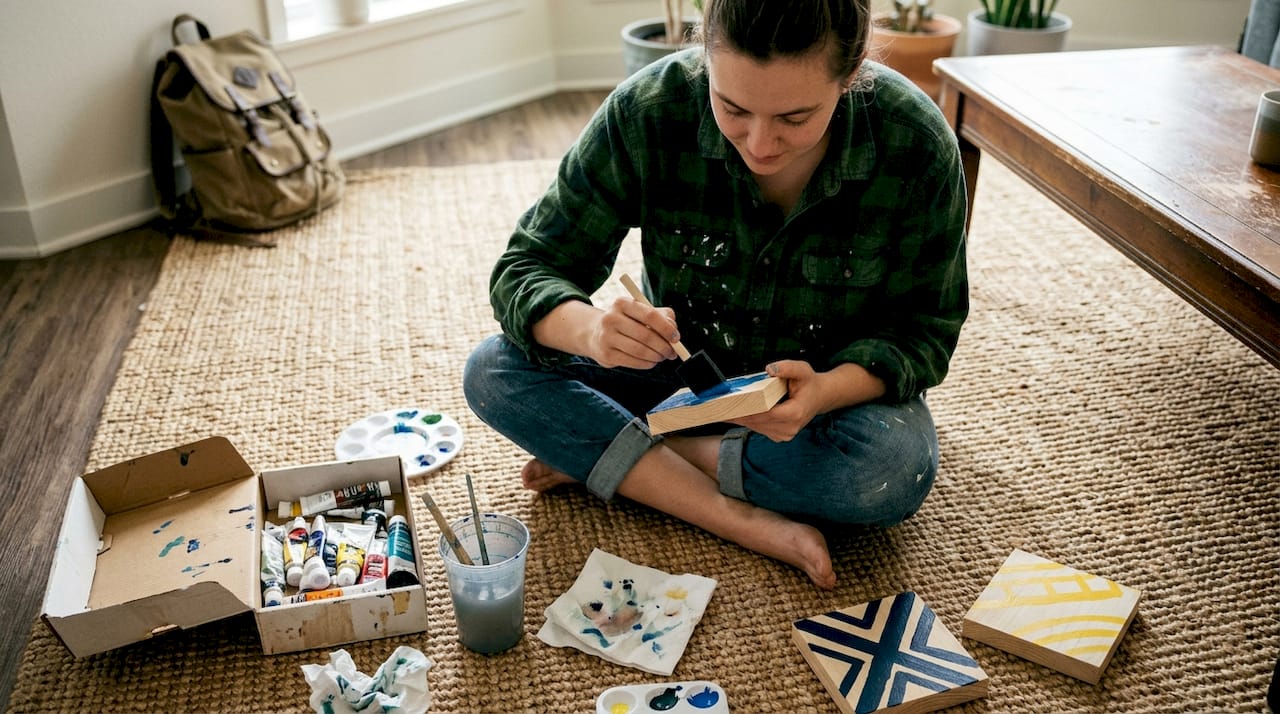
Crafting wood block wall art: Personalized flair on a budget
If you prefer tactile designs, wood block art brings warmth and personality without breaking the bank. These small painted squares are lightweight, easy to customize, and perfect for renters because they hang without nails.
- Cut or buy pre-cut wood squares. Most craft stores sell small balsa or pine squares. Sand the edges lightly with fine-grit sandpaper until smooth.
- Paint a base coat. Choose a single color or go monochrome for a clean look. Let it dry for 15 minutes.
- Add your design. Use a stencil brush to paint simple patterns, initials, or abstract scribbles. Geometric shapes and botanical motifs work especially well at this small scale.
- Seal the surface. A thin coat of Mod Podge protects the paint and adds a slight sheen.
- Attach Command strips. Press one strip to the back of each block and follow the package instructions for wall adhesion.
The numbers on this project are genuinely impressive. Each piece costs under $2 and takes about 20 minutes to complete, making it one of the most budget-friendly wall decor options out there. Here’s a quick breakdown:
| Block size | Paint options | Hang method | Time per piece |
|---|---|---|---|
| 4x4 inch | Monochrome, stencil, mixed-media | Command strips | 20 min |
| 6x6 inch | Colorful artboard, gradient | Command strips | 25 min |
| Mixed sizes | Layered or themed sets | Removable adhesive | 30 min |
For custom art at home, wood blocks are also a great gifting option. Paint a set with someone’s initials or a meaningful symbol and wrap them as a set. Using smart ways to display wall art like staggered grids or diagonal arrangements turns a simple set of blocks into a real design feature.
Pro Tip: Layer several blocks at slightly different depths by stacking two strips on some pieces. The subtle 3D effect adds visual interest that flat prints simply can’t replicate.
Textile creativity: Rug wall hangings made simple
Textiles bring texture and softness to walls in a way that paint and wood simply can’t. Rug wall hangings are one of the most visually striking DIY projects you can do, and they’re surprisingly straightforward.
- Select your rug. Small area rugs with bold patterns or rich textures work best. Aim for something under 24 inches wide so it’s manageable to hang.
- Trim to size. Cut the rug to your desired shape using titanium scissors for clean, safe cuts. Straight edges, arched bottoms, or fringed cuts all work well.
- Bind the edges. Use painter’s tape or hot glue along cut edges to prevent fraying. Work carefully and avoid skin contact with hot glue.
- Add dimension. Glue a second, smaller rug piece on top for a layered effect. Add yarn loops or tassels along the bottom for movement.
- Attach a wood slat. Hot glue or sew a thin wood dowel along the top edge. Thread yarn or twine through the slat and knot it for hanging.
- Hang with picture hangers. Removable picture hangers keep walls hole-free, which is ideal for renters.
Safety note: Always use titanium scissors when cutting thick rug material. Standard scissors can slip and cause injury. Keep hot glue away from skin and work on a heat-resistant surface.
For displaying wall art like this, centering the piece above a sofa or bed creates an instant focal point. The organic texture of a rug contrasts beautifully with smooth painted walls.
Pro Tip: Layer two contrasting rug pieces in different colors or patterns for a bold, maximalist look that works especially well in living rooms and bedrooms.
Fail-proof displays: Command strips and renter-friendly gallery walls
Ready to showcase your new art pieces? Here’s how to display everything beautifully and safely, even in a rental.
The key to a great gallery wall is planning before you touch the wall. Lay all your pieces on the floor first and experiment with different arrangements until you find one that feels balanced. Mix sizes and shapes intentionally. A large tape art canvas paired with a cluster of wood blocks and a rug hanging creates a dynamic, layered look that feels curated rather than random.
- Choose the right Command strip weight rating. Each strip has a maximum weight limit printed on the package. Always check this before hanging, especially for heavier rug pieces.
- Clean the wall surface first. Wipe with a dry cloth to remove dust. Strips adhere far better to clean, dry surfaces.
- Press firmly for 30 seconds. After attaching the strip to the wall, press hard and hold. Wait one hour before hanging anything on it.
- Check for level. Use a small bubble level or a free smartphone app to make sure frames aren’t crooked.
- Troubleshoot slipping strips. If a strip won’t hold, the wall surface may be textured or painted with a flat finish. Try heavy-duty strips or adhesive picture hangers instead.
Command strips for frames require no drilling or holes, which means no lost security deposits and no stressful patch jobs when you move out.
Pro Tip: Lay out all pieces on the floor first and take a photo of the arrangement. Use that photo as a reference when you transfer the layout to the wall.
Rethinking wall art: Your personal touch matters most
Most decorating advice focuses on trends, color palettes, and what’s popular on social media right now. That’s useful to a point, but it misses something important. The walls that actually feel good to live with aren’t the ones that look like a catalog. They’re the ones that tell a story.
When you make your own wall art, even something as simple as a set of painted wood blocks, you’re putting a piece of yourself into your space. That has real emotional weight. Research consistently shows that personalization and impact in home decor go far beyond aesthetics. People feel more relaxed, more creative, and more at home in spaces they’ve shaped themselves.
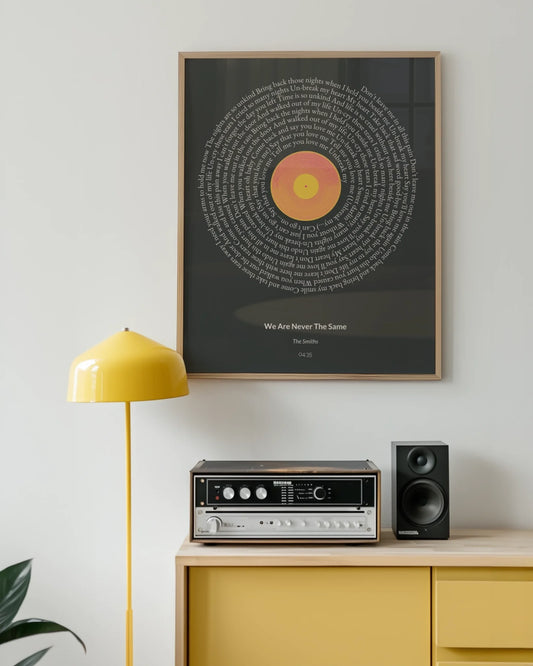
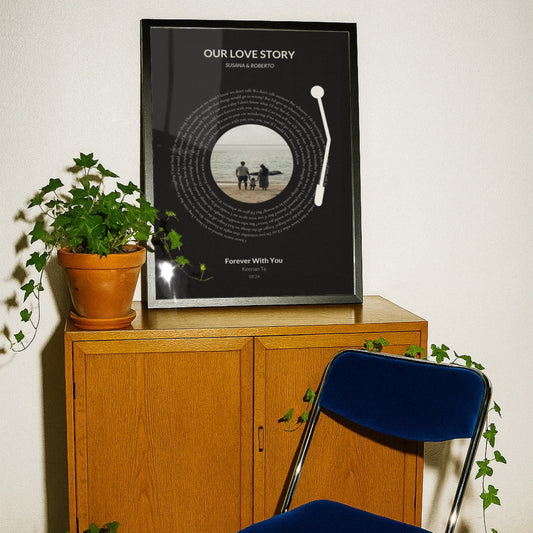
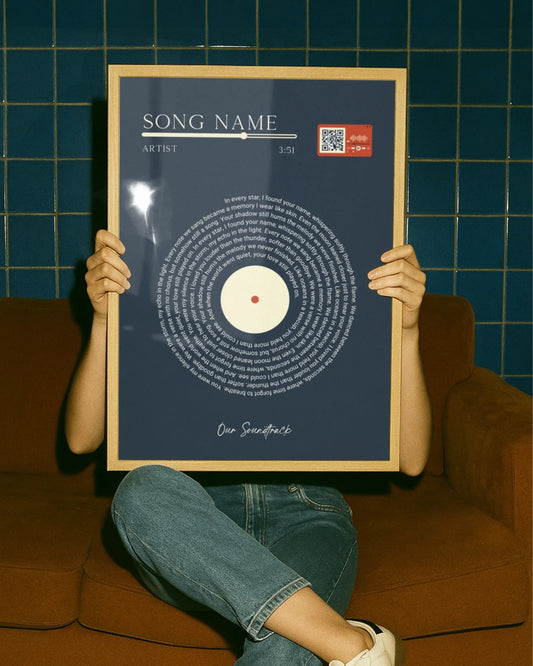
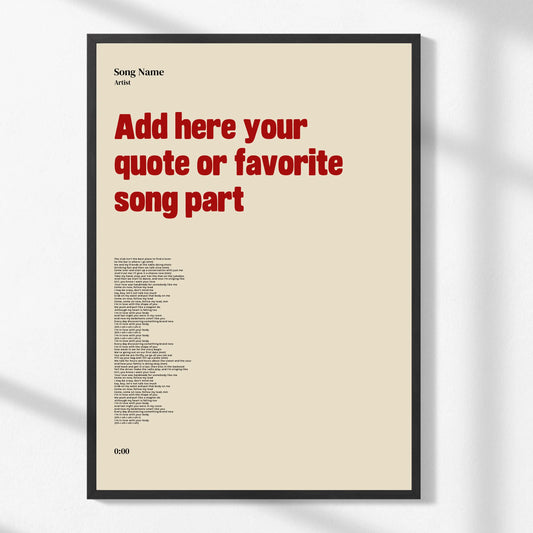
Handmade pieces also make extraordinary gifts. A custom tape art canvas or a layered rug hanging created specifically for someone carries meaning that a store-bought print simply can’t match. If you’re looking for ideas, wall art for gifts is one of the most thoughtful directions you can take. Stop chasing trends. Make something yours.
Get inspired and elevate your space with Wallfully
Feeling ready to decorate? These DIY projects are a great starting point, but sometimes you want something that combines your personal story with professional quality printing. That’s exactly where Wallfully comes in.

Wallfully makes it easy to create custom posters, song lyric prints, map art, and milestone pieces that feel just as personal as anything you’d make by hand, but with a polished finish that’s ready to hang the moment it arrives. Free shipping on every order, eco-friendly materials, and a satisfaction guarantee mean there’s no risk in trying. Check out the milestone wall art guide for ideas on how to turn your most meaningful moments into beautiful, lasting wall art.
Frequently asked questions
What are the best tools for safe DIY wall decor in a rental?
Command strips, painter’s tape, and removable picture hangers are your best options. They require no drilling or holes, so your walls stay intact when you move out.
How long does tape art need to dry before hanging?
Standard tape art is ready in 1 to 2 hours. If you use a fluid art technique with poured paint, allow up to two full days for complete drying.
Can I make DIY wall art if I have no artistic experience?
Absolutely. Projects like wood blocks and tape art follow simple step-by-step instructions and produce impressive results even for complete beginners.
What is the cheapest DIY wall decor project?
Wood block wall art is the most budget-friendly option, with each piece costing under $2 using basic craft supplies available at any store.